crwdns2933423:0crwdne2933423:0
crwdns2947577:0crwdnd2947577:0crwdne2947577:0

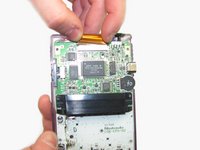
Game Boy Color LCD Ribbon Cable Replacement

crwdns2942213:0crwdne2942213:0

    1. Game Boy Color LCD Ribbon Cable Replacement, Battery: crwdns2935265:01crwdnd2935265:01crwdnd2935265:02crwdne2935265:0 Game Boy Color LCD Ribbon Cable Replacement, Battery: crwdns2935265:01crwdnd2935265:02crwdnd2935265:02crwdne2935265:0
      • Locate the battery compartment on the back of the Game Boy Color.

      • Push down on the tab and hinge the cover downwards and outwards to remove the battery cover.

      crwdns2952109:0crwdne2952109:0

      crwdns2917038:0crwdne2917038:0

    2. Game Boy Color LCD Ribbon Cable Replacement: crwdns2935265:02crwdnd2935265:01crwdnd2935265:01crwdne2935265:0
      • Remove the batteries from the battery compartment.

      crwdns2952109:0crwdne2952109:0

      crwdns2917038:0crwdne2917038:0

    1. Game Boy Color LCD Ribbon Cable Replacement, Back Housing: crwdns2935265:03crwdnd2935265:01crwdnd2935265:01crwdne2935265:0
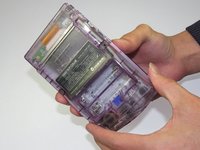
      • Using a Y1 screwdriver, remove the six screws on the back of the device as pictured. The bottom two screws are located inside of the battery compartment.

      crwdns2952109:0crwdne2952109:0

      crwdns2917038:0crwdne2917038:0

    2. Game Boy Color LCD Ribbon Cable Replacement: crwdns2935265:04crwdnd2935265:01crwdnd2935265:02crwdne2935265:0 Game Boy Color LCD Ribbon Cable Replacement: crwdns2935265:04crwdnd2935265:02crwdnd2935265:02crwdne2935265:0
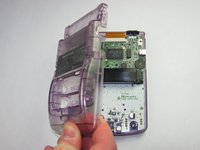
      • Gently lift and separate the back housing from the rest of the device. Now you've got the back housing out!

      crwdns2952109:0crwdne2952109:0

      crwdns2917038:0crwdne2917038:0

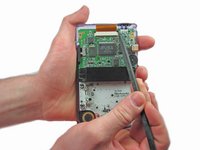
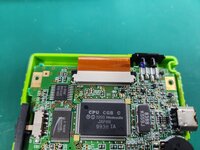
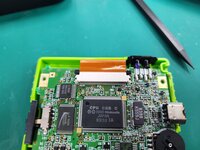
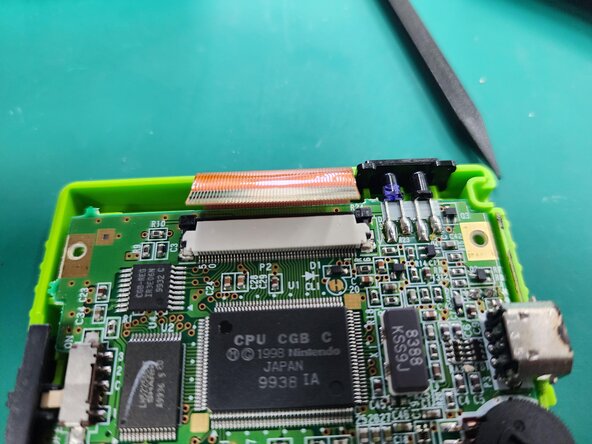
    1. Game Boy Color LCD Ribbon Cable Replacement, LCD Ribbon Cable: crwdns2935265:05crwdnd2935265:01crwdnd2935265:03crwdne2935265:0 Game Boy Color LCD Ribbon Cable Replacement, LCD Ribbon Cable: crwdns2935265:05crwdnd2935265:02crwdnd2935265:03crwdne2935265:0 Game Boy Color LCD Ribbon Cable Replacement, LCD Ribbon Cable: crwdns2935265:05crwdnd2935265:03crwdnd2935265:03crwdne2935265:0
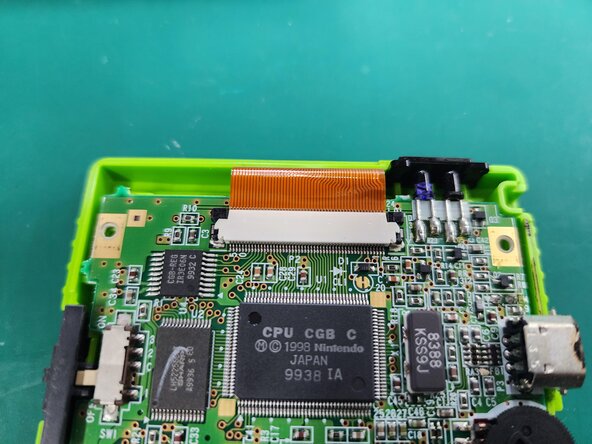
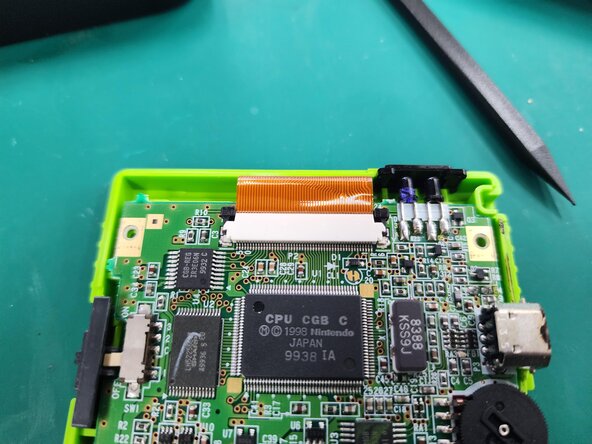
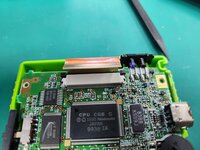
      • Push up on the tabs on either side of the ribbon with a spudger.

      crwdns2952109:0crwdne2952109:0

      crwdns2917038:0crwdne2917038:0

    2. Game Boy Color LCD Ribbon Cable Replacement: crwdns2935265:06crwdnd2935265:01crwdnd2935265:02crwdne2935265:0 Game Boy Color LCD Ribbon Cable Replacement: crwdns2935265:06crwdnd2935265:02crwdnd2935265:02crwdne2935265:0
      • Gently remove the ribbon cable from the port

      crwdns2952109:0crwdne2952109:0

      crwdns2917038:0crwdne2917038:0

crwdns2915888:0crwdne2915888:0

To reassemble your device, follow these instructions in reverse order.

crwdns2935221:0crwdne2935221:0

crwdns2935229:015crwdne2935229:0

Nick Katsantones

crwdns2935283:001/18/13crwdne2935283:0

1,169 crwdns2915208:0crwdne2915208:0

crwdns2935297:04crwdne2935297:0

crwdns2935287:0crwdne2935287:0

Cal Poly, Team 19-47, Regan Winter 2013 crwdns2935289:0Cal Poly, Team 19-47, Regan Winter 2013crwdne2935289:0

CPSU-REGAN-W13S19G47

crwdns2931471:04crwdne2931471:0

crwdns2935297:0108crwdne2935297:0

crwdns2947410:01crwdne2947410:0

crwdns2917038:0crwdne2917038:0

crwdns2936625:0crwdne2936625:0:

crwdns2936751:024crwdne2936751:0 1

crwdns2936753:07crwdne2936753:0 22

crwdns2936753:030crwdne2936753:0 81

crwdns2942667:0crwdne2942667:0 10,939