crwdns2915892:0crwdne2915892:0
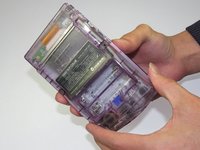
Is the outside shell of your Game Boy cracked, damaged, or you're just getting sick of your old housing? This guide outlines how to get down to the front housing so you can swap it out!
crwdns2942213:0crwdne2942213:0
-
-
Locate the battery compartment on the back of the Game Boy Color.
-
Push down on the tab and hinge the cover downwards and outwards to remove the battery cover.
-
-
-
Remove the batteries from the battery compartment.
-
-
-
Using a Y1 screwdriver, remove the six screws on the back of the device as pictured. The bottom two screws are located inside of the battery compartment.
-
-
-
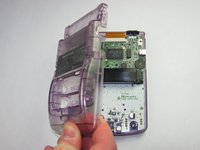
Gently lift and separate the back housing from the rest of the device. Now you've got the back housing out!
-
-
-
-
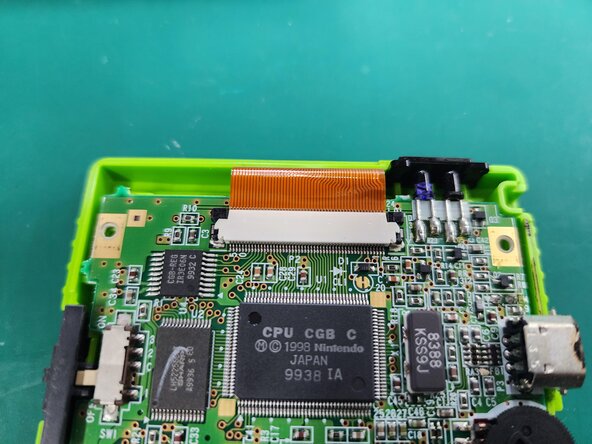
Push up on the tabs on either side of the ribbon with a spudger.
-
-
-
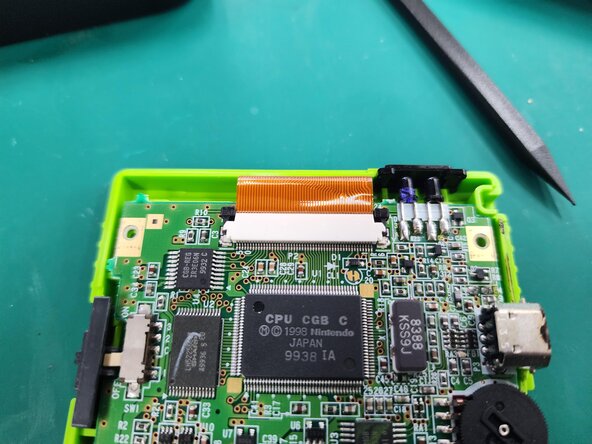
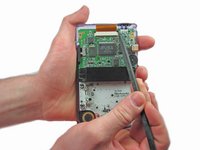
Gently remove the ribbon cable from the port
-
-
-
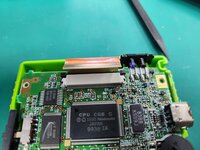
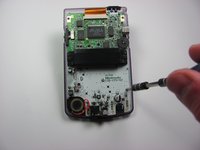
Using the Phillips #1 screwdriver, remove the 3 screws shown in the picture.
-
-
-
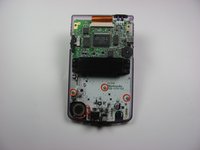
Gently lift the motherboard from the front housing.
-
-
-
Remove the rubber backing on each button grouping.
-
-
-
Remove the original buttons from the housing.
-
-
-
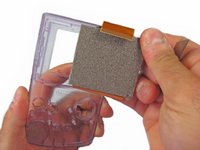
Gently pry and lift the LCD Display from the front panel.
-


To reassemble your device, follow these instructions in reverse order.
To reassemble your device, follow these instructions in reverse order.
crwdns2935221:0crwdne2935221:0
crwdns2935229:021crwdne2935229:0
crwdns2915084:0crwdne2915084:0

Cal Poly, Team 19-47, Regan Winter 2013 crwdns2935289:0Cal Poly, Team 19-47, Regan Winter 2013crwdne2935289:0
CPSU-REGAN-W13S19G47
crwdns2931471:04crwdne2931471:0
crwdns2935297:061crwdne2935297:0