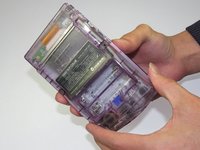
crwdns2915892:0crwdne2915892:0
Sometimes the buttons on the device may stick or become unresponsive, requiring replacement. This guide shows how to replace buttons on the Game Boy Color.
crwdns2942213:0crwdne2942213:0
-
-
Locate the battery compartment on the back of the Game Boy Color.
-
Push down on the tab and hinge the cover downwards and outwards to remove the battery cover.
 crwdns2952109:0crwdne2952109:0
-
-
-
Remove the batteries from the battery compartment.
-
-
-
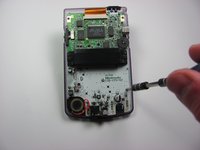
Using a Y1 screwdriver, remove the six screws on the back of the device as pictured. The bottom two screws are located inside of the battery compartment.
-
-
-
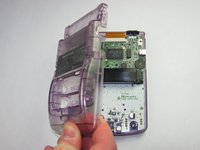
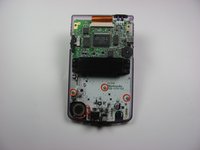
Gently lift and separate the back housing from the rest of the device. Now you've got the back housing out!
-
-
-
-
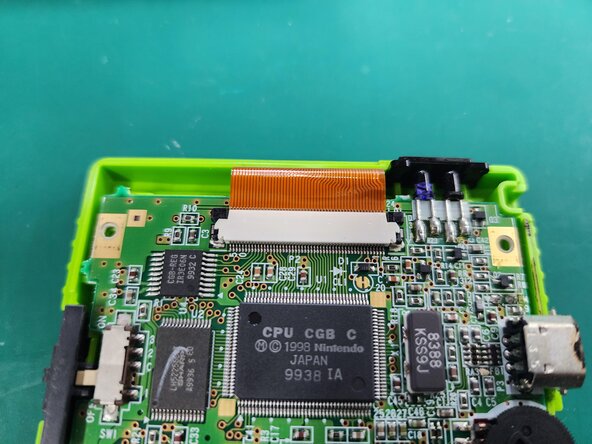
Push up on the tabs on either side of the ribbon with a spudger.
-
-
-
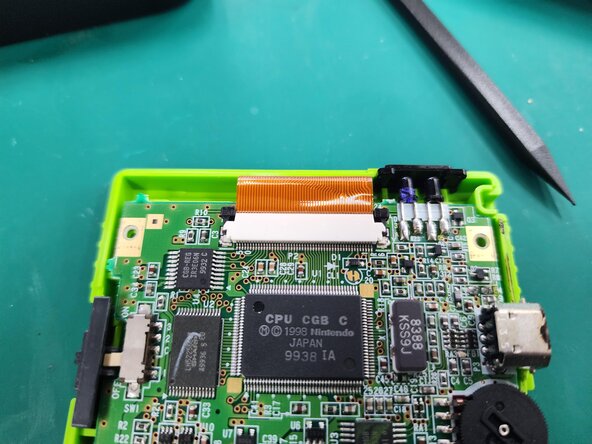
Gently remove the ribbon cable from the port
-
-
-
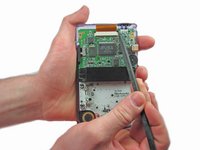
Using the Phillips #1 screwdriver, remove the 3 screws shown in the picture.
-
-
-
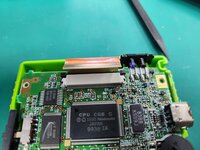
Gently lift the motherboard from the front housing.
-
-
-
Remove the rubber backing on each button grouping.
-
-
-
Remove the original buttons from the housing.
-


To reassemble your device, follow these instructions in reverse order.
crwdns2935221:0crwdne2935221:0
crwdns2935229:028crwdne2935229:0
crwdns2935287:0crwdne2935287:0

Cal Poly, Team 19-47, Regan Winter 2013 crwdns2935289:0Cal Poly, Team 19-47, Regan Winter 2013crwdne2935289:0
CPSU-REGAN-W13S19G47
crwdns2931471:04crwdne2931471:0
crwdns2935297:061crwdne2935297:0
crwdns2947412:03crwdne2947412:0
Thank you for your information on repair of my color game boy.
just two things.
1. I had a hard time with the removal of the screws. Any tip on that would be helpful.
2. Where can I purchase replacement parts?
Thanks again for all of your help.
Ray Blasko
raymondblasko - crwdns2934203:0crwdne2934203:0 crwdns2950251:0crwdne2950251:0
In the tools needed it states Y0 screwdriver, but in step 3 it says Y1 which is not the same. Which one is the correct size?
blogcraft - crwdns2934203:0crwdne2934203:0 crwdns2950251:0crwdne2950251:0
I found either Y0 or Y1 works. The important thing is it's a small tri-wing.
Michael Schwern - crwdns2934203:0crwdne2934203:0 crwdns2950251:0crwdne2950251:0