crwdns2933423:0crwdne2933423:0

Game Boy Cartridge Battery Replacement

crwdns2942213:0crwdne2942213:0

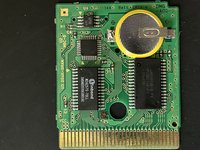
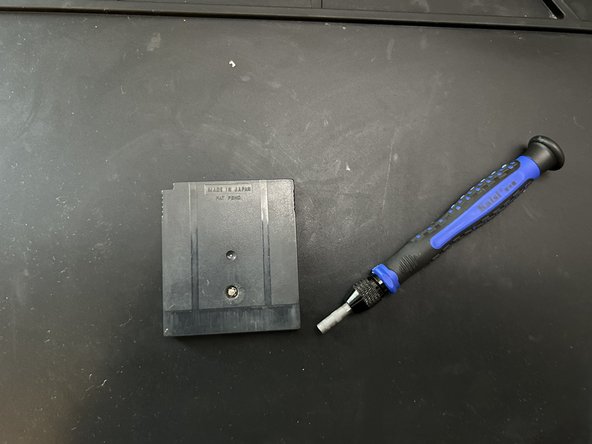
  1. Game Boy Cartridge Battery Replacement, Battery: crwdns2935265:01crwdnd2935265:01crwdnd2935265:02crwdne2935265:0 Game Boy Cartridge Battery Replacement, Battery: crwdns2935265:01crwdnd2935265:02crwdnd2935265:02crwdne2935265:0
    • Use the screwdriver to loosen the screw on the cartridge.

  2. Game Boy Cartridge Battery Replacement: crwdns2935265:02crwdnd2935265:01crwdnd2935265:01crwdne2935265:0
    • Switch on your multimeter and select the Voltage (V) mode. Then, test the voltage of the battery in the cartridge.

  3. Game Boy Cartridge Battery Replacement: crwdns2935265:03crwdnd2935265:01crwdnd2935265:01crwdne2935265:0
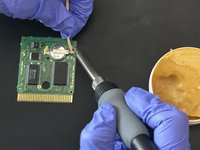
    • Apply some of the flux paste to help desolder the soldered areas on the battery.

  4. Game Boy Cartridge Battery Replacement: crwdns2935265:04crwdnd2935265:01crwdnd2935265:01crwdne2935265:0
    • Be careful when handling a fully heated soldering iron, as it can burn you.

    • Use the soldering iron once it heats up fully. Then, heat up the soldered areas with the iron.

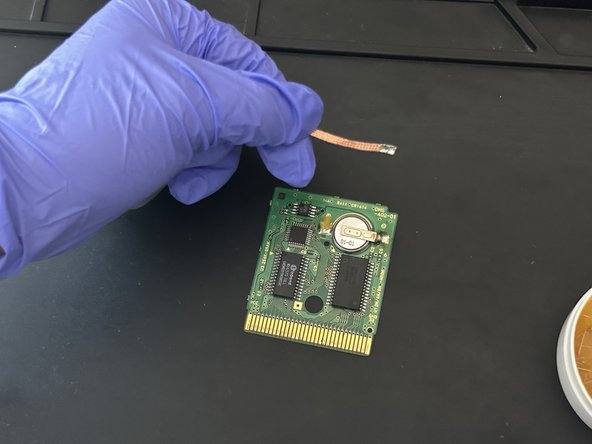
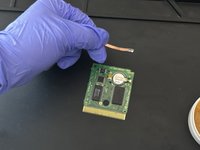
  5. Game Boy Cartridge Battery Replacement: crwdns2935265:05crwdnd2935265:01crwdnd2935265:02crwdne2935265:0 Game Boy Cartridge Battery Replacement: crwdns2935265:05crwdnd2935265:02crwdnd2935265:02crwdne2935265:0
    • Pick up the solder with the desoldering braid.

  6. Game Boy Cartridge Battery Replacement: crwdns2935265:06crwdnd2935265:01crwdnd2935265:01crwdne2935265:0
    • Wipe off any excess flux paste.

    • The flux paste can damage the circuit board if not removed completely or spread to other areas on the circuit board.

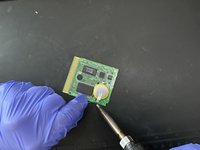
  7. Game Boy Cartridge Battery Replacement: crwdns2935265:07crwdnd2935265:01crwdnd2935265:02crwdne2935265:0 Game Boy Cartridge Battery Replacement: crwdns2935265:07crwdnd2935265:02crwdnd2935265:02crwdne2935265:0
    • Make sure to align the battery's positive side where the positive indicator is and the negative side where the negative indicator is.

    • Use the soldering iron and soldering wire to solder both sides of the battery into place.

  8. Game Boy Cartridge Battery Replacement: crwdns2935265:08crwdnd2935265:01crwdnd2935265:01crwdne2935265:0
    • Switch on your multimeter and select the Voltage (V) mode. Then, test the voltage of the battery in the cartridge.

    • The battery has to have at least 1.5V. If the multimeter reads a negative value, then most likely, the terminals are placed opposite, so switch them around and check the resulting value once more.

  9. Game Boy Cartridge Battery Replacement: crwdns2935265:09crwdnd2935265:01crwdnd2935265:02crwdne2935265:0 Game Boy Cartridge Battery Replacement: crwdns2935265:09crwdnd2935265:02crwdnd2935265:02crwdne2935265:0
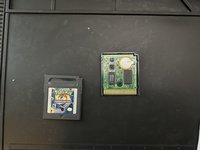
    • Align the cartridge and the circuit board.

    • Then tighten the screw to secure the cartridge into place.

crwdns2915888:0crwdne2915888:0

To reassemble your game cartridge, follow step 9.

crwdns2935227:0crwdne2935227:0

Jose Ayala

crwdns2935283:012/06/23crwdne2935283:0

220 crwdns2915208:0crwdne2915208:0

crwdns2935295:0crwdne2935295:0

crwdns2915084:0crwdne2915084:0

CSU Los Angeles, Team 3-1, Briggs Fall 2023 crwdns2935289:0CSU Los Angeles, Team 3-1, Briggs Fall 2023crwdne2935289:0

CSULA-BRIGGS-F23S3G1

crwdns2934841:01crwdne2934841:0

crwdns2935303:01crwdne2935303:0

crwdns2944067:00crwdne2944067:0

crwdns2917038:0crwdne2917038:0

crwdns2936625:0crwdne2936625:0:

crwdns2936751:024crwdne2936751:0 5

crwdns2936753:07crwdne2936753:0 44

crwdns2936753:030crwdne2936753:0 202

crwdns2942667:0crwdne2942667:0 800