crwdns2915892:0crwdne2915892:0
This guide will show you how to remove the barking sensor assembly from your Furbo Dog Camera. Removing and replacing your barking sensor assembly may fix any issues that were not able to be fixed by troubleshooting.
crwdns2942213:0crwdne2942213:0
-
-
Remove the lid from the top of your Furbo Dog Camera.
-
-
-
Rotate your Furbo so that the bottom faces you.
-
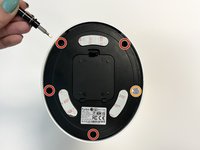
Remove the rubber caps to reveal the four screws on the bottom of the Furbo.
-
-
crwdns2935267:0crwdne2935267:0Flathead 3/32" or 2.5 mm Screwdriver$5.49
-
Use a 2.5 mm Flathead screwdriver to remove the four 5 mm screws from the bottom of the Furbo.
-
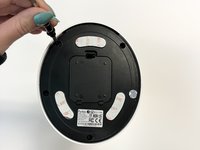
Use a 2.5 mm Flathead screwdriver to remove the single 5 mm screw under the silver sticker.
-
-
-
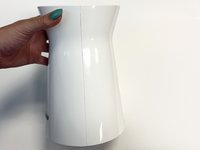
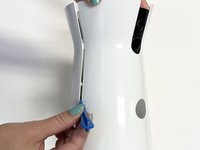
Rotate your Furbo so that the side is facing towards you.
-
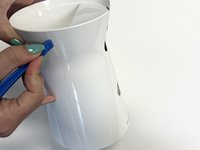
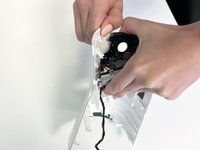
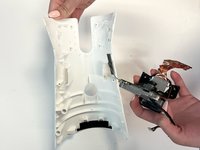
Use an opening tool to separate the two plastic coverings.
-
-
-
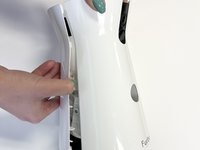
Once you have separated the two plastic coverings, remove one side by pulling on it and carefully separating it from the adhesive.
-
-
-
-
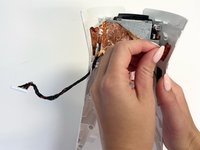
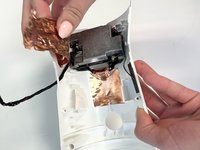
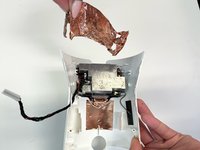
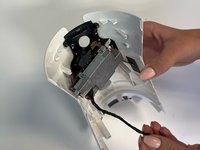
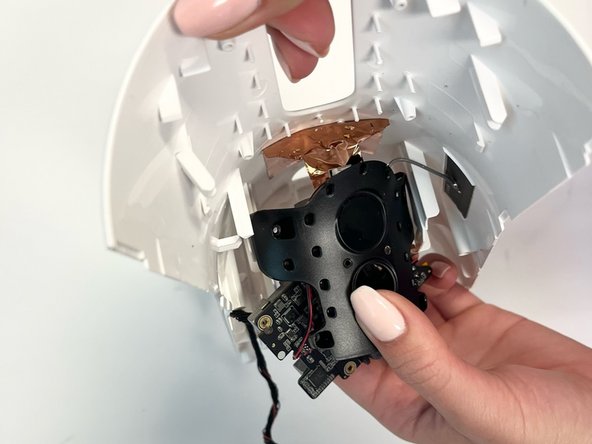
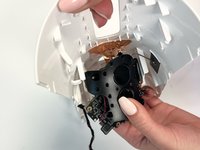
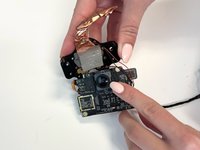
Carefully remove the copper foiling that surrounds the camera hardware.
-
-
-
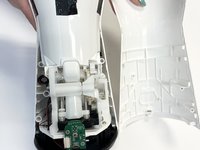
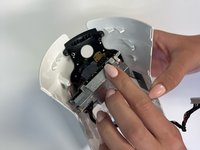
Use a Phillips #000 screwdriver to remove the 2.5 mm screws at the top of the camera hardware.
-
-
-
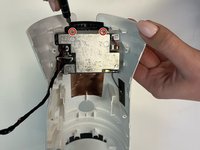
Gently pry the metal backing off of the camera hardware.
-
-
-
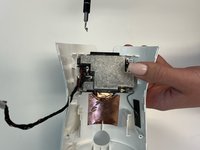
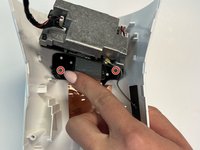
Use a Phillips #000 screwdriver to remove the 0.4 mm screws that attach the camera to the Furbo case.
-
-
-
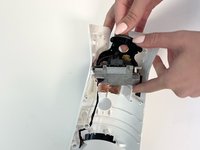
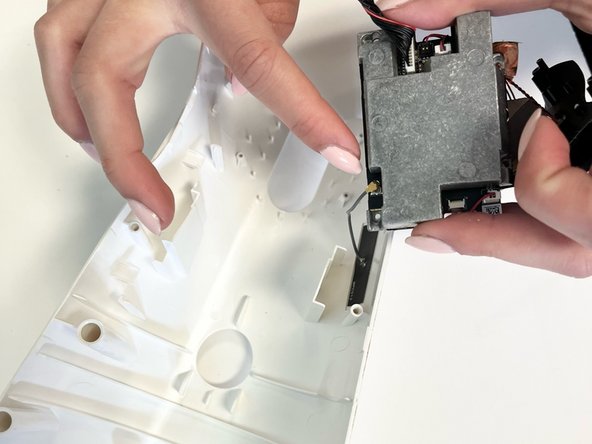
Gently pry the camera off and detach it from the Furbo.
-
-
-
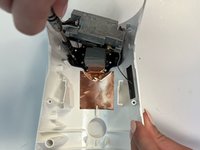
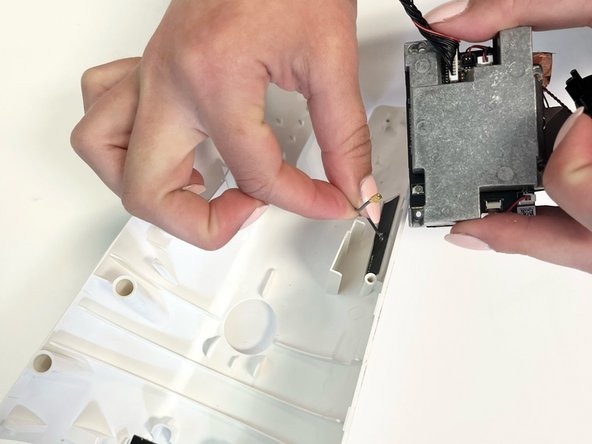
Detach the wire attaching the camera hardware from the Furbo.
-
-
-
Once removed, you may replace your camera.
-
-
-
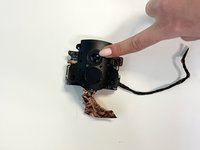
Remove the barking sensor and replace it with a new part.
-


To reassemble your device, follow these instructions in reverse order.

crwdns2935287:0crwdne2935287:0

University of Alabama, Team 1-1, Bedsole Spring 2022 crwdns2935289:0University of Alabama, Team 1-1, Bedsole Spring 2022crwdne2935289:0
UA-BEDSOLE-S22S1G1
crwdns2931471:03crwdne2931471:0
crwdns2935297:06crwdne2935297:0