crwdns2915892:0crwdne2915892:0
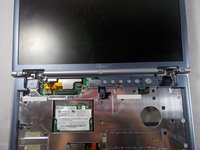
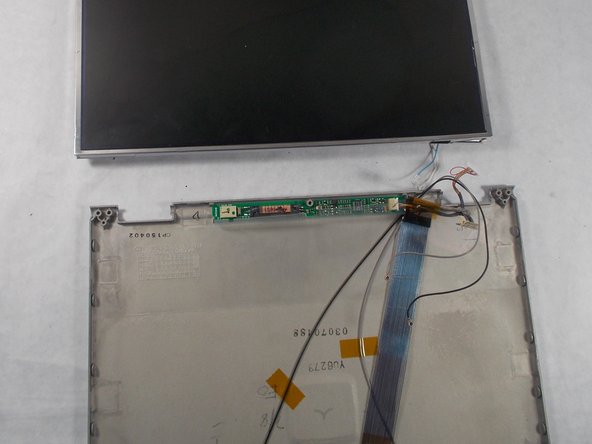
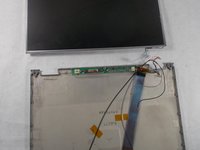
If the picture on the screen of the laptop is distorted or is blacked out then the screen may need to be replaced, this guide will show you how to remove the screen from the Fujitsu Lifebook S6120.
crwdns2942213:0crwdne2942213:0
-
-
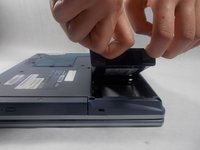
Push the two tabs in towards the laptop.
-
Lift the battery up and out from the frame of the laptop.
-
-
-
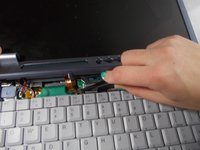
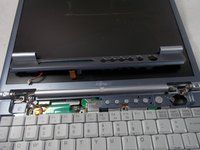
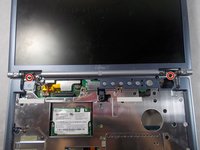
Use a plastic opening tool to lift the back of the hinge cover on the left and right sides of the computer.
-
-
crwdns2935267:0crwdne2935267:0Tweezers$4.99
-
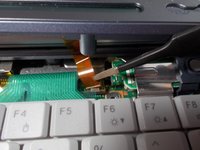
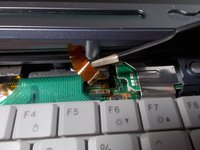
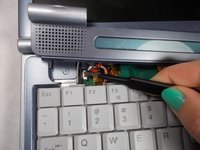
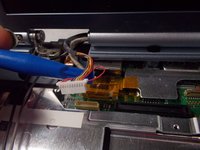
Use the tweezers to disconnect the ribbon cable from the motherboard.
-
-
-
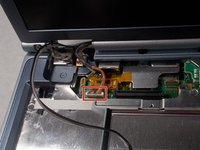
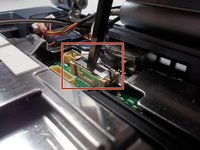
With the tweezers detach hinge cover cables from the motherboard.
-
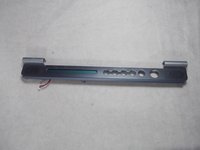
Remove hinge cover.
-
-
-
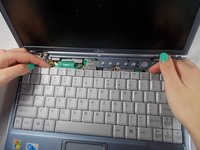
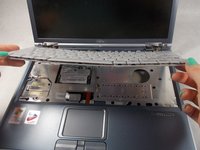
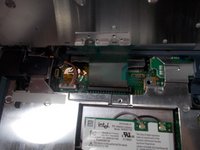
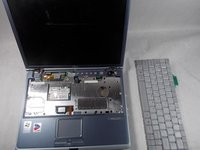
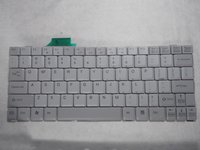
Lift keyboard enough to show the ribbon cable.
-
-
-
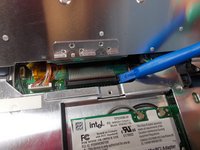
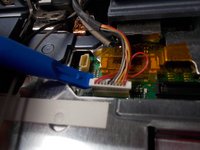
Use a plastic opening tool to release the ribbon cable from the motherboard.
-
-
-
-
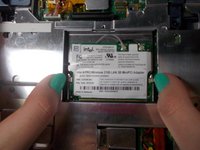
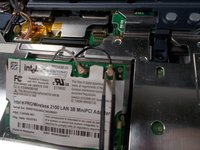
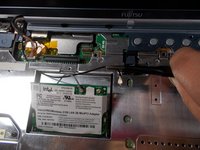
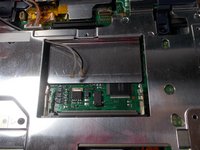
Push the secure clips outward.
-
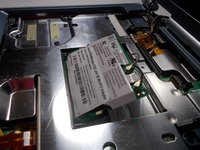
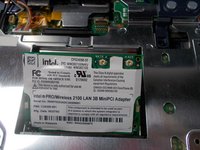
The Adapter should pop up.
-
-
crwdns2935267:0crwdne2935267:0Tweezers$4.99
-
Use tweezers to remove the wires from the Adapter.
-
-
-
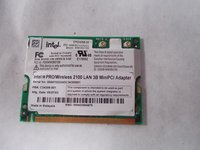
Take out the Adapter and carefully pull the wires out from the metal casing.
-
-
-
Remove the 4mm screws from the laptop with a Philips head #0
-
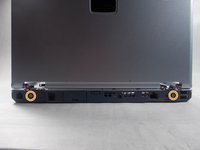
Remove the 4.5mm screws on the back of the laptop with a Philips #0
-
-
-
Use a plastic opening tool to lift up both sides of the white tab.
-
-
crwdns2935267:0crwdne2935267:0Tweezers$4.99
-
Use tweezers to grab onto the lever to remove the chip from the motherboard.
-
-
-
Remove rubber tabs with hands
-
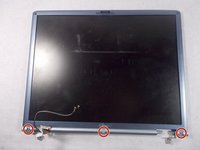
Use a Philips head #0 to remove the 3mm screws
-
-
-
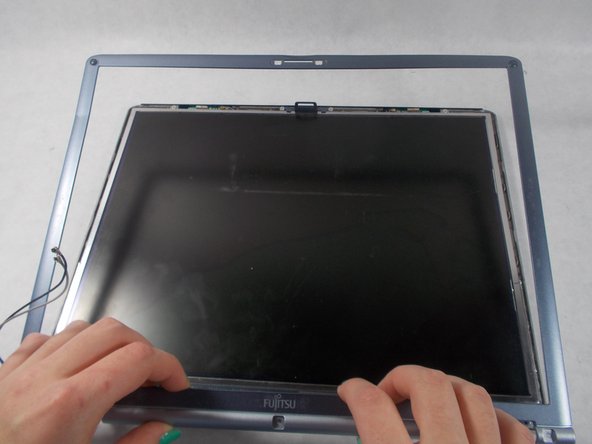
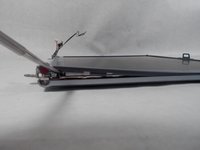
Use the metal spudger to pry up the edge of the plastic casing up.
-
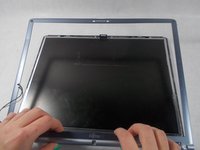
Remove the plastic frame from the screen.
-
-
-
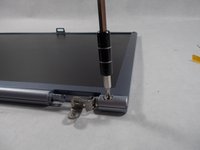
Remove the 3mm screws with a Philips head #00
-
-
-
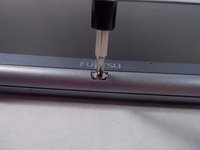
Remove the 2.5mm screws with a Philips head #0 on both sides of the laptop
-
-
-
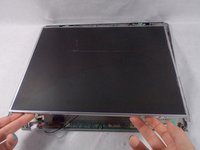
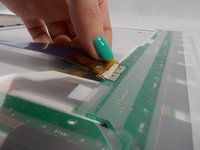
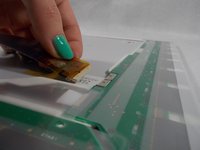
Remove the ribbon from the back of the screen
-
-
-
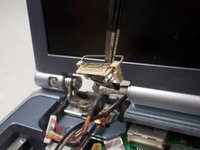
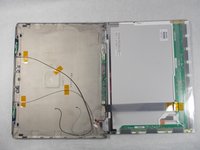
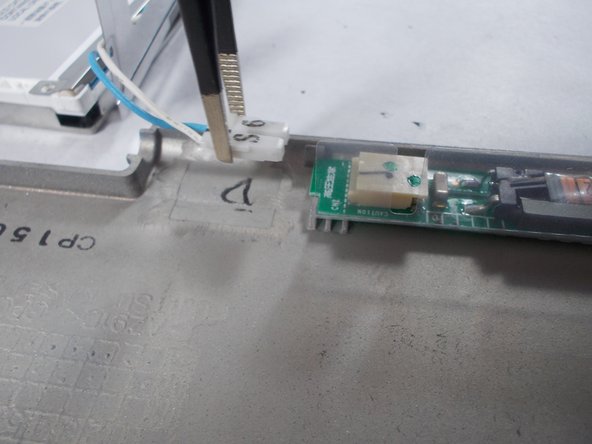
Use a pair of tweezers remove the white connector
-
To reassemble your device, follow these instructions in reverse order.


