crwdns2915892:0crwdne2915892:0
If the LCD screen is damaged or malfunctioning, replacing with a new one may solve the issue. Most of the camera has to be taken apart in order to remove the screen.
crwdns2942213:0crwdne2942213:0
-
-
Push down on the center button and turn the dial on the side counterclockwise to open the battery compartment.
-
-
-
Pull the orange tab towards the hinge to release the battery.
-
-
-
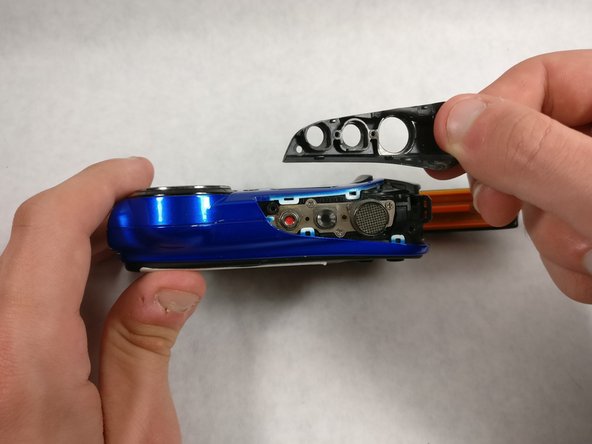
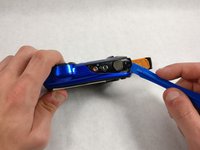
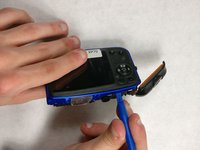
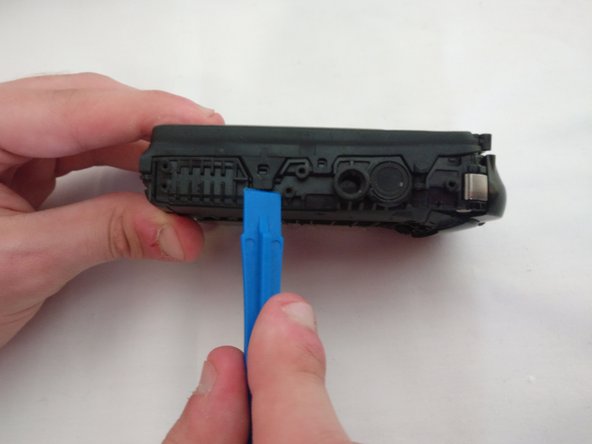
Pry the black button plate off using a plastic opening tool.
-
-
-
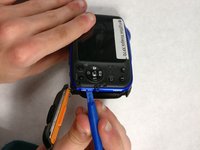
Remove one Phillips screw with a Phillips head 0 screwdriver
-
Remove one hex head screw with a hex 1.3 screwdriver bit.
-
-
-
-
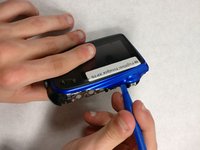
Unscrew two 4.0mm long hex head screws with a hex 1.3 screwdriver bit.
-
-
-
Unscrew five 4.0mm screws with a Phillips head 0 screwdriver
-
-
-
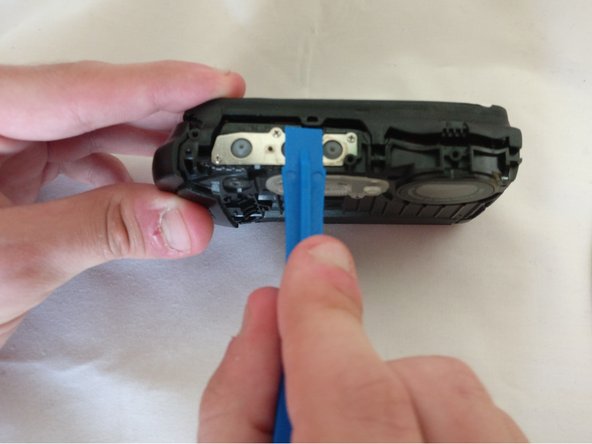
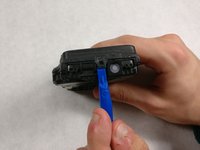
Pry the black bottom plate off using a plastic opening tool.
-
-
-
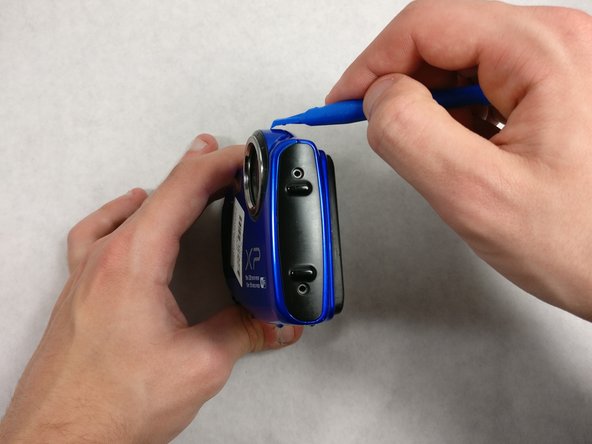
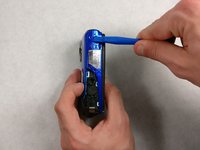
Pry the front plate off using a plastic opening tool.
-
-
-
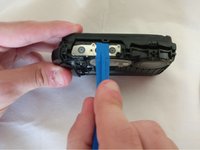
Pry the back plate off with a plastic opening tool
-
-
-
Pry the two latches off using a spudger.
-
-
-
Pry the remaining latches with a plastic opening tool.
-
-
-
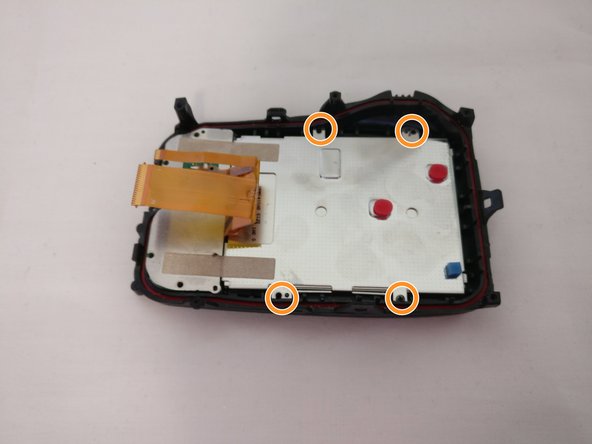
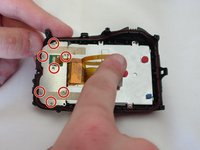
Unscrew seven 4.0 mm screws with a Phillips 00 screwdriver.
-
Unscrew four 3.0 mm screws with a Phillips 00 screwdriver..
-
-
-
Use the plastic opening tool to gently lift the LCD screen up.
-


To reassemble your device, follow these instructions in reverse order.
To reassemble your device, follow these instructions in reverse order.
crwdns2915084:0crwdne2915084:0

UMass Dartmouth, Team S7-G3, Julie Spring 2017 crwdns2935289:0UMass Dartmouth, Team S7-G3, Julie Spring 2017crwdne2935289:0
UMASSD-JULIE-S17S7G3
crwdns2931471:04crwdne2931471:0
crwdns2935297:012crwdne2935297:0