crwdns2942213:0crwdne2942213:0
-
-
Remove the 7 screws on the perimeter of the camera body.
-
-
-
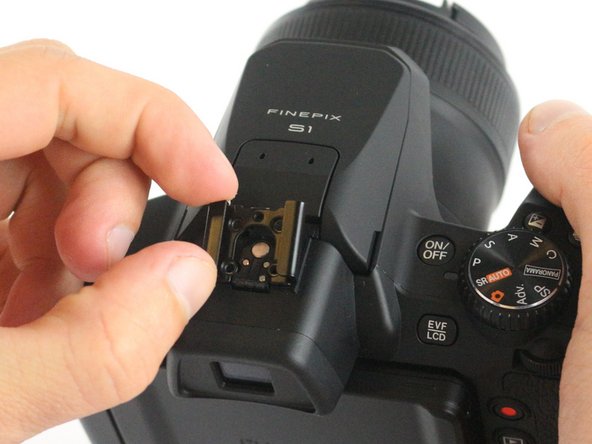
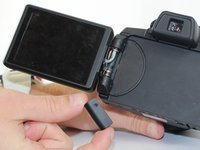
Remove the flash accessory cap.
-
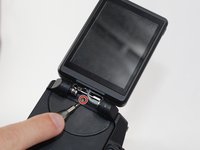
Remove the spacer covering the screws under the flash accessory cap.
-
-
-
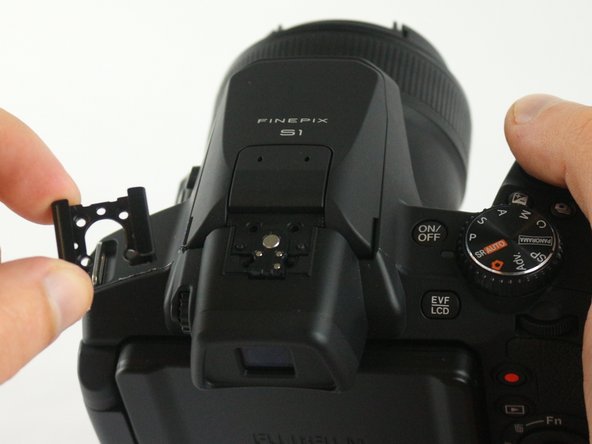
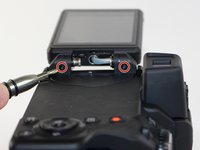
Remove the 4 screws from the inside of the flash accessory slot.
-
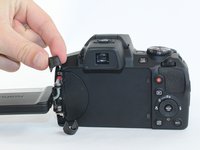
Pull off the flash accessory slot.
-
-
-
-
Remove the screw from LCD Screen hinge cover.
-
Remove the LCD Screen hinge cover.
-
-
-
Remove the 3 screws located on the LCD screen hinge.
-
Remove the caps from both ends of the LCD screen hinge by lifting them off.
-
-
-
Remove the 2 screws from under the LCD hinge caps.
-
-
-
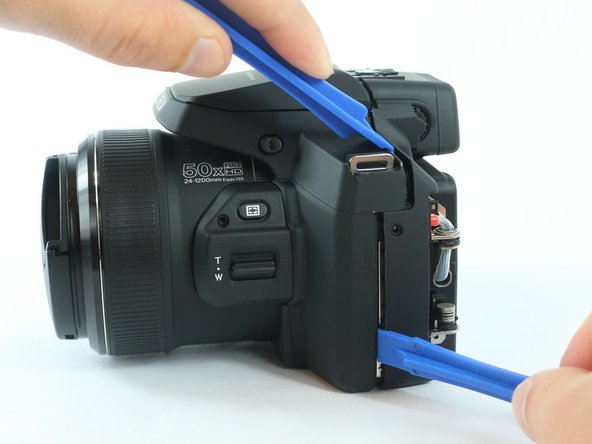
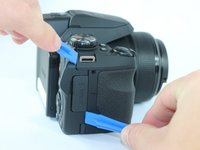
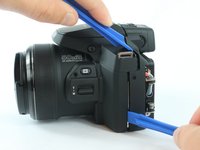
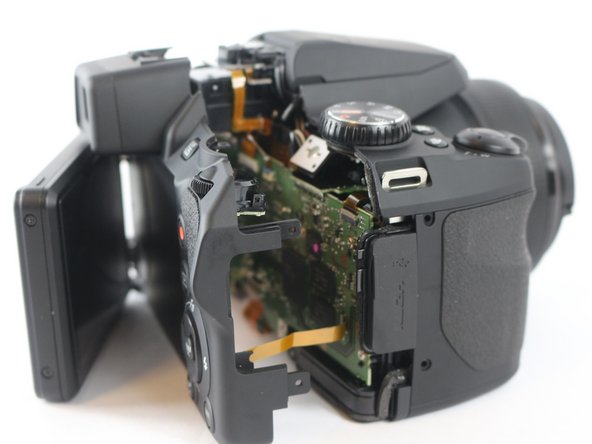
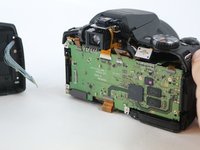
Pry apart the back body from the rest of the camera.
-
-
-
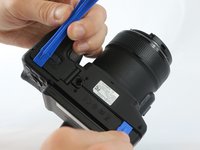
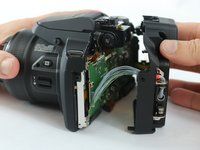
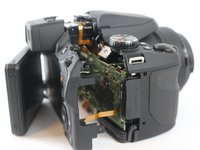
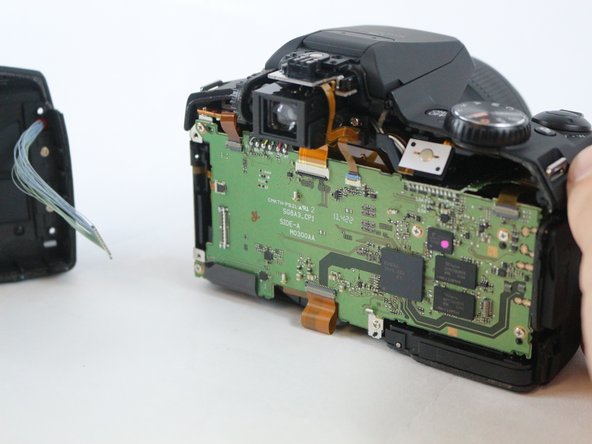
Carefully pull the back body off of the camera.
-
-
-
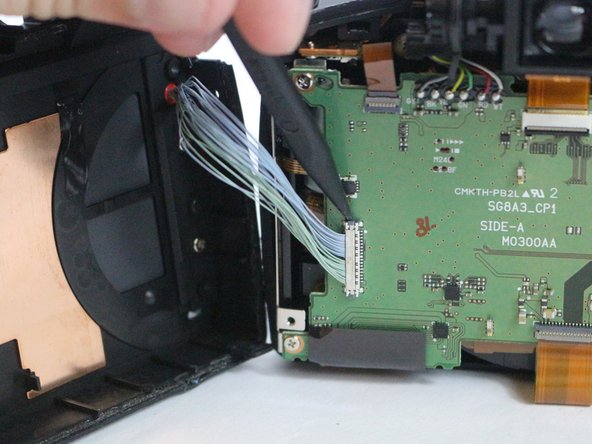
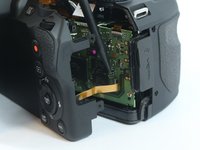
Use a spudger to lift up on the tab, releasing the yellow wire strip.
-
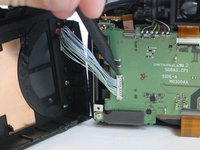
Use a spudger to lift up on the side tab, releasing the blue wire connection.
-


To reassemble your device, follow these instructions in reverse order.
To reassemble your device, follow these instructions in reverse order.
crwdns2915084:0crwdne2915084:0

USF Tampa, Team 3-6, Sullivan Spring 2016 crwdns2935289:0USF Tampa, Team 3-6, Sullivan Spring 2016crwdne2935289:0
USFT-SULLIVAN-S16S3G6
crwdns2931471:04crwdne2931471:0
crwdns2935297:012crwdne2935297:0