crwdns2915892:0crwdne2915892:0
The lens housing securely locks the lens in place. A damaged lens housing can not hold the lens, the quality of the pictures taken by the camera will be affected. If the quality of your pictures is not what it should be, follow this guide to properly replace the lens housing.
The camera will be completely open during this repair. Make sure to carefully follow the pictures in each step to assure you are dealing with the correct parts.
crwdns2942213:0crwdne2942213:0
-
-
Use a #00 Phillips screwdriver to remove all six screws around the camera that is holding the case.
-
-
-
Use a plastic pick to separate each side of the camera case apart.
-
-
-
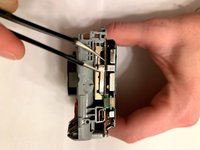
Remove the ribbon cable from the side of the logic board.
-
-
-
-
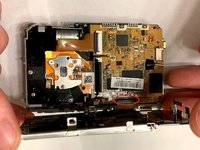
Remove the four metal clips around the camera until you can feel the metal bracket that holds the screen pop off.
-
-
-
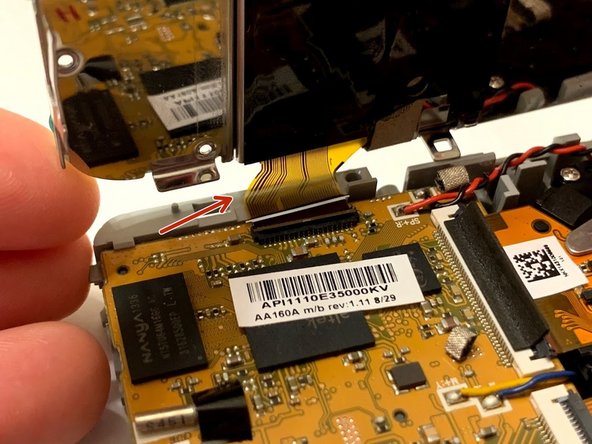
Carefully flip the screen and remove the ribbon cable attaching it to the logic board.
-
-
-
Remove the three screws holding the sensor.
-
-
-
Remove the sensor ribbon cable from the logic board.
-
-
-
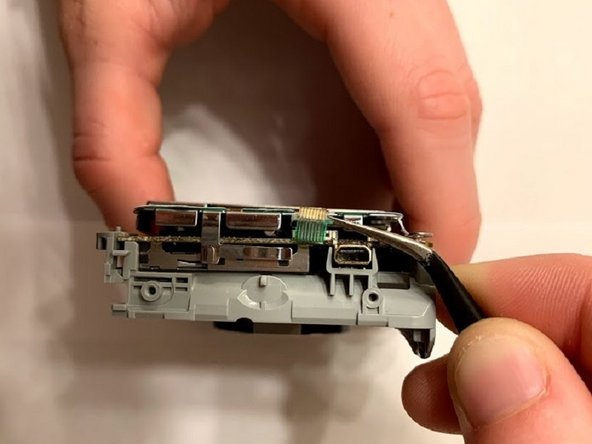
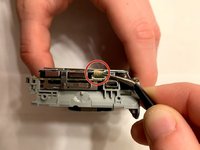
Remove the lens housing ribbon cable.
-
-
-
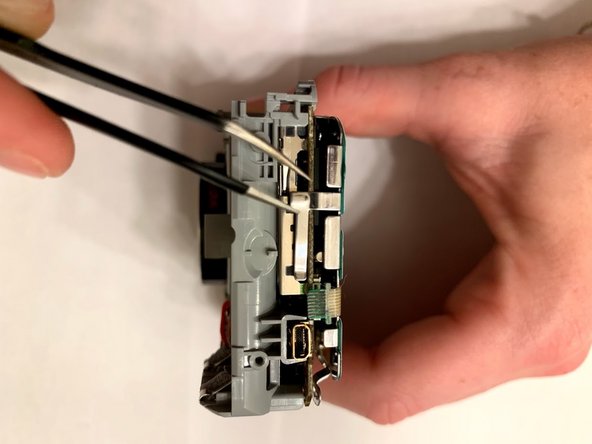
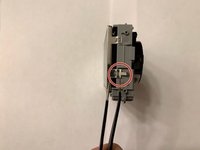
Remove the lens housing by moving the gray clip holding the unit.
-


To reassemble your device, follow these instructions in reverse order.
crwdns2935287:0crwdne2935287:0

Embry-Riddle Aeronautical University, Team S23-G6, McClure Fall 2019 crwdns2935289:0Embry-Riddle Aeronautical University, Team S23-G6, McClure Fall 2019crwdne2935289:0
ERAU-MCCLURE-F19S23G6
crwdns2931471:06crwdne2931471:0
crwdns2935297:010crwdne2935297:0