crwdns2915892:0crwdne2915892:0
The LCD is one of the most critical parts on the camera. This guide will show you how to remove the back panel of the camera in order to replace a faulty LCD screen.
crwdns2942213:0crwdne2942213:0
-
-
Remove the two 3.5 mm Phillips #1 screws in these positions on the left side of the camera with a screwdriver.
-
-
-
Remove the three 3.5 mm Phillips #1 screws in these locations on the bottom of the camera with a screwdriver.
-
-
-
Remove the four 3.5 mm Phillips #1 screws in these positions on the right side of the camera with a screwdriver.
-
-
-
-
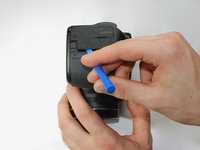
Use a plastic opening tool to separate the back panel from the camera on the left side.
-
-
-
Use a plastic opening tool to separate the back panel from the camera on the bottom.
-
-
-
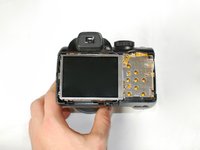
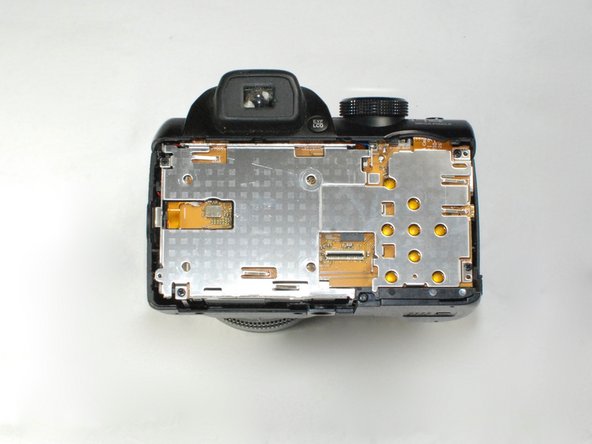
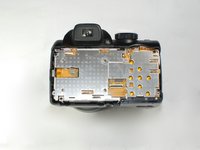
Use a plastic opening tool to separate the back panel from the camera on the left side, then remove the back panel from the camera.
-
-
-
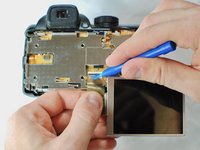
Use a plastic opening tool to separate the LCD screen from the camera.
-
-
-
Flip up the black tab holding the LCD ribbon wire in place and remove wire.
-


To reassemble your device, follow these instructions in reverse order.
crwdns2935221:0crwdne2935221:0
crwdns2935227:0crwdne2935227:0
crwdns2935287:0crwdne2935287:0

Cal Poly, Team 9-4, Banghart Winter 2017 crwdns2935289:0Cal Poly, Team 9-4, Banghart Winter 2017crwdne2935289:0
CPSU-BANGHART-W17S9G4
crwdns2931471:04crwdne2931471:0
crwdns2935297:011crwdne2935297:0