crwdns2915892:0crwdne2915892:0
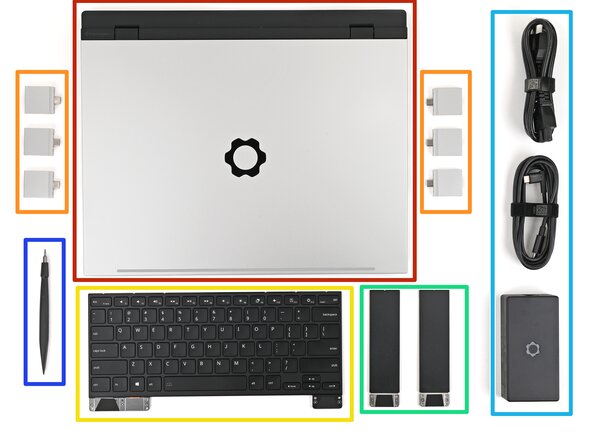
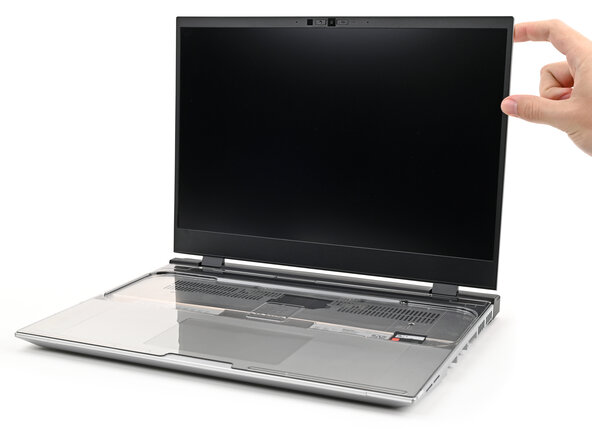
Congratulations on getting the Framework Laptop 16 Pre-Built Edition! Follow this quick start guide to assemble your laptop and get it running.
-
-
Framework Laptop chassis with pre-installed Mid Plate, Bezel, Memory, Storage, Touchpad Module, and Touch Spacers.
-
Expansion Cards
-
Keyboard
-
Input Modules
-
Power Adapter
-
Framework Screwdriver
-
-
-
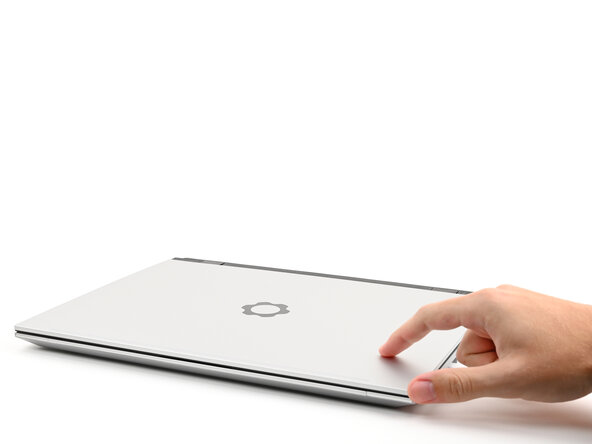
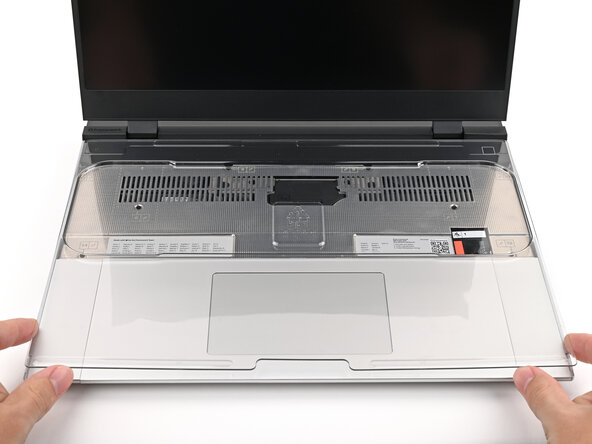
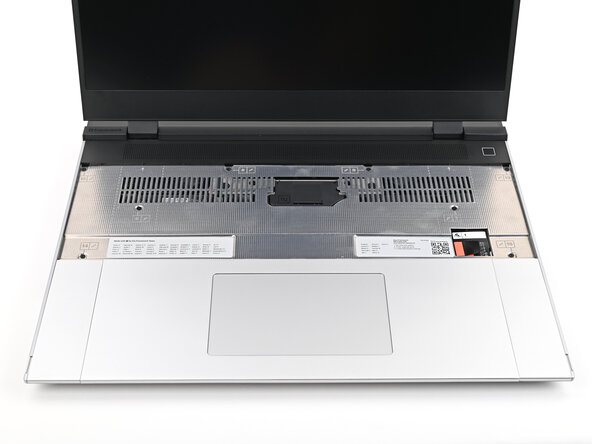
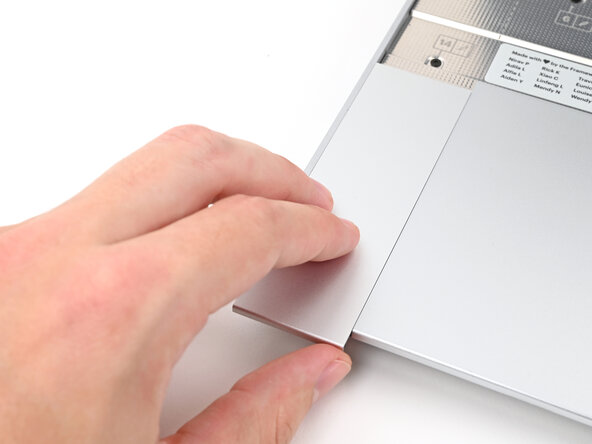
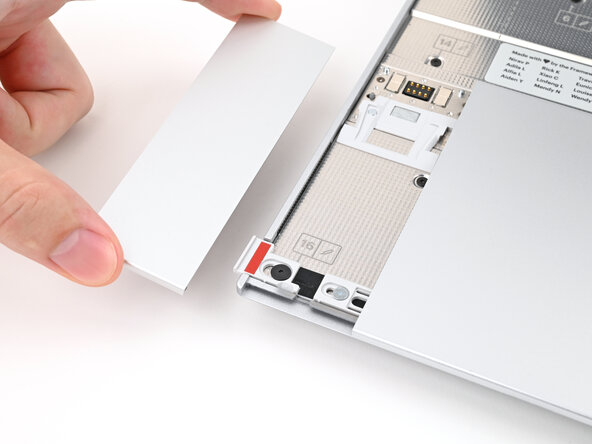
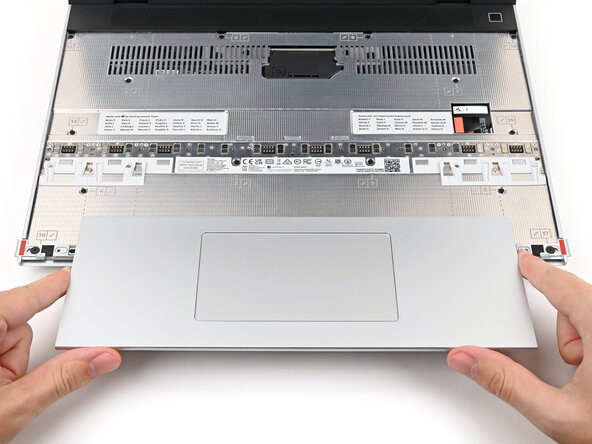
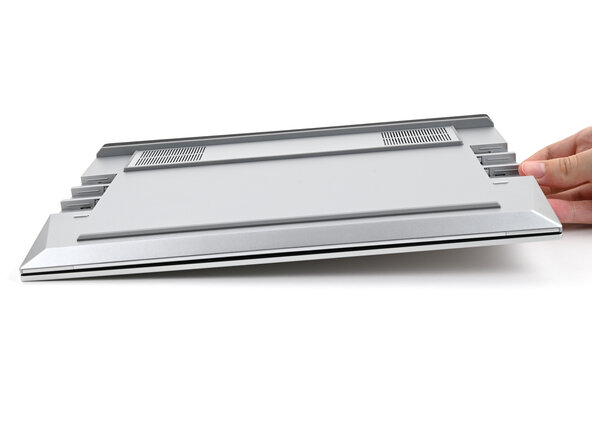
Remove the plastic cover.
-
-
-
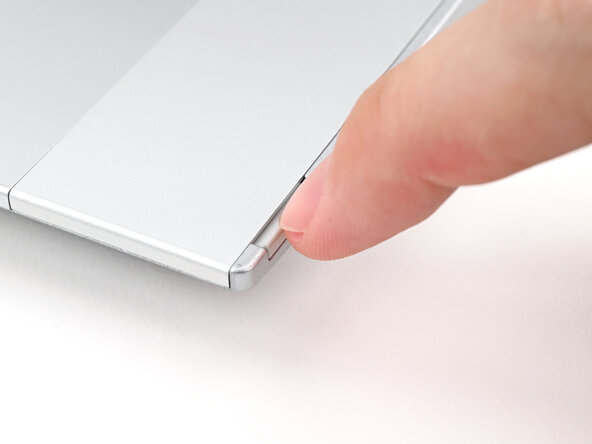
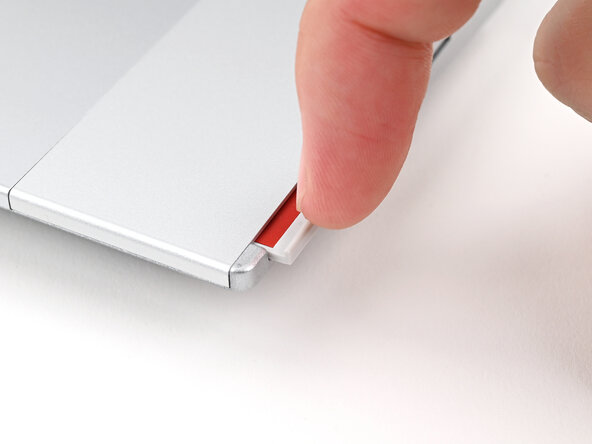
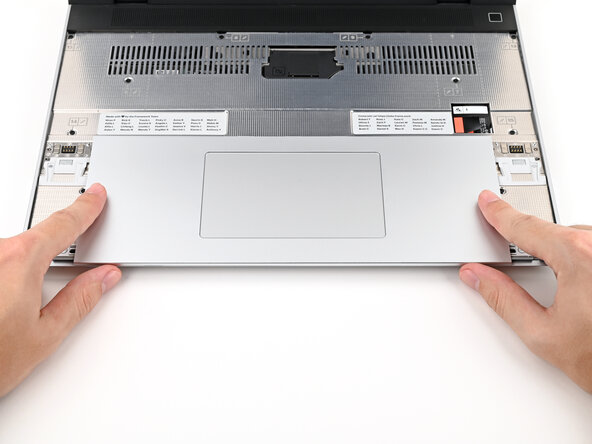
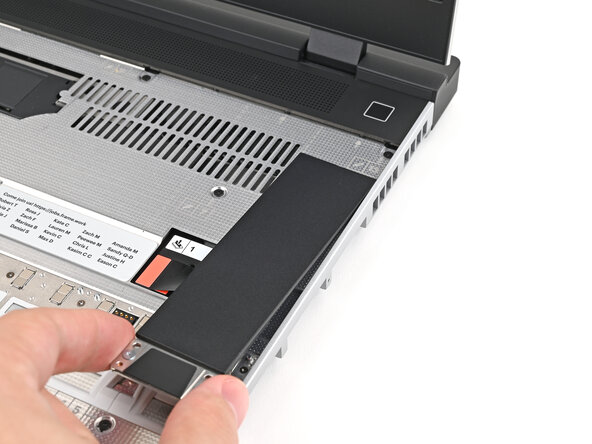
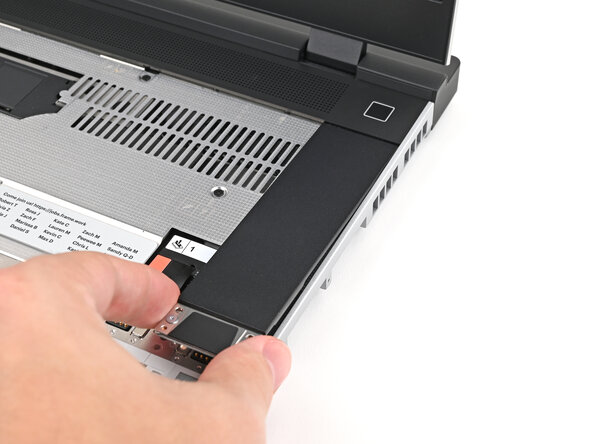
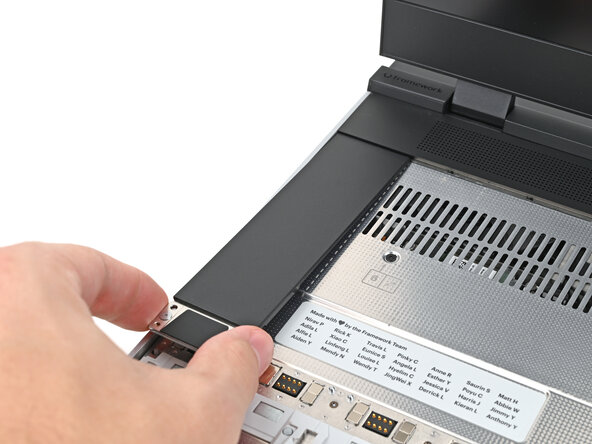
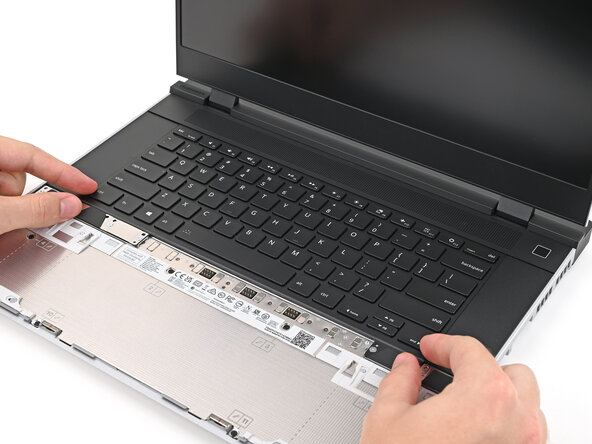
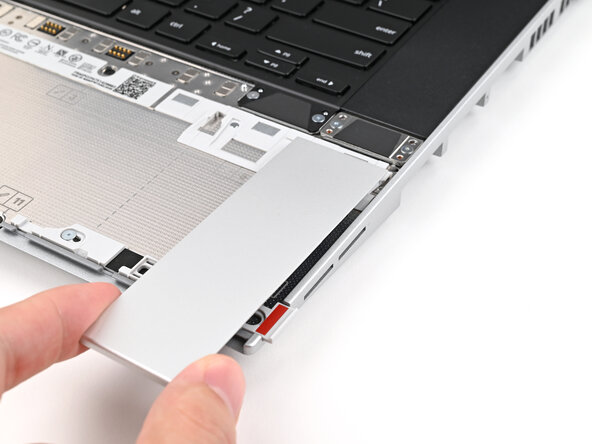
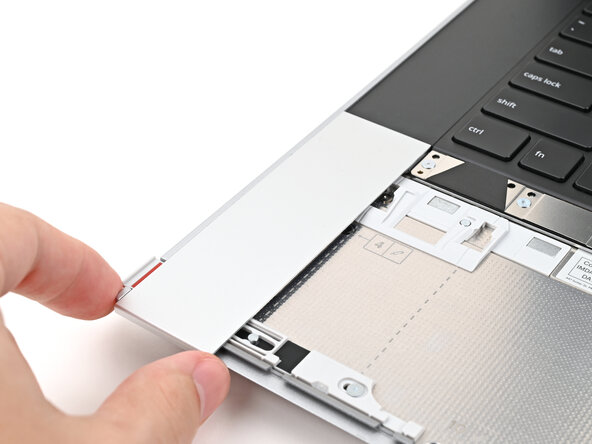
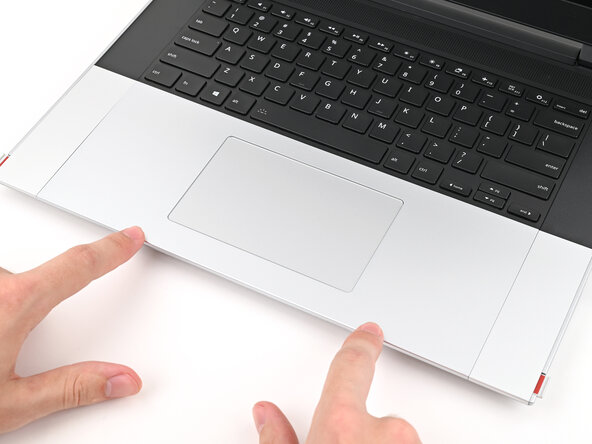
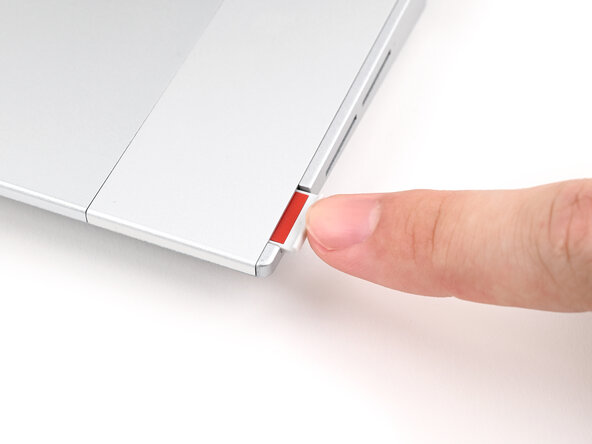
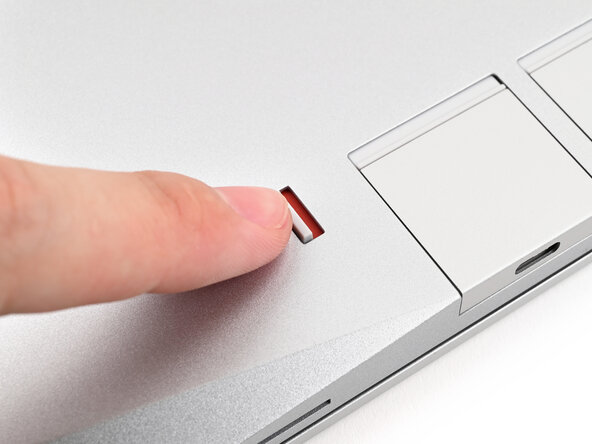
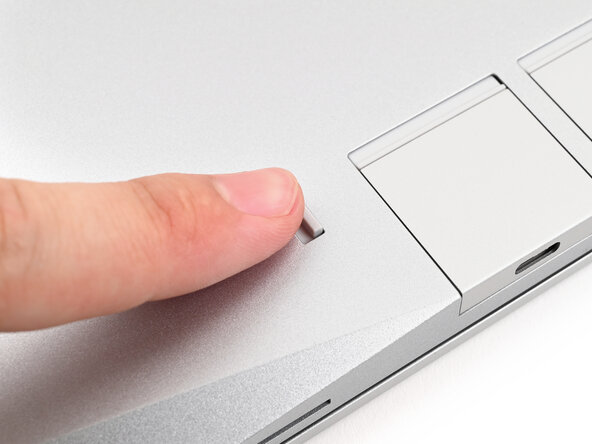
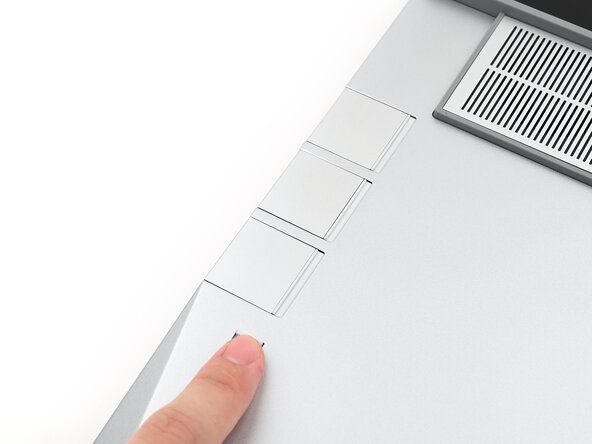
Use your fingernail to pull out the Input Module latch and unlock the Touchpad Spacer next to it.
-
-
-
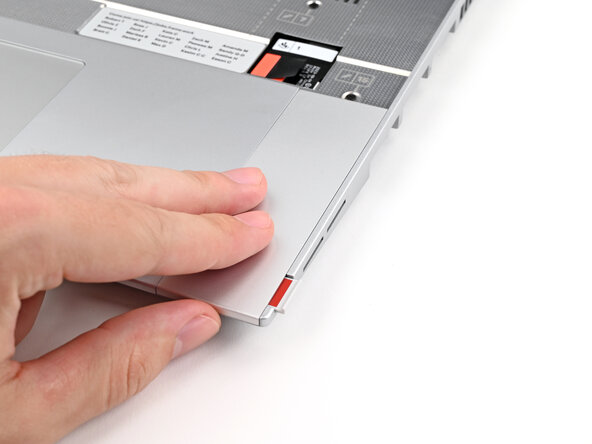
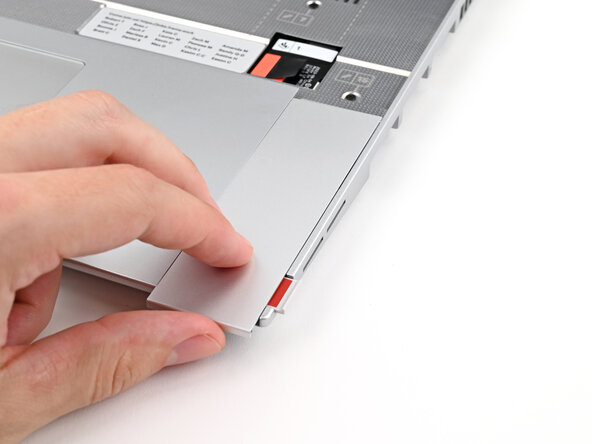
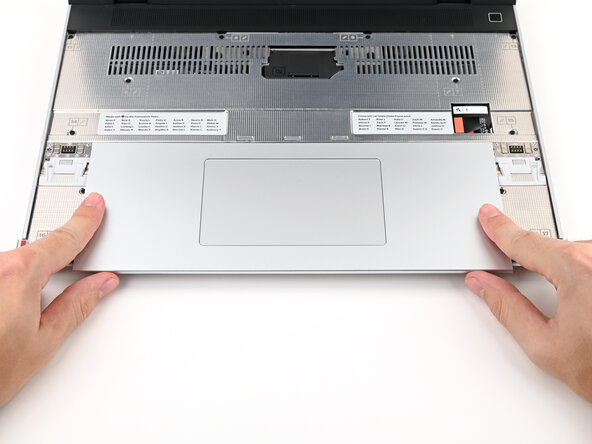
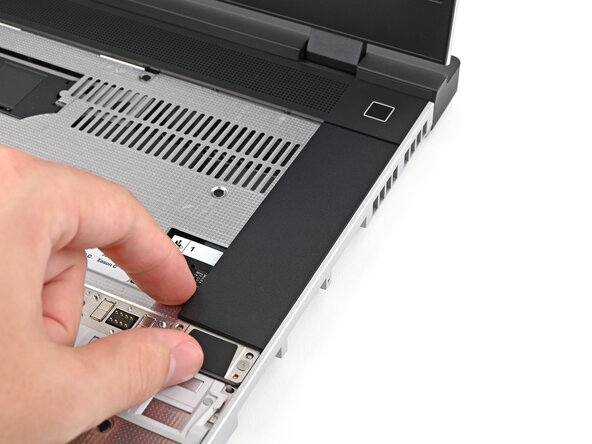
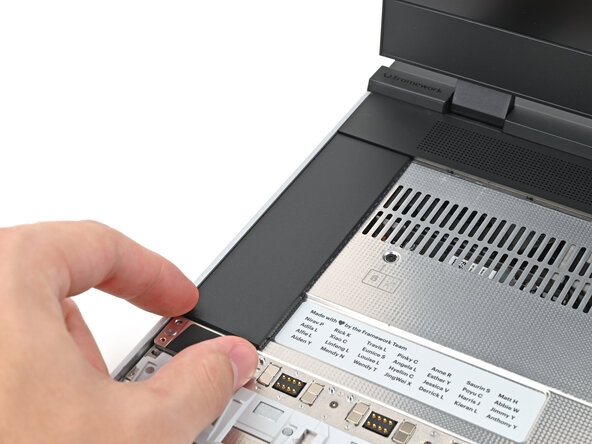
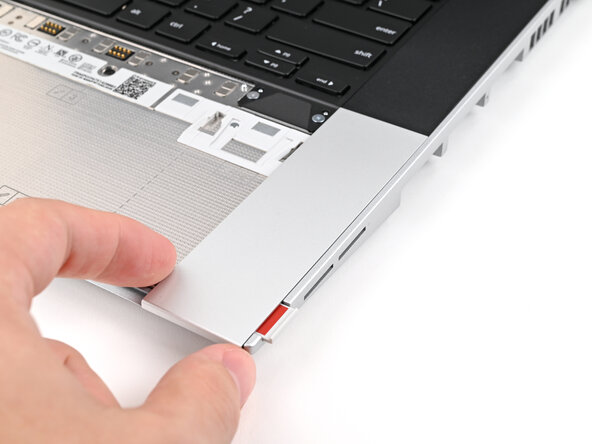
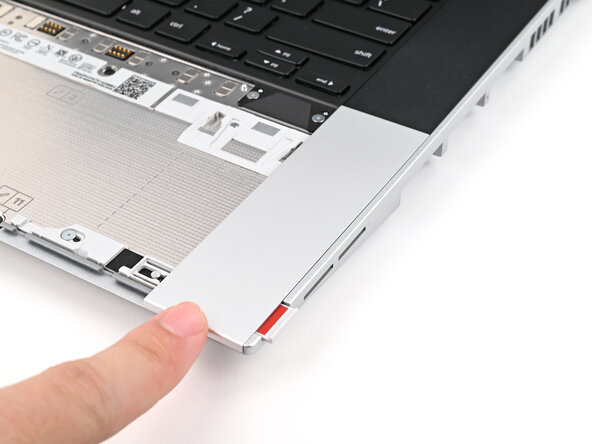
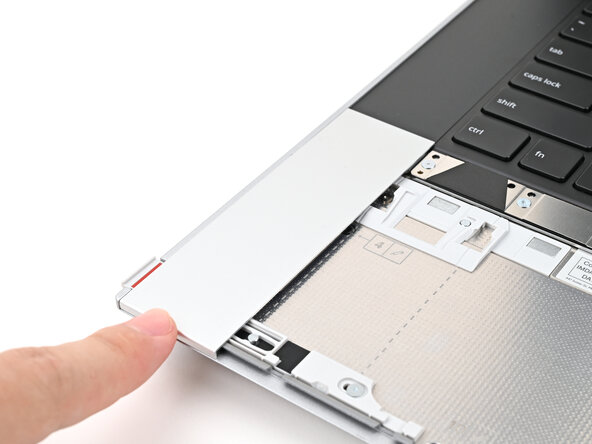
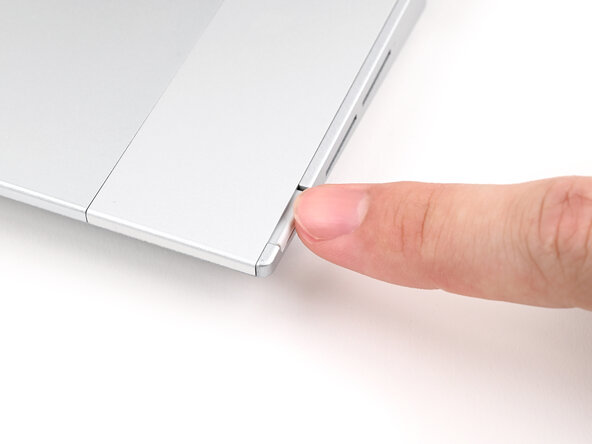
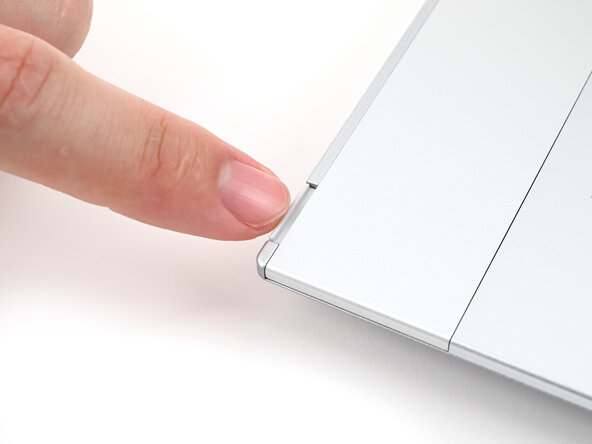
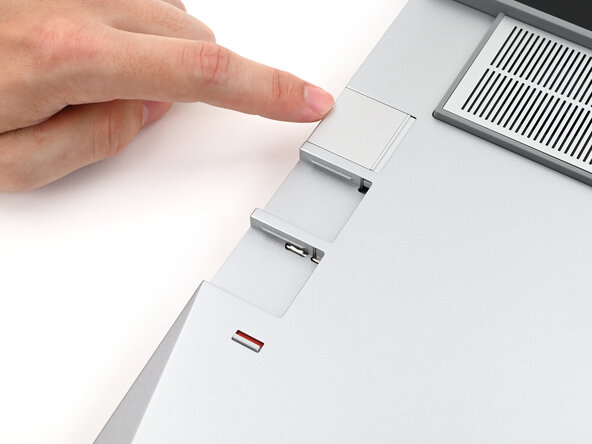
Use your fingers to slide the Touchpad Spacer toward the bottom edge of the laptop and unclip it.
-
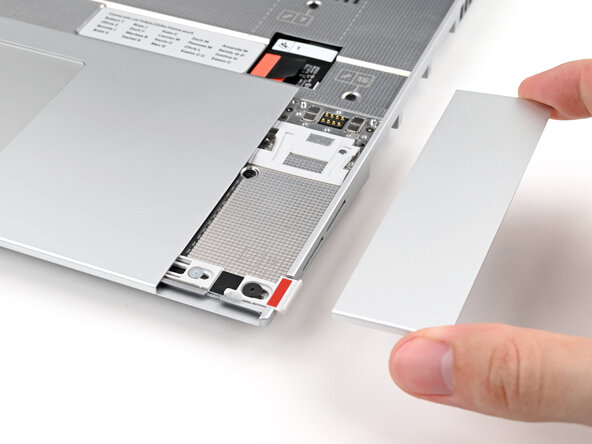
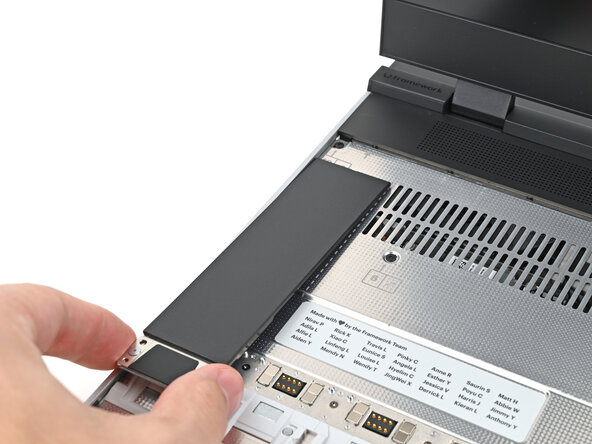
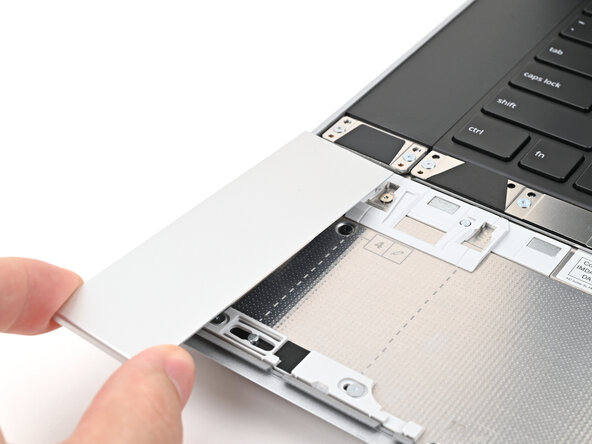
Lift the Touchpad Spacer off the laptop and remove it.
-
-
-
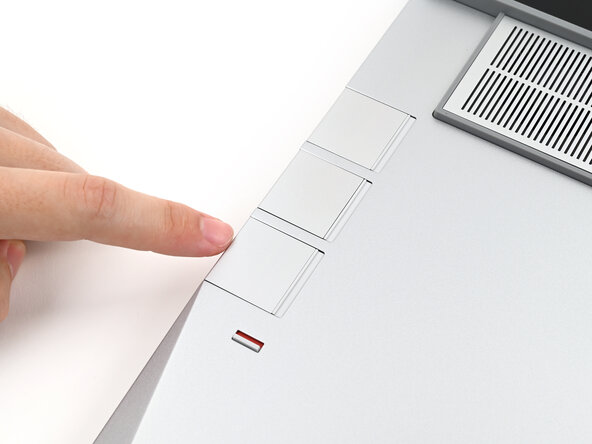
Repeat the previous two steps to remove the other Touchpad Spacer.
-
-
-
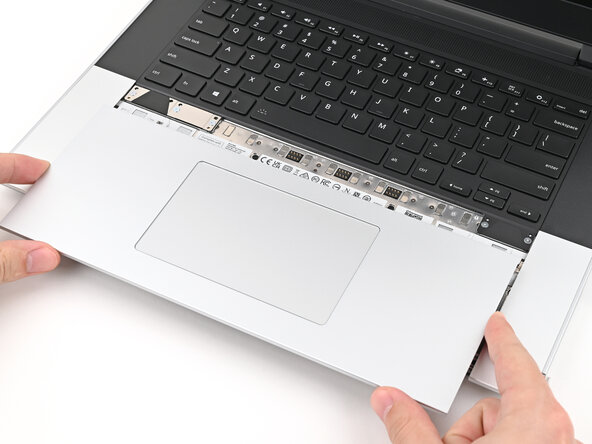
Use your fingers to slide the Touchpad Module toward the bottom edge of the laptop and disconnect it.
-
Lift the Touchpad Module and remove it.
-
-
-
-
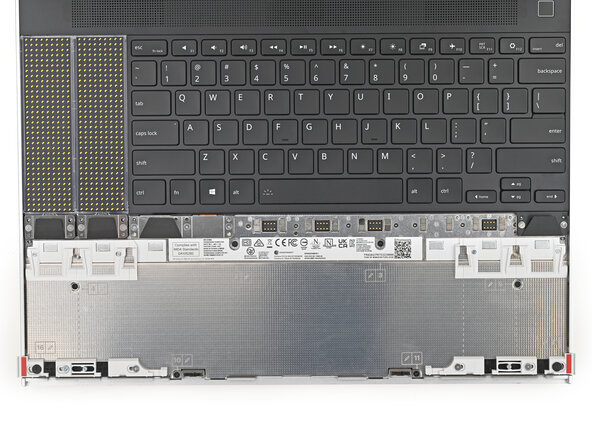
Hold the Input Module at a slight downward angle and align it with one of the dotted lines on the Mid Plate.
-
Slide the top lip of the Input Module underneath the ventilation plate and lay the module down flat to let the magnets pull it into place.
-
-
-
Repeat the previous step for the other Input Module.
-
-
-
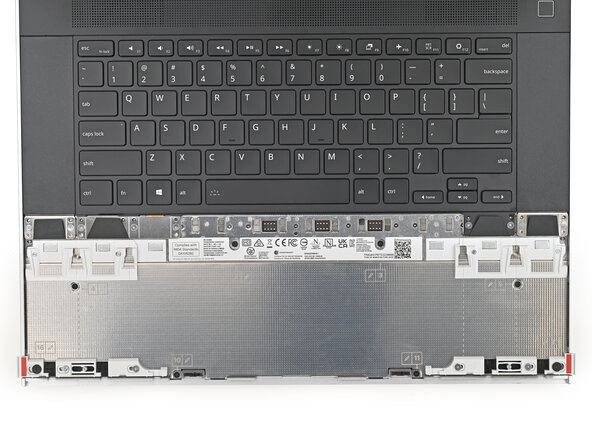
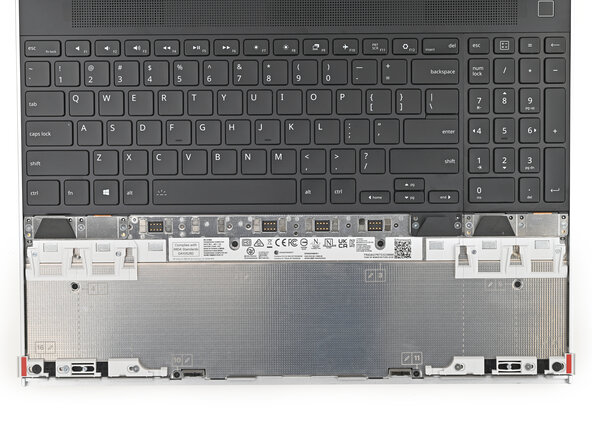
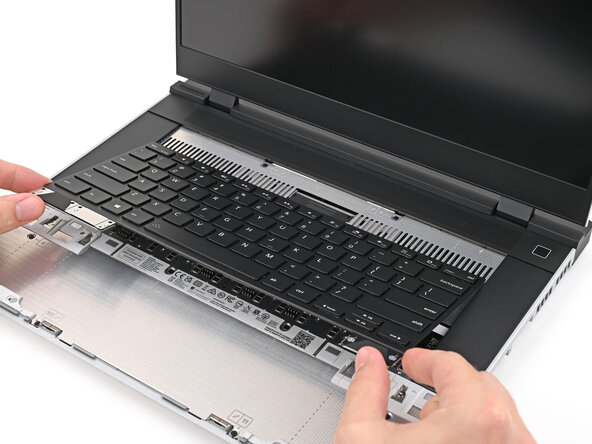
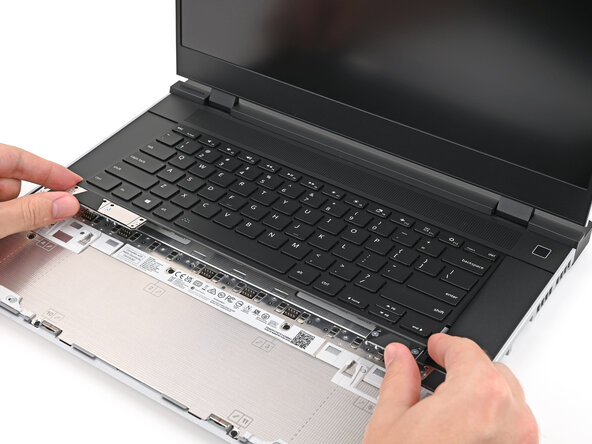
Hold the keyboard at a slight downward angle and align it with two of the dotted lines on the Mid Plate.
-
Slide the top lip of the keyboard underneath the ventilation plate and lay the keyboard down flat to let the magnets pull it into place.
-
-
-
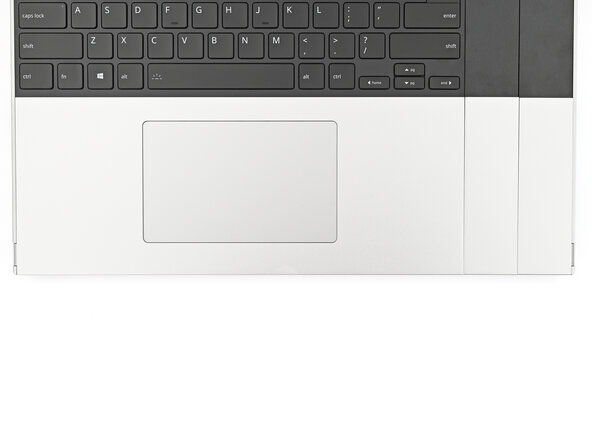
Place the Touchpad Spacer over its spot on the laptop with the bottom edge overhanging slightly.
-
Slide the Touchpad Spacer towards the top of the laptop to secure it.
-
-
-
Repeat the previous step for the other Touchpad Spacer.
-
-
-
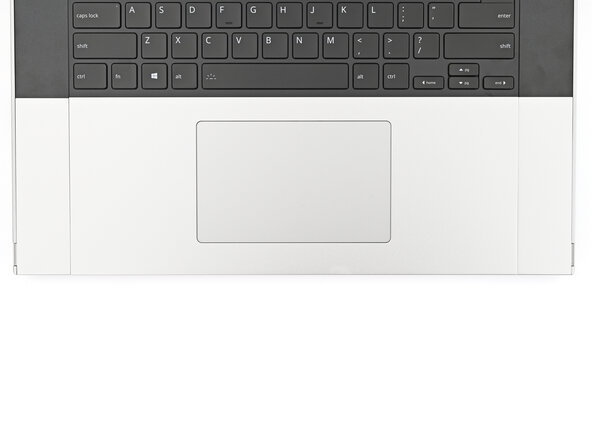
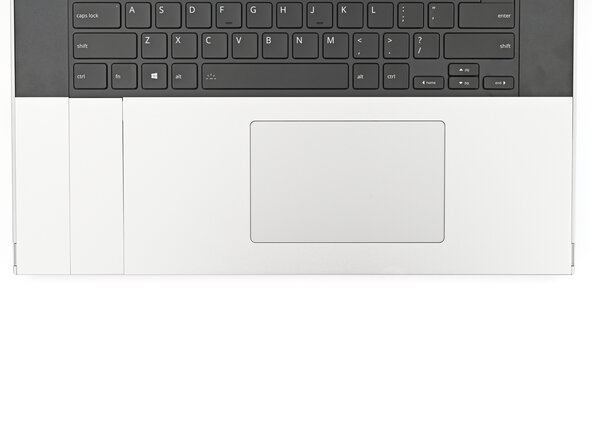
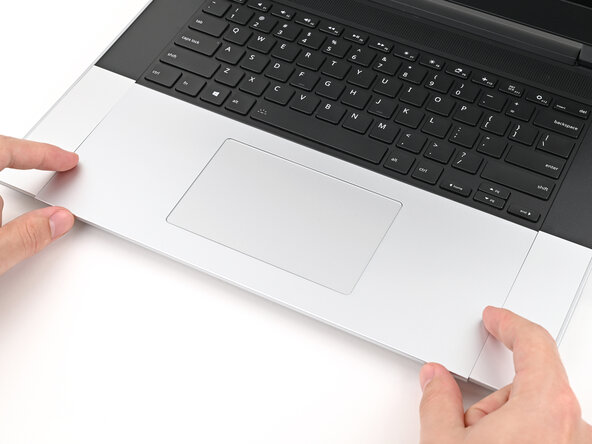
Place the Touchpad Module flat on its cutout so its clips are properly aligned.
-
Press the Touchpad Module down and slide it into place so it lines up evenly with the bottom edge of the laptop.
-
-
-
Push the Input Module latches back into place to lock them.
-
-
-
Close the laptop and flip it over.
-
-
-
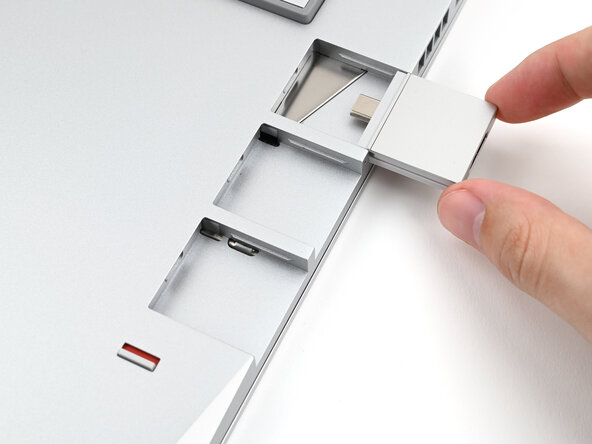
Slide an Expansion Card into an Expansion Card slot.
-
Repeat for the remaining Expansion Cards along that edge.
-
-
-
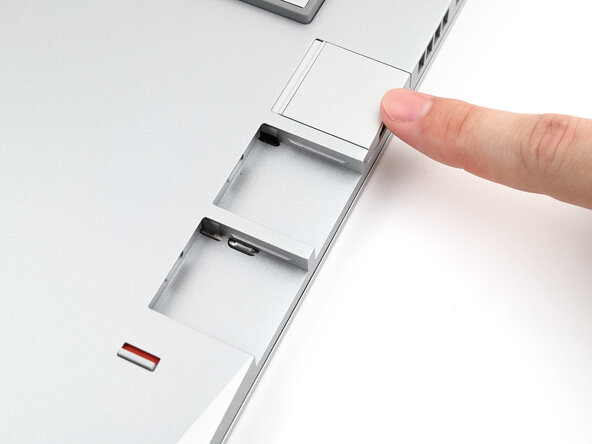
If there's a red bar showing under the Expansion Card latch, use your finger to flip the latch and lock the row of Expansion Cards above it.
-
-
-
Repeat the previous two steps for the other row of Expansion Cards.
-
-
-
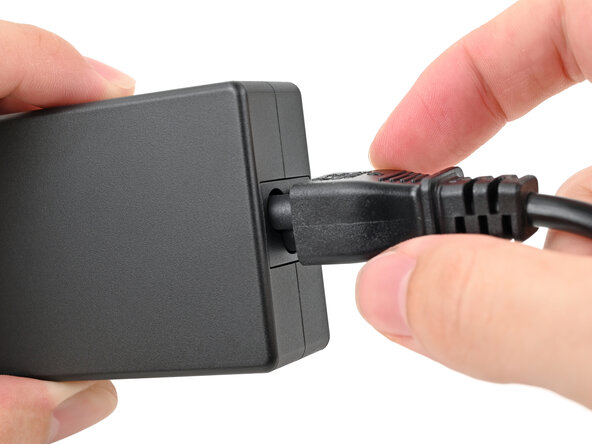
Plug the AC Cable into the Power Adapter.
-
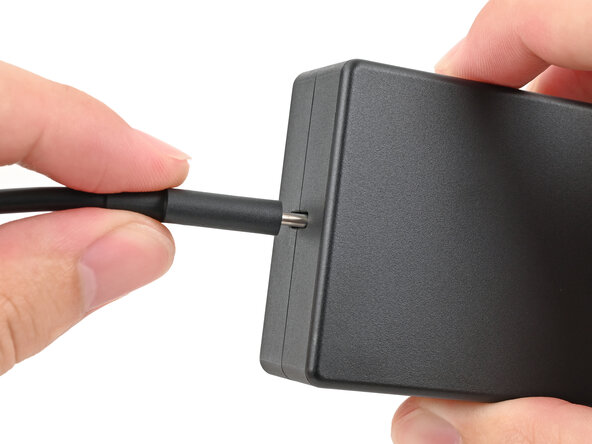
Plug the USB-C Cable into the Power Adapter.
-
Plug the AC Cable into a power outlet.
-
-
-
Your Framework Laptop ships in shipping mode, where the battery is disabled until you plug the laptop in for the first time.
-
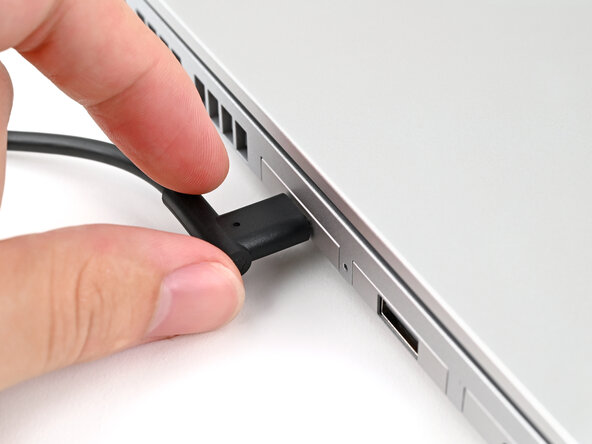
Plug the USB-C Cable into any USB-C port on your laptop.
-
-
-
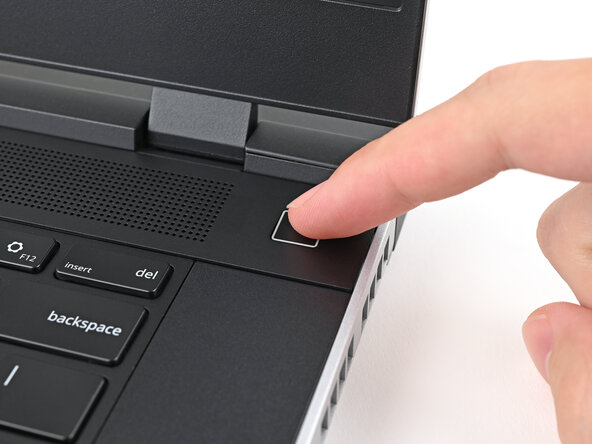
Your Framework Laptop is ready for use! Open the lid and press the power button at the top right corner of the laptop.
-


For drivers, firmware, and software updates, check out this page.
If you need help, contact Framework support.
For drivers, firmware, and software updates, check out this page.
If you need help, contact Framework support.
