crwdns2915892:0crwdne2915892:0
A set of removal steps that install the display while the entire top cover's disconnected.
The installation version of Loosen the Display (separated).
crwdns2942213:0crwdne2942213:0
-
-
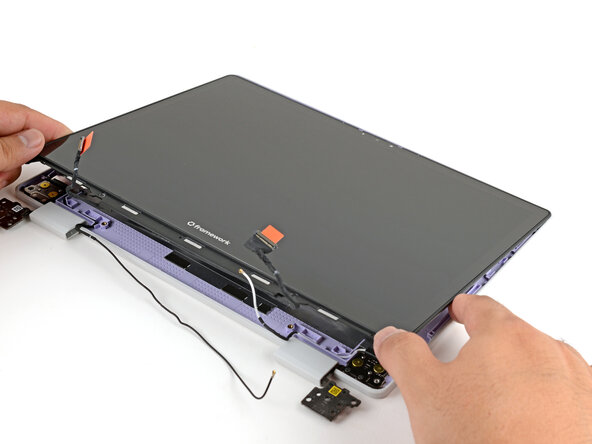
Lay the display in place in the Top Cover, such that the top edge of the display is slightly below the top edge of the Top Cover.
-
-
-
Use your fingers to slide the display upwards to latch the tabs on the top edge of the display.
-
-
-
Use your Framework Screwdriver to install the four 3.3 mm‑long T5 Torx screws to secure the display to the Top Cover.
-
-
-
-
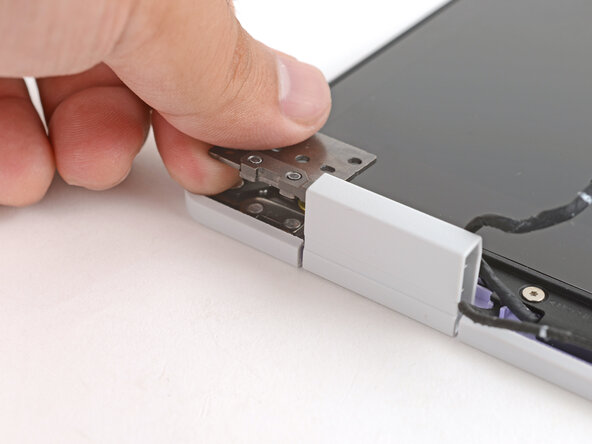
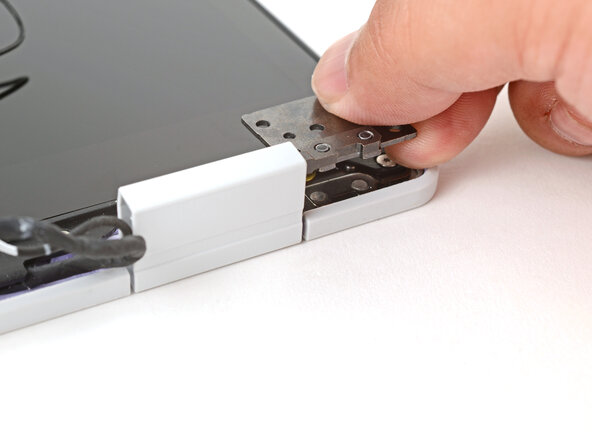
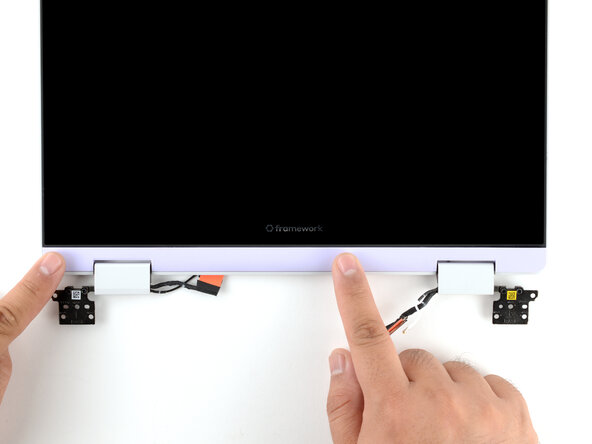
Use your fingers to twist both hinge plates so they're flipped over the display.
-
-
-
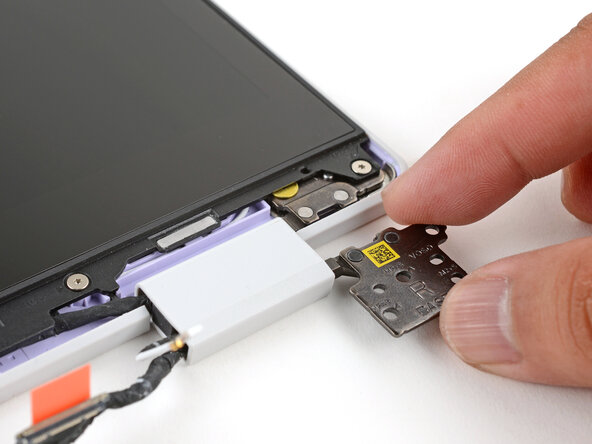
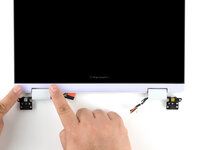
Place the cable clip around the right hinge cables, where they were bent from being inserted into the hinge.
-
Use your fingers to press the clip into the hinge to secure the cables.
-
-
-
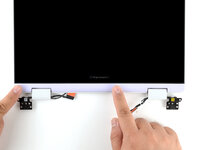
Repeat the procedure on the left hinge to secure the left cables.
-
-
-
Make sure both cable clips are fully inserted into the hinges, so that they won't be snagged when the hinges pivot.
-
-
-
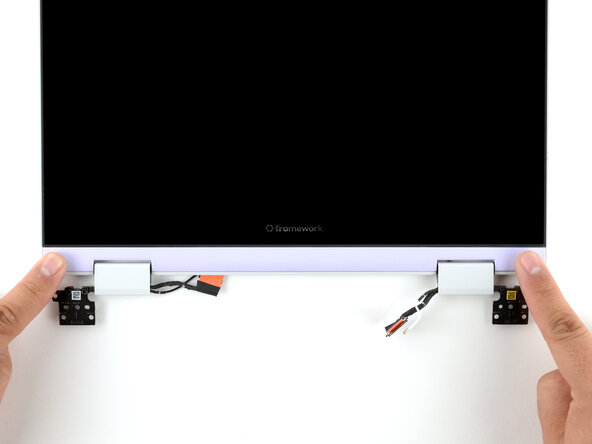
Use your fingers to twist both hinge plates so that they lay flat on your work surface.
-
-
-
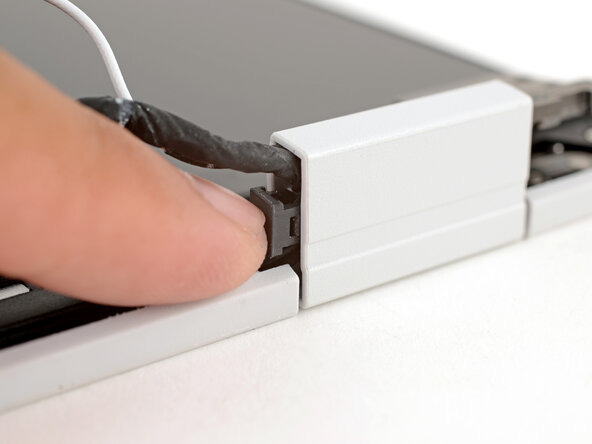
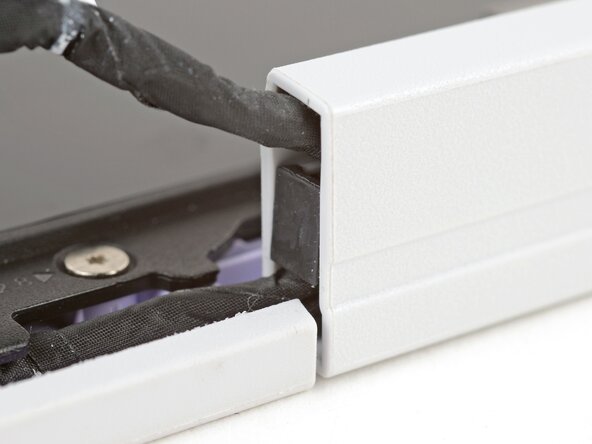
Lay the Display Cover in place below the display.
-
Use your finger to press along the length of the Display Cover to snap it onto the laptop.
-