crwdns2915892:0crwdne2915892:0
Congratulations on getting the Framework Laptop 12 DIY Edition! Follow this quick start guide to assemble your laptop and get it running.
If you got the pre-built Framework Laptop, follow this quick start guide instead.
You'll encounter some component terms in this guide:
- The Input Cover is the part that contains the keyboard and trackpad.
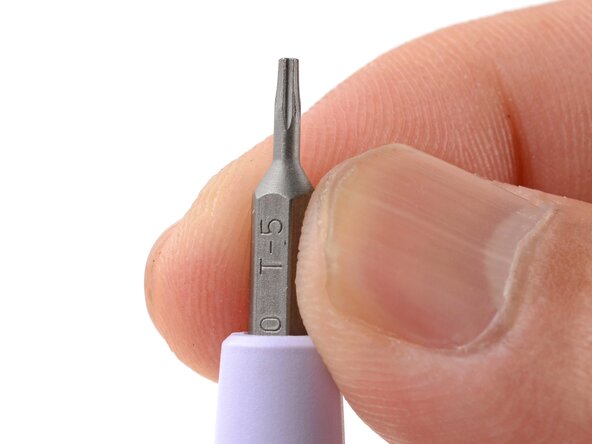
- The Framework Screwdriver is the nifty multi-tool that comes with your laptop.
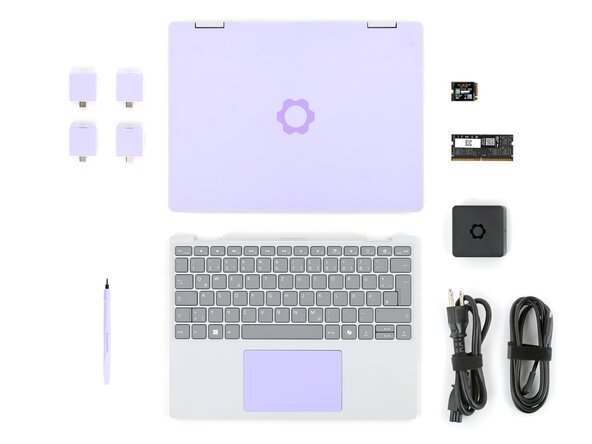
crwdns2942213:0crwdne2942213:0
-
-
Input Cover of your choice
-
Framework Screwdriver
-
SSD
-
Memory module
-
Expansion Card(s)
-
Framework Power Adapter, USB-C Cable, and AC Cable
-
-
-
Set your laptop face-up on a clean work surface.
-
-
-
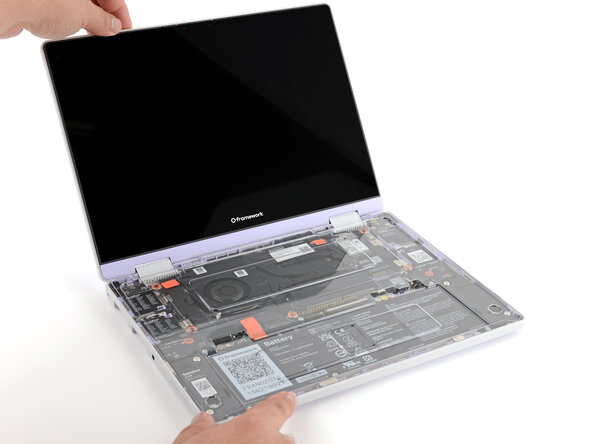
Swing the lid open until the screen's tilted back slightly.
-
-
-
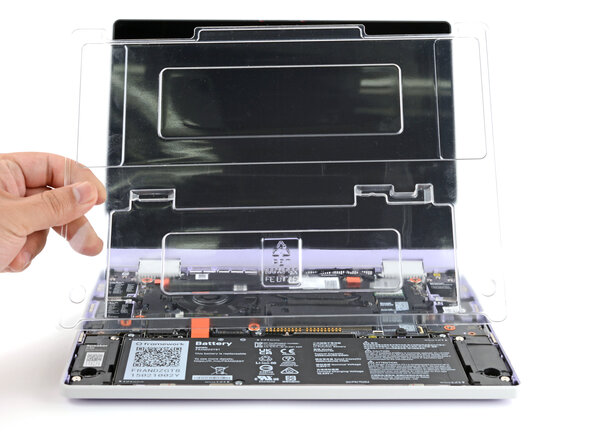
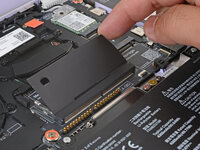
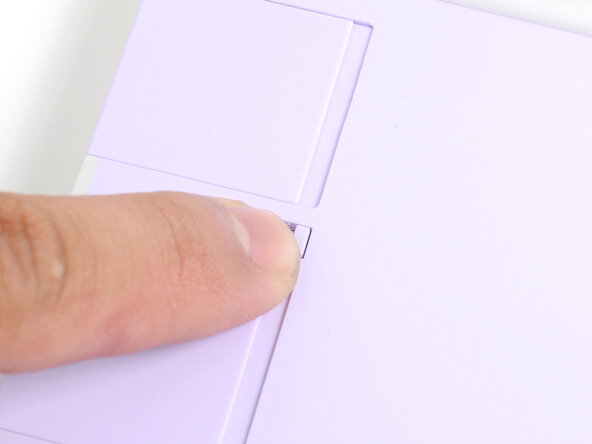
Use your fingers to lift and remove the clear protective cover from the laptop.
-
-
-
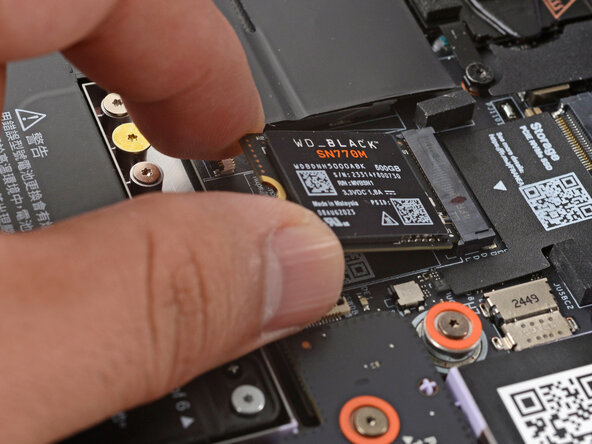
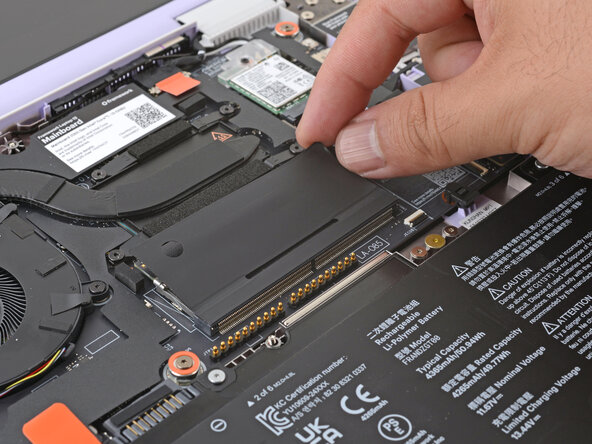
Align the SSD's gold contacts and notch with the socket.
-
Insert the SSD into the socket at a shallow angle. The gold contacts should be mostly covered by the socket.
-
-
-
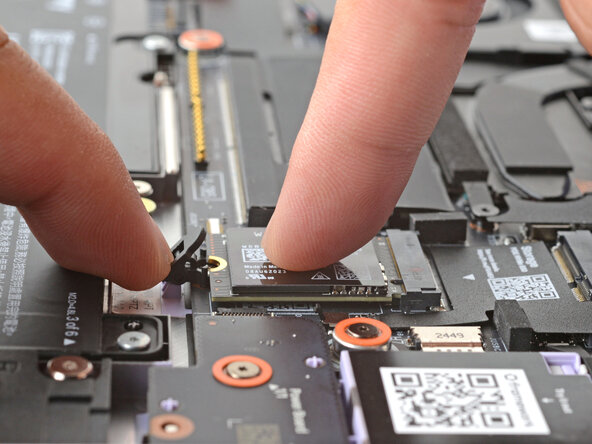
Use your finger to press the black SSD latch and keep it open.
-
Use another finger to press the SSD down until it lays flat.
-
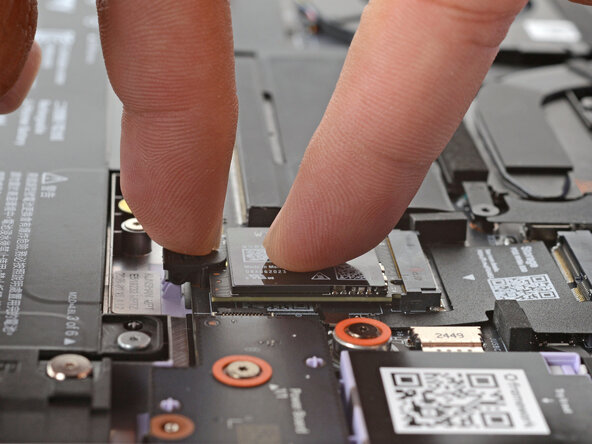
Use your finger to close the latch to secure the SSD in place.
-
-
-
-
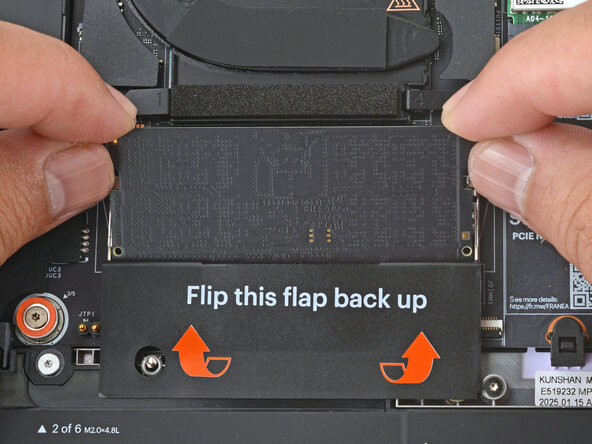
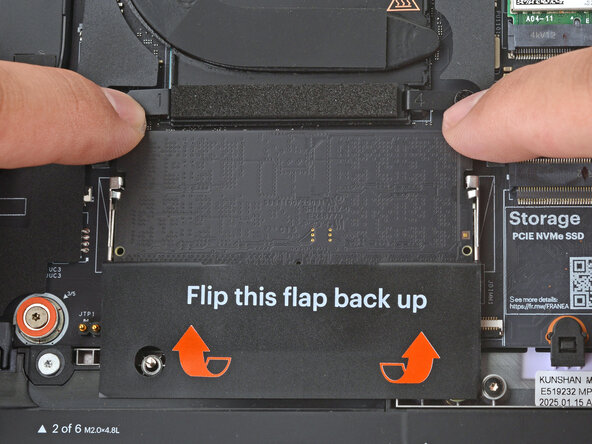
Use your fingers to flip open the memory flap.
-
-
-
Orient the module with the label facing down and align the gold contacts and notch with the socket.
-
Insert the contact edge into the socket at a shallow angle. The gold contacts should mostly be covered by the socket.
-
Press the edges of the memory module down until the side clips lock it in place.
-
-
-
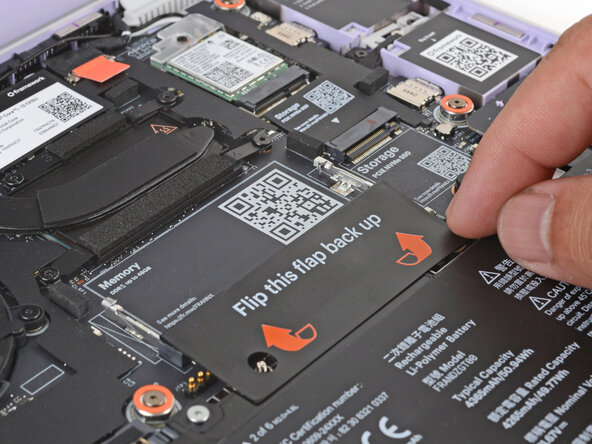
Flip the memory flap back over the memory module.
-
-
-
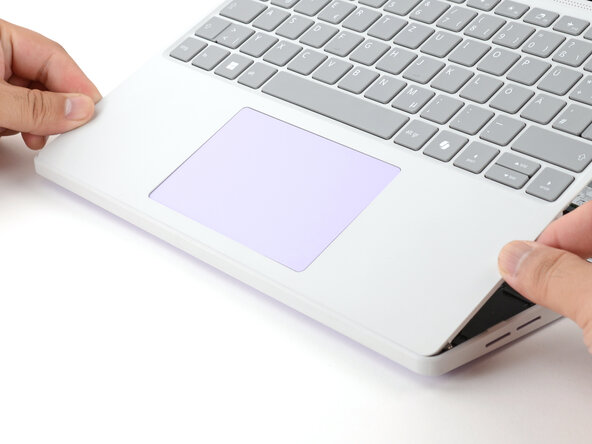
Hold the Input Cover over the laptop and angle the bottom edge of the cover towards the base of the laptop.
-
Align and insert the bottom edge of the Input Cover to the base of the laptop.
-
Make sure the slots along the bottom edge of the Input Cover slide into the tabs in the base.
-
-
-
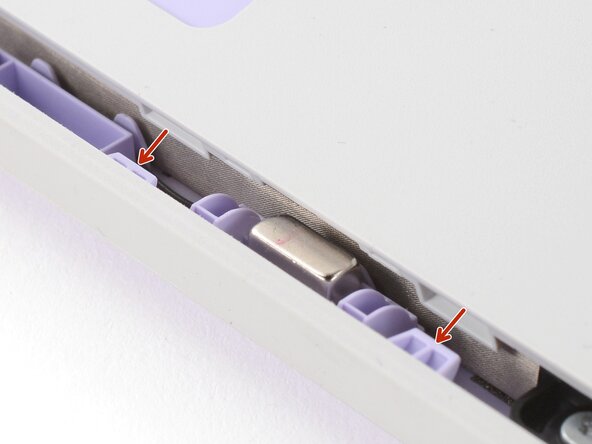
Lower the Input Cover's top edge onto the laptop until the magnets snap it in place.
-
-
-
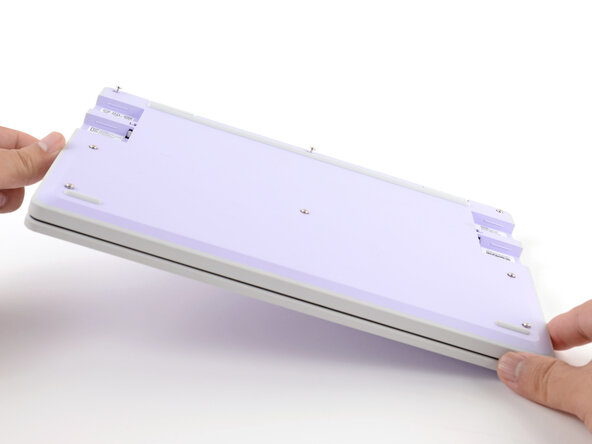
Close the laptop lid.
-
Flip the laptop face-down.
-
-
-
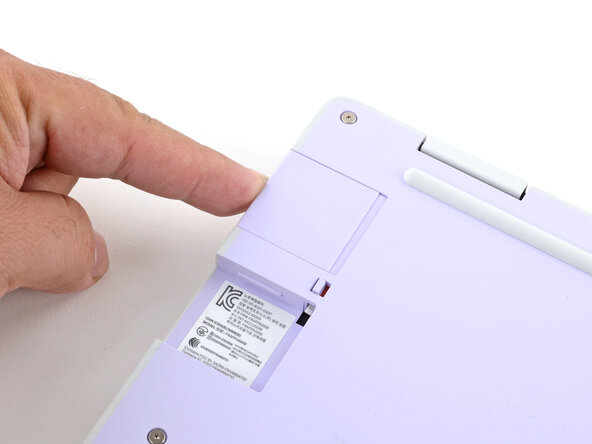
Use your Framework Screwdriver to tighten the eight captive T5 Torx screws on the bottom of your laptop.
-
-
-
Slide an Expansion Card into an Expansion Card slot.
-
Repeat the procedure with the remaining Expansion Cards.
-
-
-
If there's a red bar showing under each Expansion Card latch, use your finger to flip the latch and lock the Expansion Card into its slot.
-
-
-
Plug the AC Cable into the Power Adapter.
-
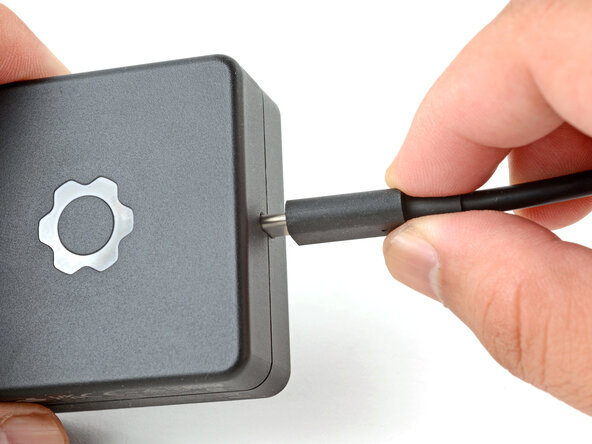
Plug the USB-C Cable into the Power Adapter.
-
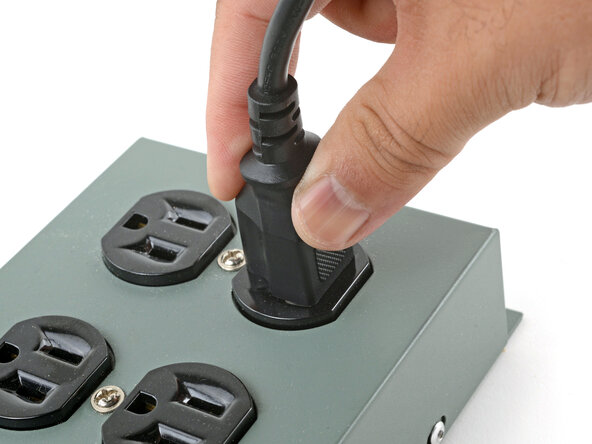
Plug the AC Cable into a power outlet.
-
-
-
Plug the USB-C Cable into any USB-C port on your laptop.
-
-
-
You're done assembling your Framework Laptop! Now, you'll need to install an OS.
-


For drivers, firmware, and software updates, check out this page.
If you need help, contact Framework support.
For drivers, firmware, and software updates, check out this page.
If you need help, contact Framework support.

