crwdns2915892:0crwdne2915892:0
Audio Board removal prereq guide
crwdns2942213:0crwdne2942213:0
-
-
Before you begin repairs, unplug your laptop and shut it down from the operating system. This ensures that the laptop isn't in standby/suspend mode.
-
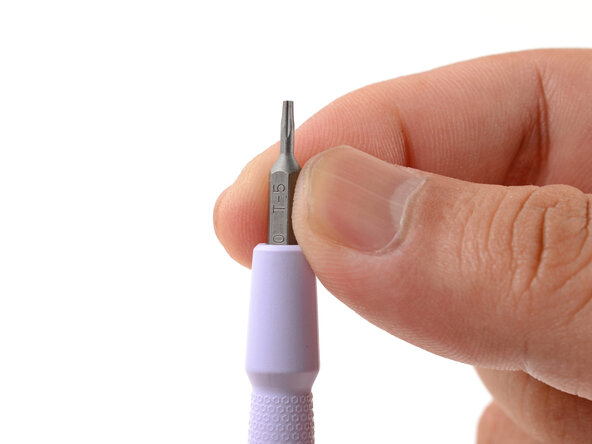
Make sure your Framework Screwdriver has the T5 Torx bit (labeled as T-5) facing outwards. If it's not, pull the bit out and flip it.
-
-
-
Set your Framework Laptop face-down on a clean work surface.
-
-
-
Use your Framework Screwdriver to fully loosen the eight captive T5 Torx screws on the bottom of your laptop.
-
-
-
-
Flip your laptop over so it's face-up on your work surface.
-
-
-
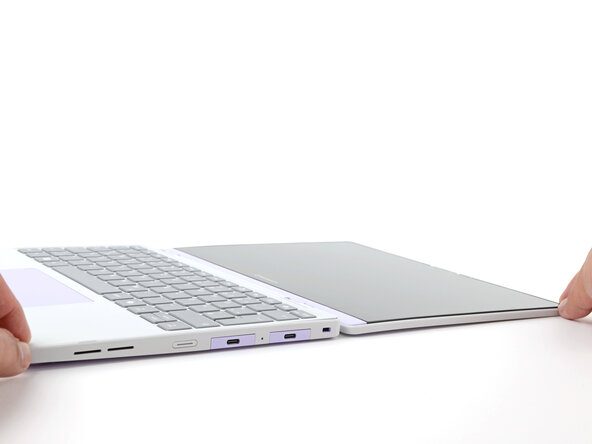
Open the laptop lid so that both the screen and the base lie flat on your work surface.
-
-
-
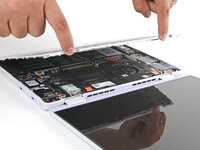
Use your fingers to grip the Input Cover in the hinge cutouts.
-
Lift upwards to swing the Input Cover up from the base of the laptop.
-
Remove the Input Cover.
-
-
-
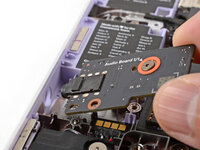
Use your Framework Screwdriver to loosen the captive T5 Torx screw securing the Audio Board along the left edge of the laptop.
-
-
-
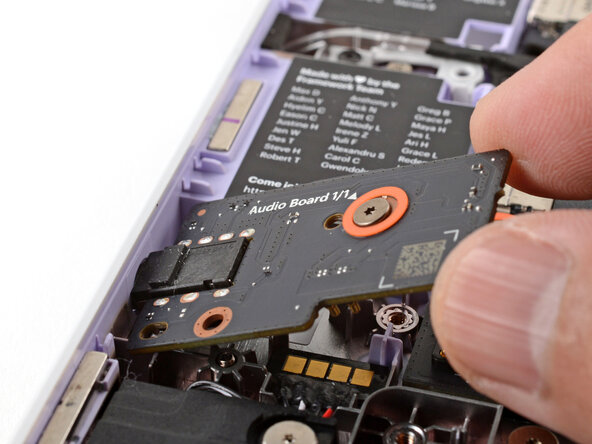
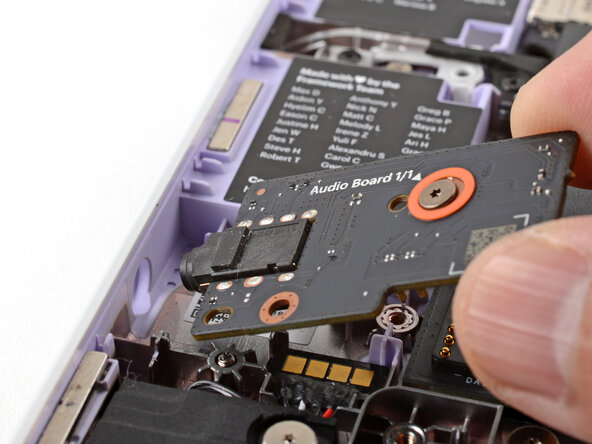
Use your fingers to lift the right edge of the Audio Board and pull it out of its recess.
-
Remove the Audio Board.
-