crwdns2933423:0crwdne2933423:0

Framework Desktop Primary Storage Installation

crwdns2862623:0crwdne2862623:0
crwdns2942641:0crwdne2942641:0
  1. Framework Desktop Primary Storage Installation, Install the SSD: crwdns2935265:01crwdnd2935265:01crwdnd2935265:02crwdne2935265:0 Framework Desktop Primary Storage Installation, Install the SSD: crwdns2935265:01crwdnd2935265:02crwdnd2935265:02crwdne2935265:0
    • Hold the SSD by its edges. Don't touch the gold contacts with your fingers. If you do, wipe the contacts with a clean, lint-free cloth to remove any finger oils.

    • While holding the heat spreader upright, align the SSD's gold contacts with its socket.

    • Insert the SSD into the socket at a shallow angle. The gold contacts should mostly be covered by the socket.

    • The SSD fits into the socket in one orientation. If it doesn't feel like it fits, try flipping the module.

  2. Framework Desktop Primary Storage Installation: crwdns2935265:02crwdnd2935265:01crwdnd2935265:03crwdne2935265:0 Framework Desktop Primary Storage Installation: crwdns2935265:02crwdnd2935265:02crwdnd2935265:03crwdne2935265:0 Framework Desktop Primary Storage Installation: crwdns2935265:02crwdnd2935265:03crwdnd2935265:03crwdne2935265:0
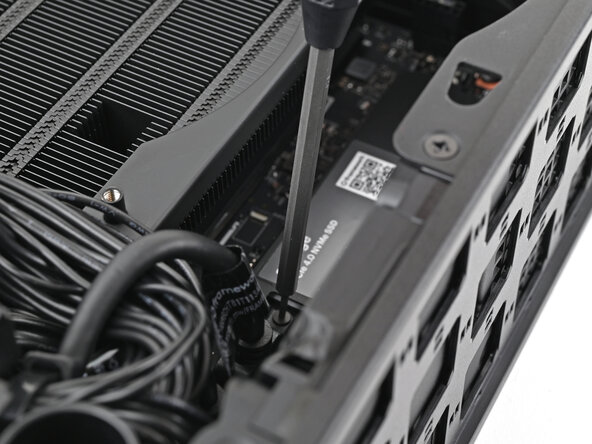
    • Insert your Framework Desktop Screwdriver into the captive screw on the primary storage heat spreader and press it flat to the Mainboard.

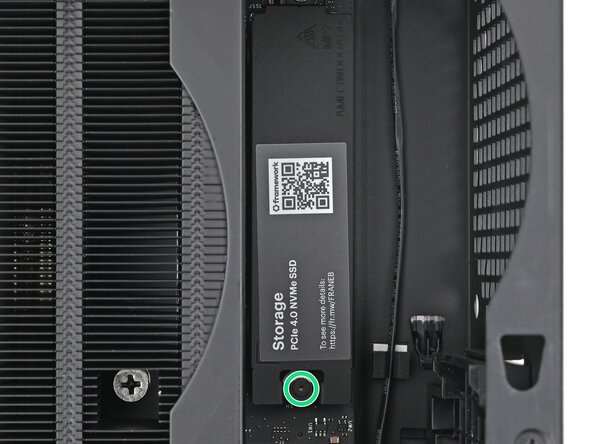
    • Tighten the screw securing the SSD.

crwdns2915888:0crwdne2915888:0

To reassemble your device, follow these instructions in reverse order.

Alex Diaz-Kokaisl

crwdns2935283:001/16/22crwdne2935283:0

174,040 crwdns2915208:0crwdne2915208:0

crwdns2935297:0798crwdne2935297:0

crwdns2947412:00crwdne2947412:0

crwdns2917038:0crwdne2917038:0

crwdns2936625:0crwdne2936625:0:

crwdns2936751:024crwdne2936751:0 0

crwdns2936753:07crwdne2936753:0 0

crwdns2936753:030crwdne2936753:0 3

crwdns2942667:0crwdne2942667:0 3