-
-
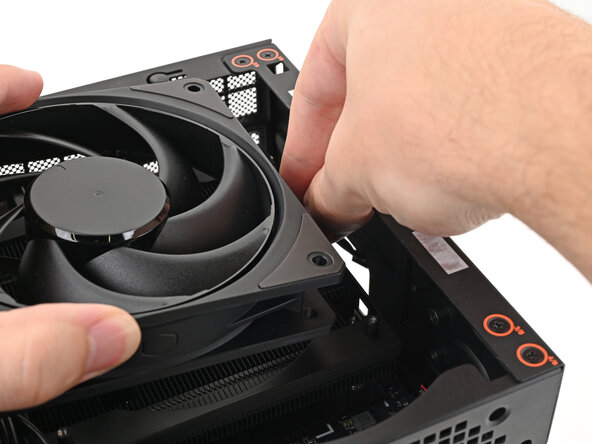
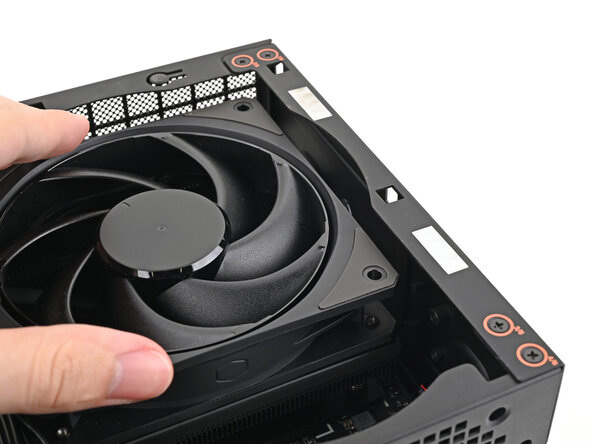
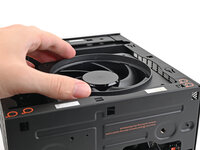
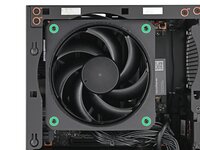
Orient the fan so its label is facing downward and the cable(s) is pointing towards the top of the computer.
-
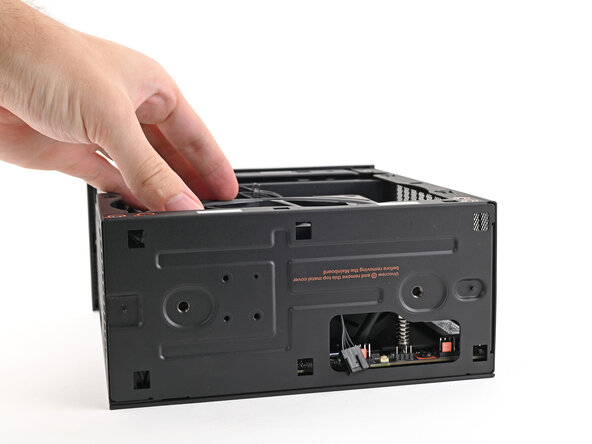
Lay the fan on top of the heatsink, making sure the cables are routed so they poke out of the hole on the top of the computer.
-
-
-
If the cables aren't routed properly, lift the fan up slightly and use your fingers to reposition the cables over the side of the heatsink.
-
-
-
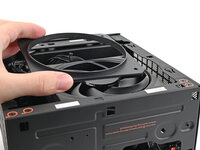
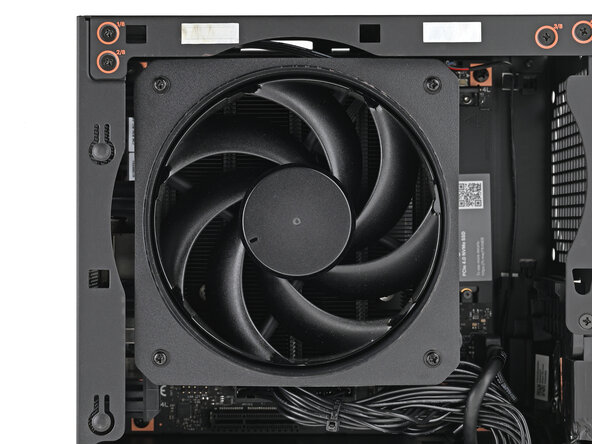
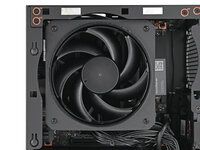
Lay the fan duct on top of the fan with the lip facing upward.
-
Align the screw holes on the fan duct with the ones on the fan.
-
-
-
-
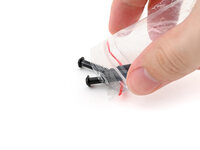
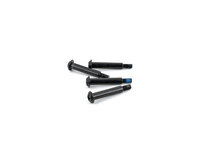
Remove the fan screws from their packaging and make sure there are four screws total.
-
-
-
Use your Framework Desktop Screwdriver to install the four 27.3 mm‑long Phillips screws securing the CPU fan and fan duct.
-
-
-
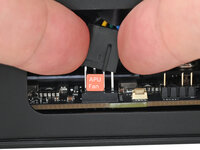
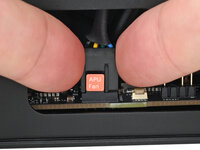
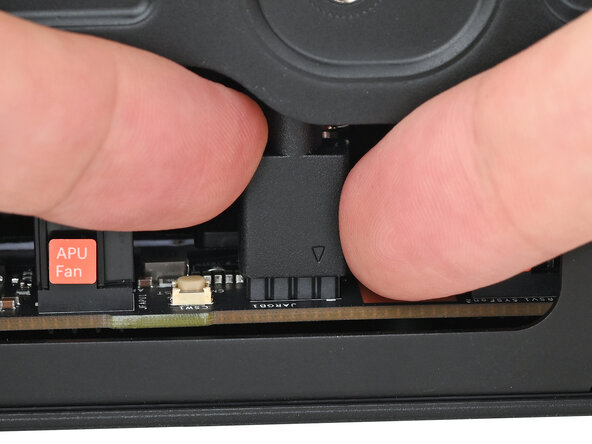
Orient the main fan cable so its two vertical lines are facing you.
-
Slide the main fan cable over the four-pronged connector labeled "APU Fan," making sure the orange label slots between the vertical lines.
-
-
-
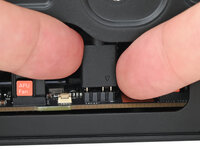
Orient the RGB cable so the arrow is facing you.
-
Use your fingers to slide the RGB cable over the three pronged connector located to the right of the "APU Fan" connector.
-


To reassemble your device, follow these instructions in reverse order.
To reassemble your device, follow these instructions in reverse order.
