crwdns2915892:0crwdne2915892:0
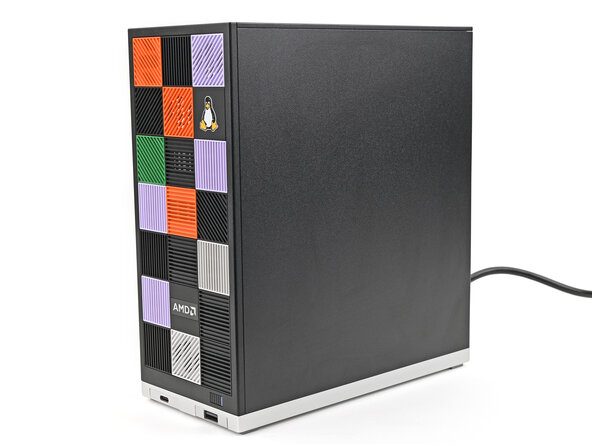
Congratulations on getting the Framework Desktop DIY Edition! Follow this quick start guide to assemble your Desktop and get it running.
crwdns2942213:0crwdne2942213:0
-
-
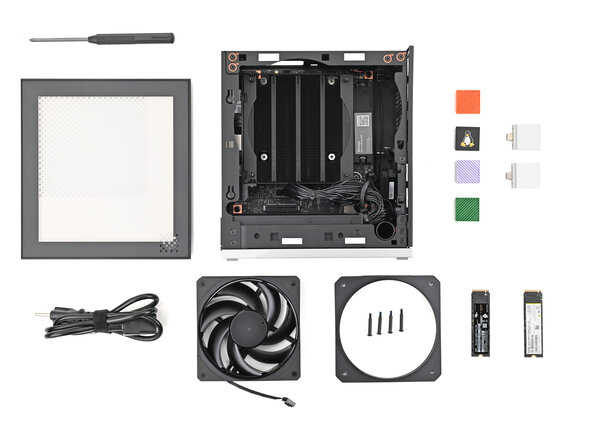
Framework Desktop chassis with pre-installed Mainboard, Heatsink, Power Supply, Top Panel, and Front Panel
-
Left Panel—either the Black or Translucent version
-
Framework Desktop Screwdriver
-
At least 21 Tiles for the Front Panel
 crwdns2952109:0crwdne2952109:0
-
-
-
AC Cable
-
Your choice of Fan and Mounting Kit
-
Expansion Card(s)
-
Primary and Secondary Storage
-
-
-
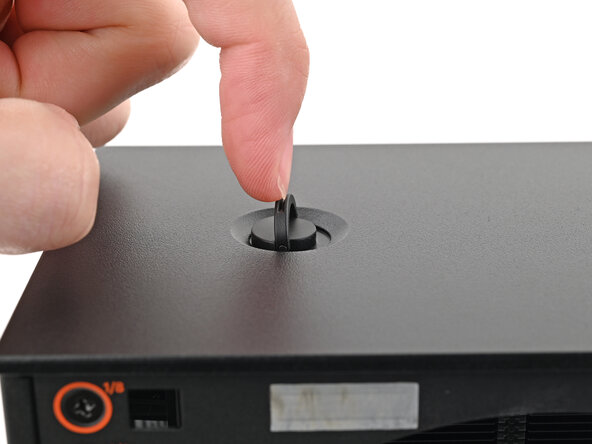
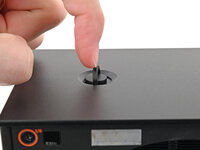
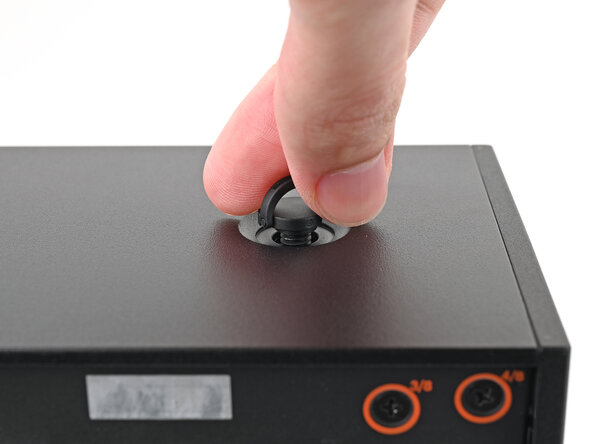
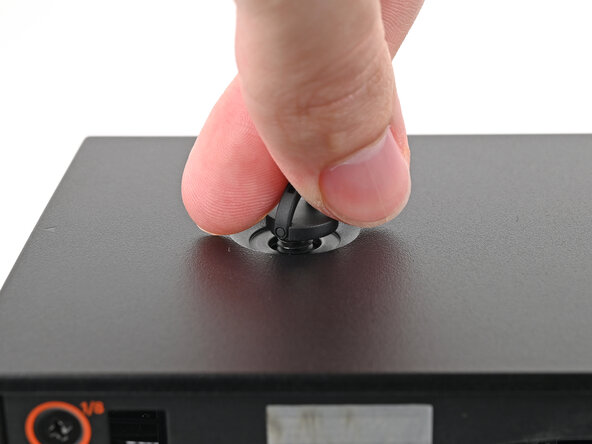
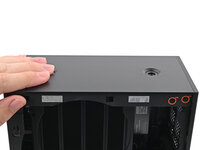
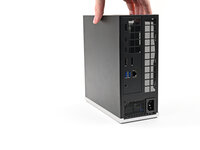
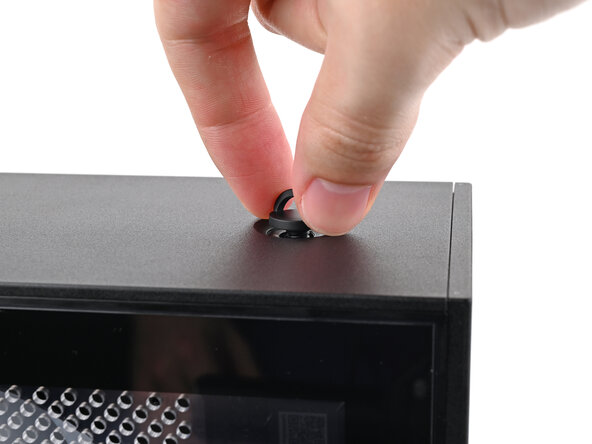
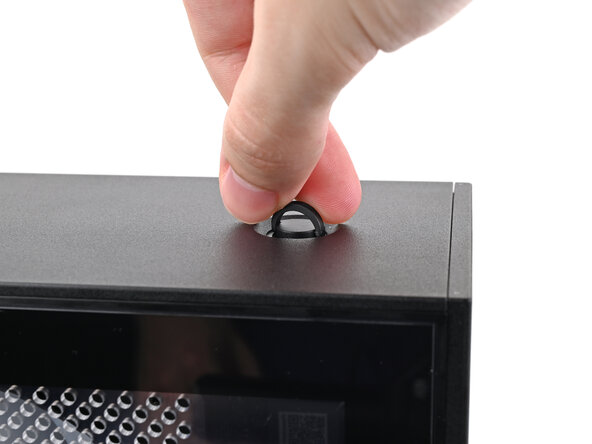
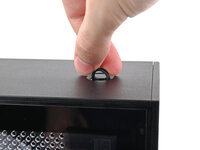
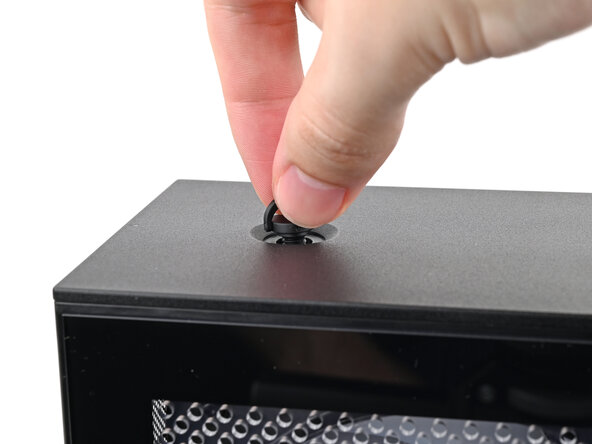
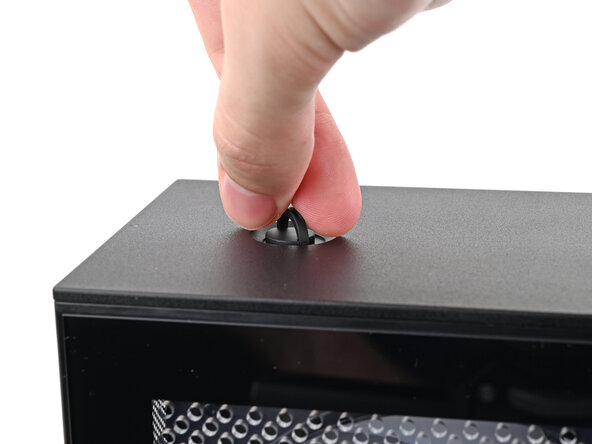
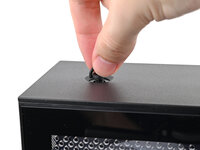
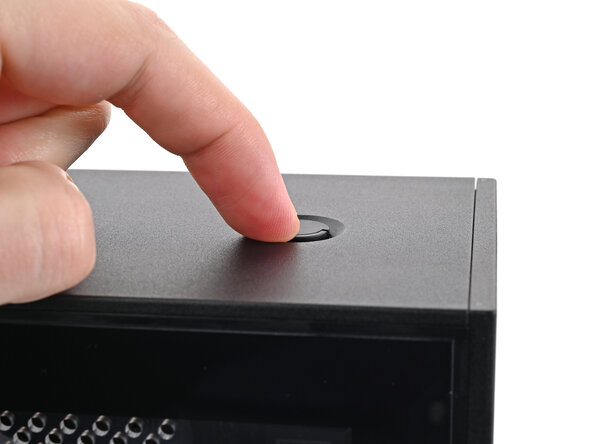
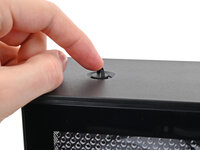
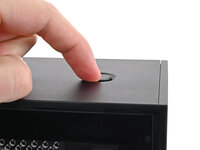
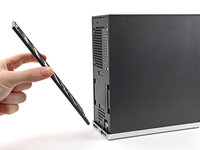
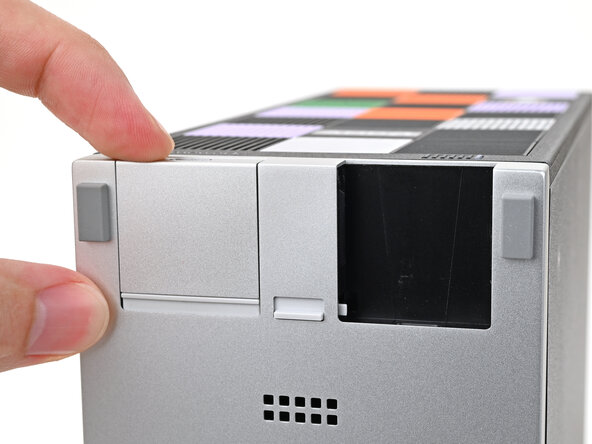
Use your finger to lift up the two D-rings on the Top Panel screws.
-
-
-
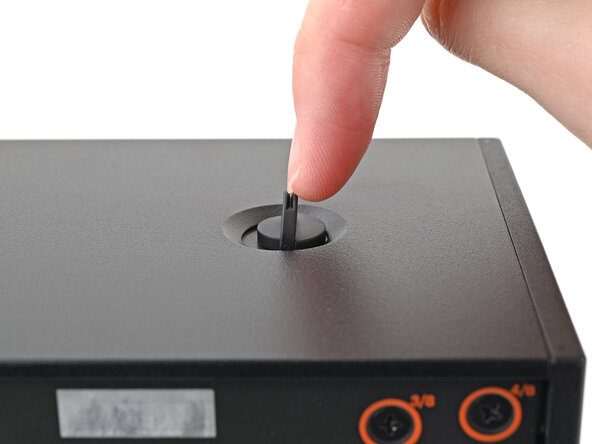
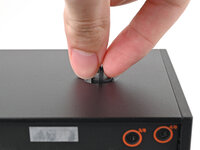
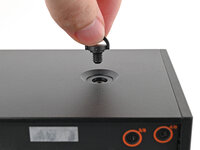
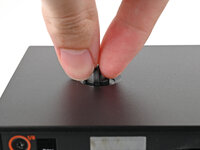
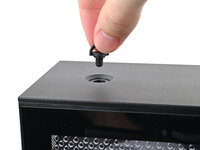
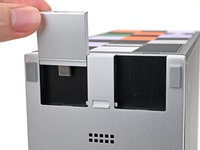
Use your fingers to twist the screw counter-clockwise and loosen it.
-
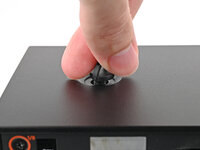
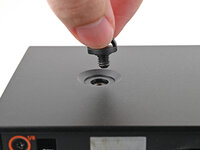
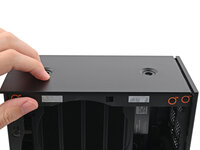
Remove the Top Panel screw.
-
-
-
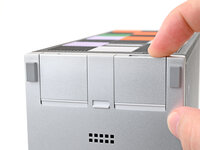
Repeat the same procedure for the other Top Panel screw.
-
-
-
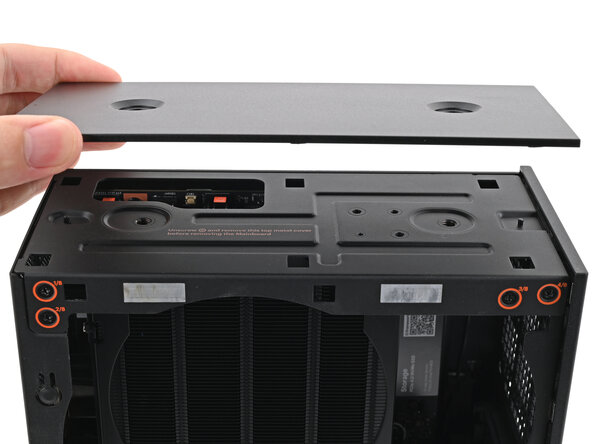
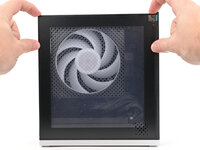
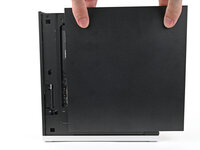
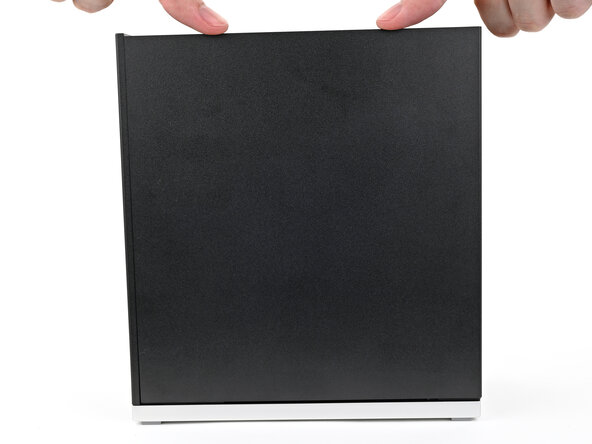
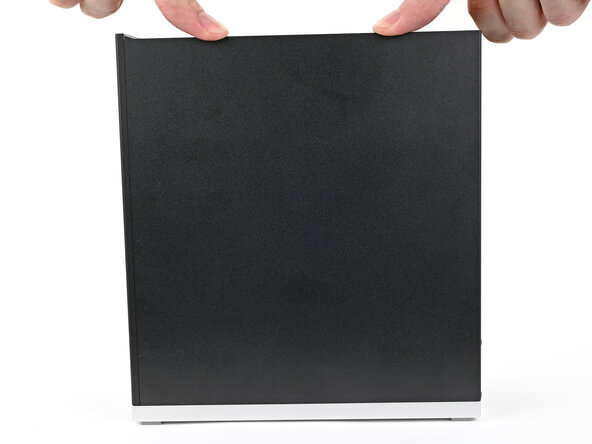
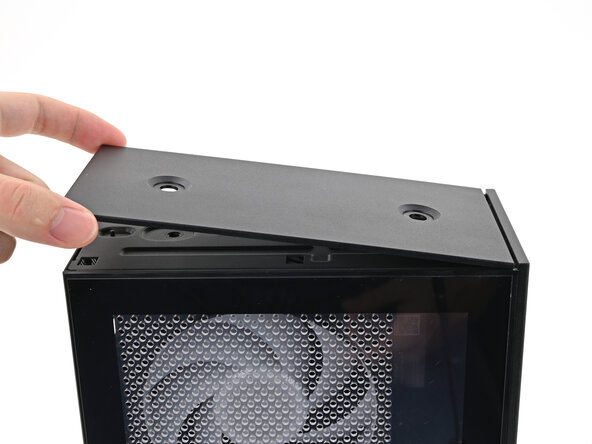
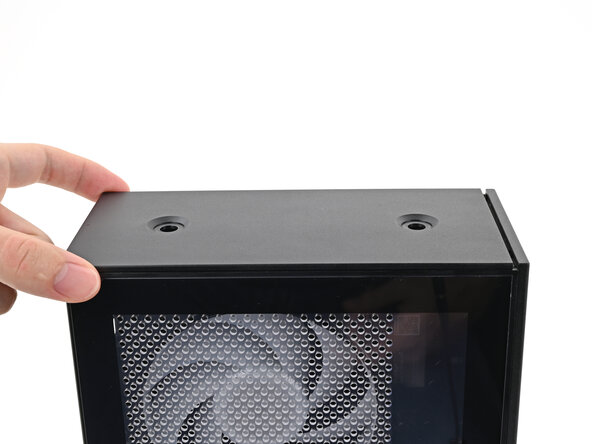
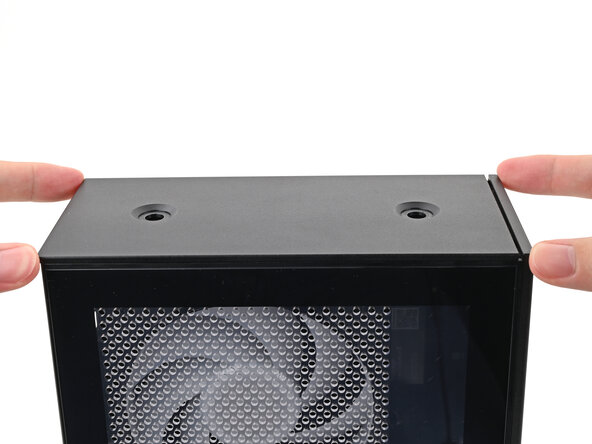
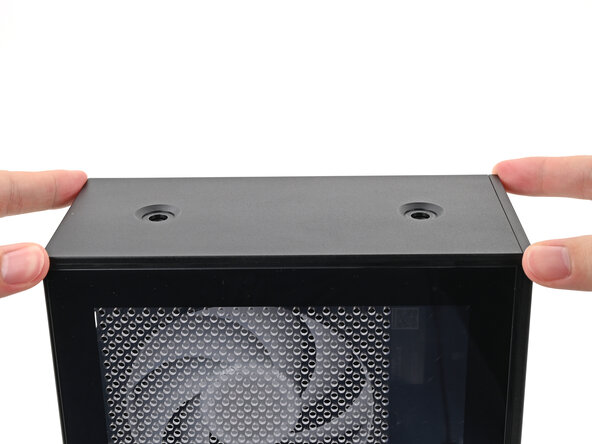
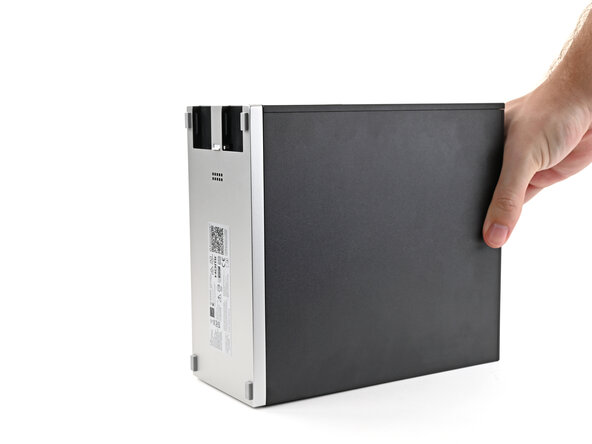
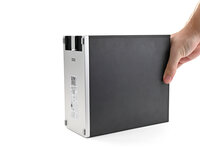
Slide the Top Panel towards the rear of the computer to release the clips securing it to the chassis.
-
Lift the Top Panel off the chassis and remove it.
-
-
-
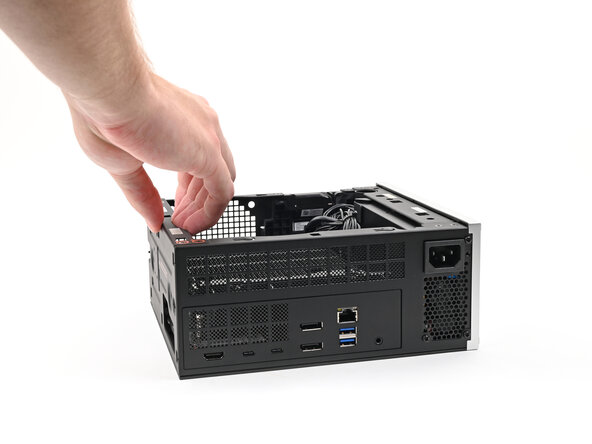
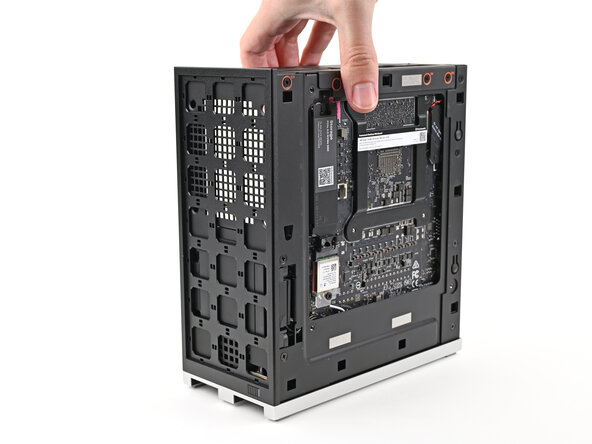
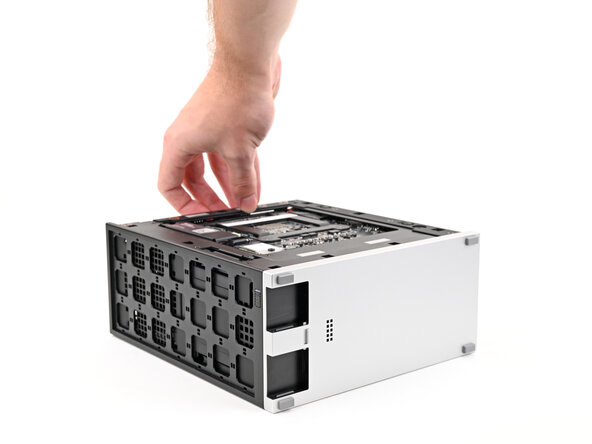
Lay the Desktop on its right side so its exposed internals are facing upward.
-
-
-
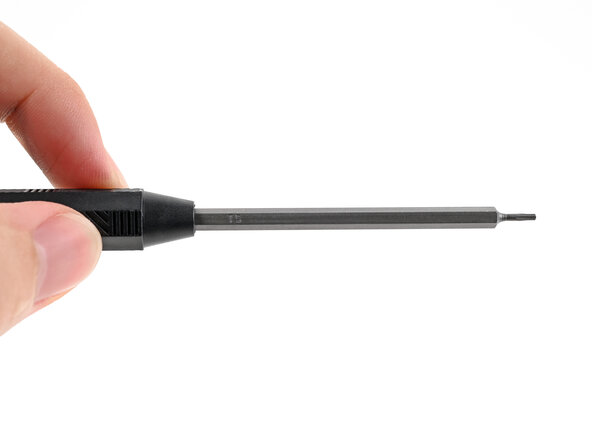
Make sure your Framework Desktop Screwdriver has the T5 Torx bit (labeled as T5) facing outwards. If it's not, pull the bit out and flip it.
-
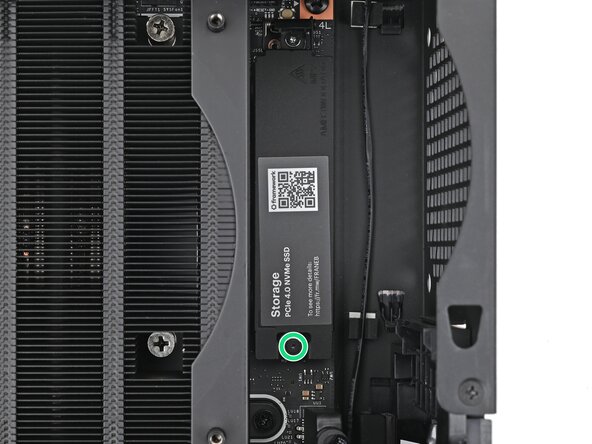
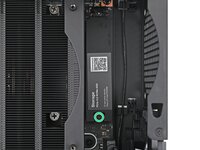
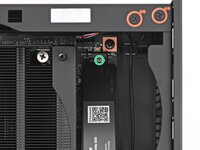
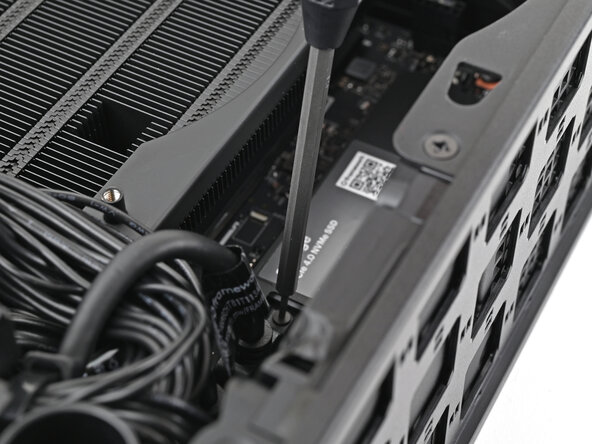
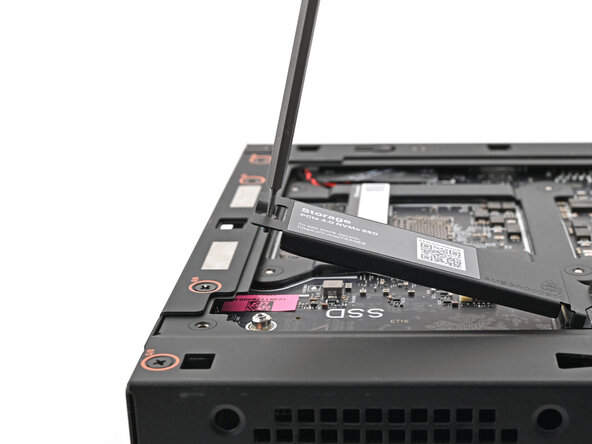
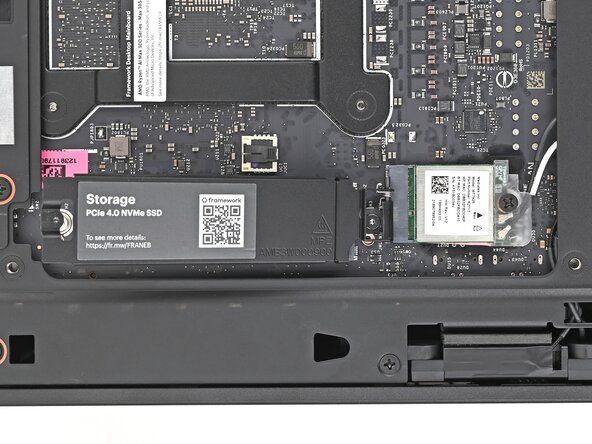
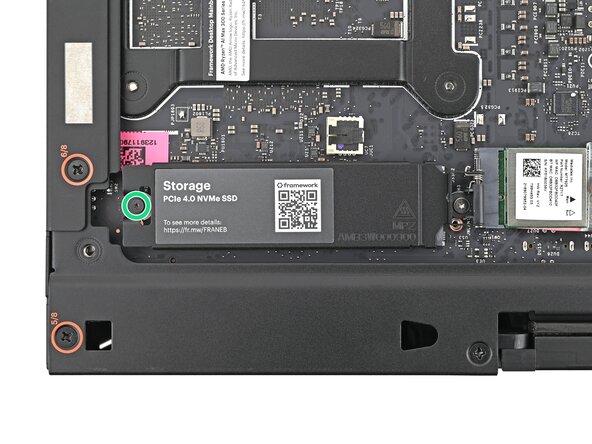
Use your Framework Desktop Screwdriver to loosen the captive screw T5 Torx securing the primary storage heat spreader.
-
-
-
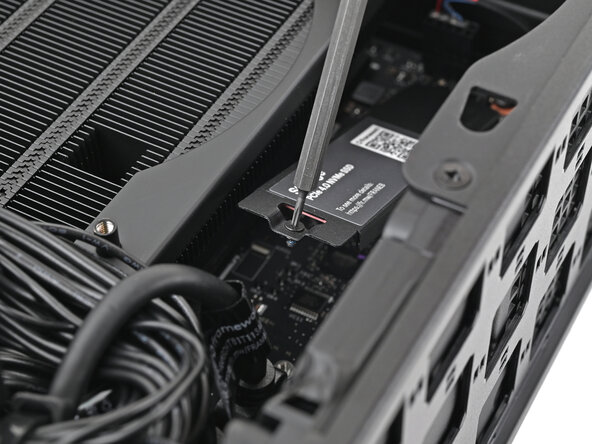
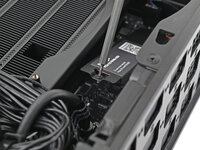
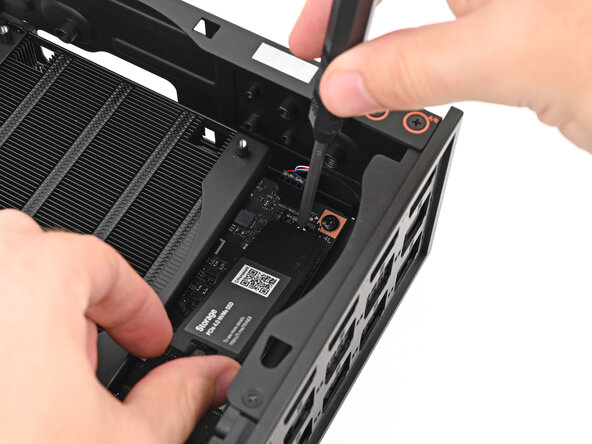
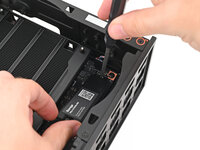
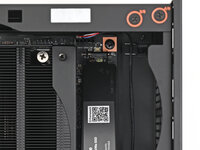
While securing the primary storage heat spreader with one hand, use your Framework Desktop Screwdriver to remove the 4.5 mm‑long T5 Torx screw securing it.
-
-
-
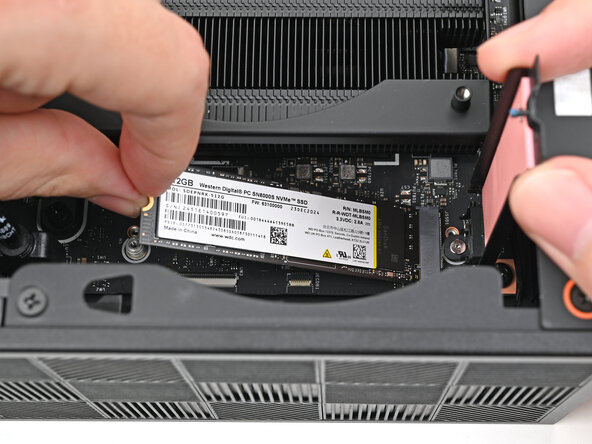
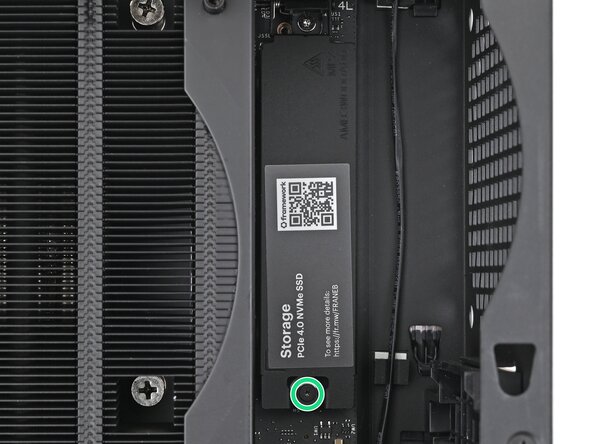
Lift the primary storage heat spreader out of the Desktop and remove it.
-
Follow the guide normally, making sure to ignore instructions that involve the primary storage heat spreader.
-
-
-
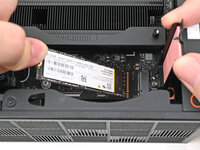
While holding the heat spreader upright, align the SSD's gold contacts with its socket.
-
Insert the SSD into the socket at a shallow angle. The gold contacts should mostly be covered by the socket.
-
Lay the heat spreader back onto the SSD.
-
-
-
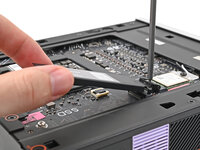
Insert your Framework Desktop Screwdriver into the captive screw on the primary storage heat spreader and press it flat to the Mainboard.
-
Tighten the screw securing the primary storage.
-
-
-
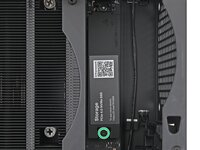
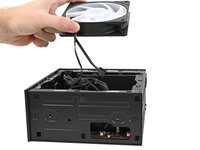
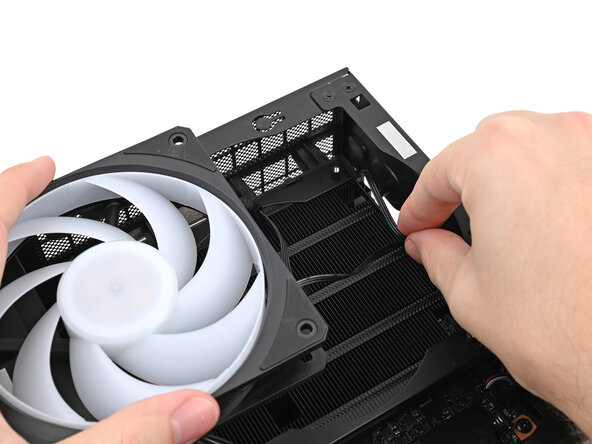
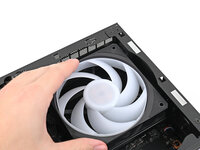
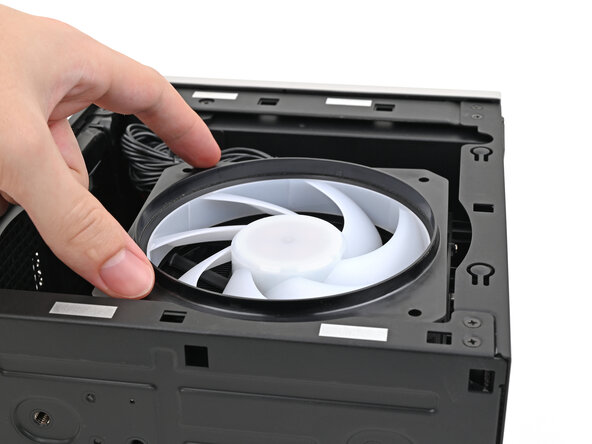
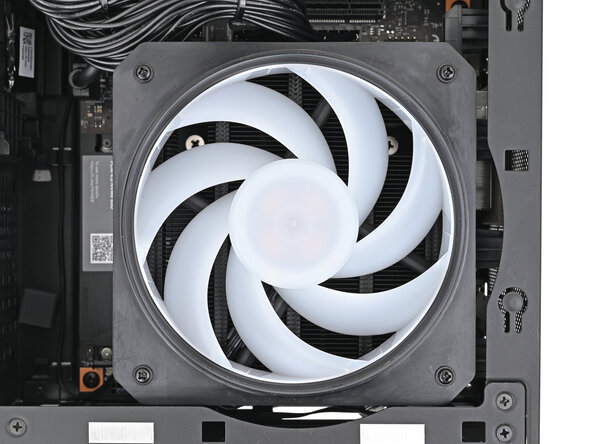
Orient the fan so its label is facing downward and the cable(s) is pointing towards the top of the computer.
-
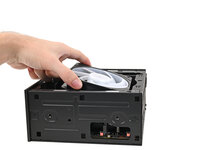
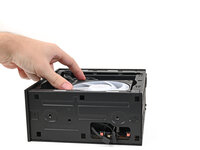
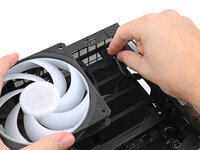
Lay the fan on top of the heatsink, making sure the cable(s) are routed so they poke out of the hole on the top of the computer.
-
-
-
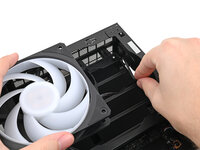
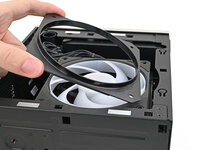
If the cable(s) aren't routed properly, lift the fan up slightly and use your fingers to reposition the cables over the side of the heatsink.
-
-
-
Lay the fan duct on top of the fan with the lip facing upward.
-
Align the screw holes on the fan duct with the ones on the fan.
-
-
-
-
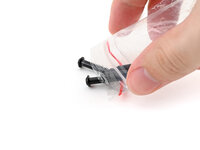
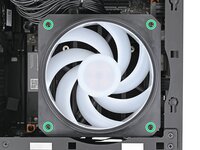
Remove the fan screws from their packaging and make sure there are four screws total.
-
-
-
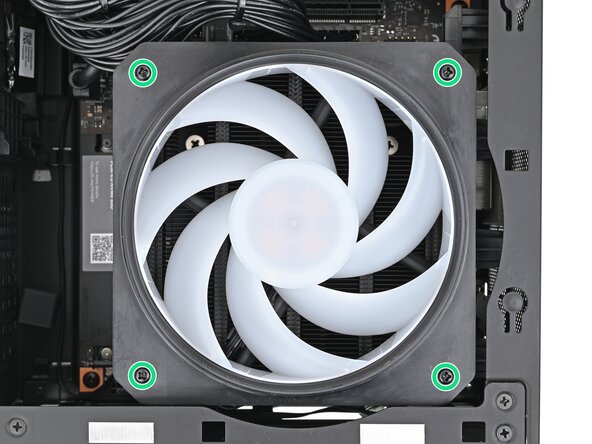
Make sure your Framework Desktop Screwdriver has the Phillips #2 bit (labeled as PH2) facing outwards. If it's not, pull the bit out and flip it.
-
Use your Framework Desktop Screwdriver to install the four 27.3 mm‑long Phillips screws securing the fan and fan duct.
-
-
-
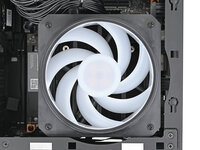
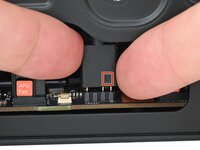
Orient the main fan cable so its two vertical lines are facing you.
-
Slide the main fan cable over the four-pronged connector labeled "APU Fan," making sure the orange label slots between the vertical lines.
-
-
-
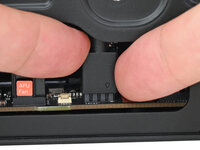
Orient the RGB cable so the arrow is on the right side of the connector.
-
Use your fingers to slide the RGB cable over the three pronged connector located to the right of the "APU Fan" connector.
-
-
-
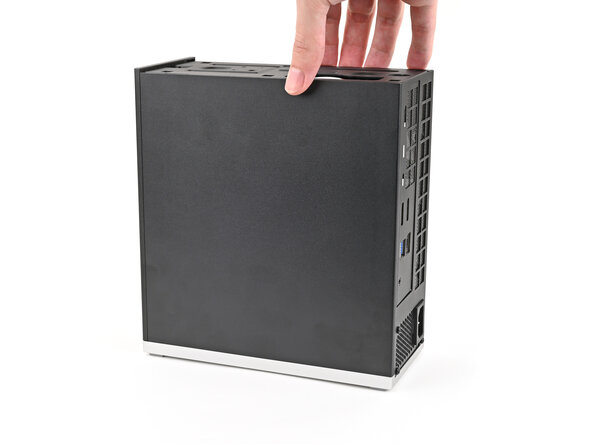
Rotate the Desktop so it sits upright on your work surface.
-
-
-
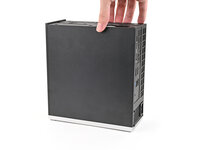
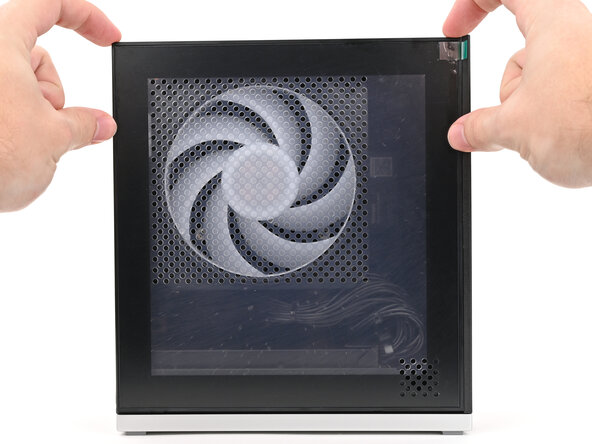
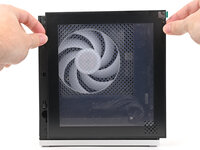
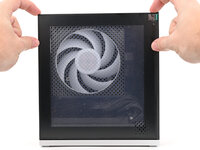
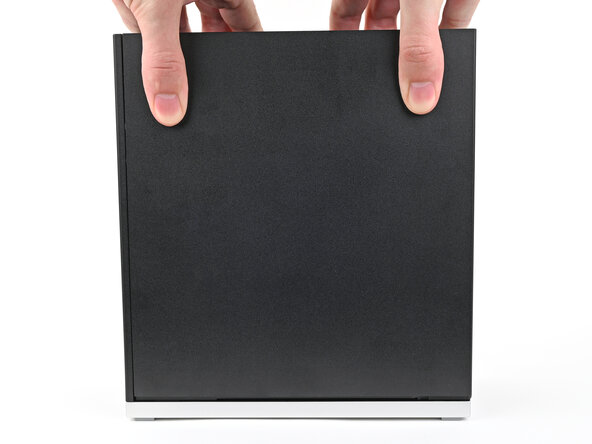
Slide the Left Panel onto the left edge of the chassis, from top to bottom, and press it flat to ensure its clips are slotted into place.
-
Push the Left Panel towards the base of the computer to engage the clips.
-
-
-
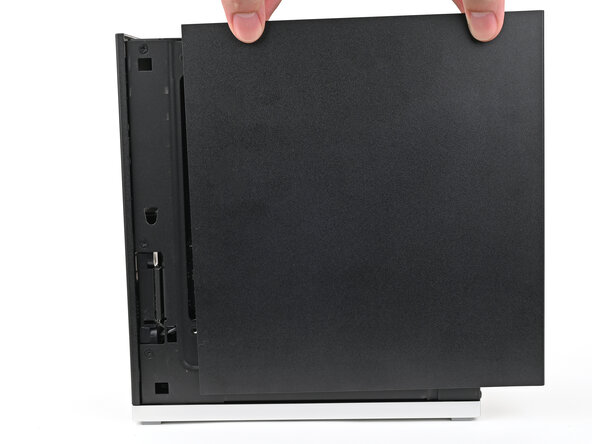
Use your fingers to grip the top of the Right Panel and slide it upward to release its clips.
-
Remove the Right Panel.
-
-
-
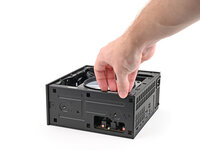
Lay the left side of the Desktop on your work surface so the Mainboard is facing upward.
-
-
-
Make sure your Framework Desktop Screwdriver has the T5 Torx bit (labeled as T5) facing outwards. If it's not, pull the bit out and flip it.
-
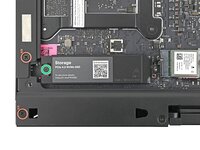
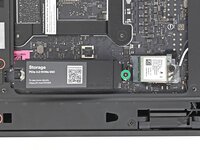
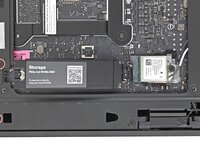
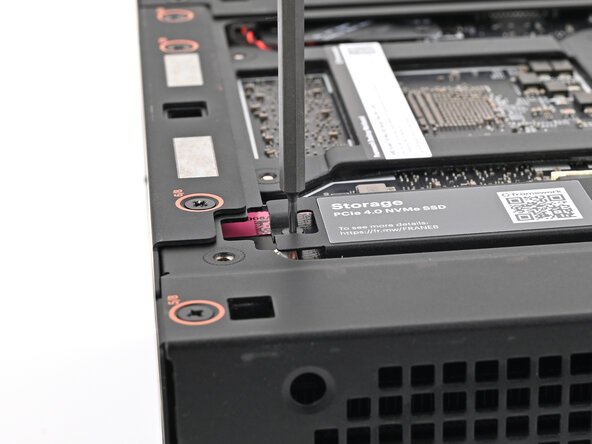
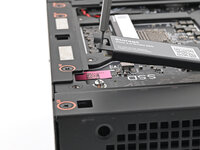
Use your Framework Desktop Screwdriver to loosen the captive T5 Torx screw securing the secondary storage.
-
-
-
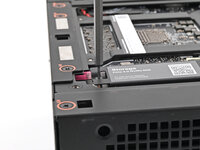
While securing the secondary storage heat spreader with one hand, use your Framework Desktop Screwdriver to remove the 4.5 mm‑long T5 Torx screw securing it.
-
-
-
Lift the secondary storage heat spreader out of the Desktop and remove it.
-
Follow the guide normally, making sure to ignore instructions that involve the secondary heat spreader.
-
-
-
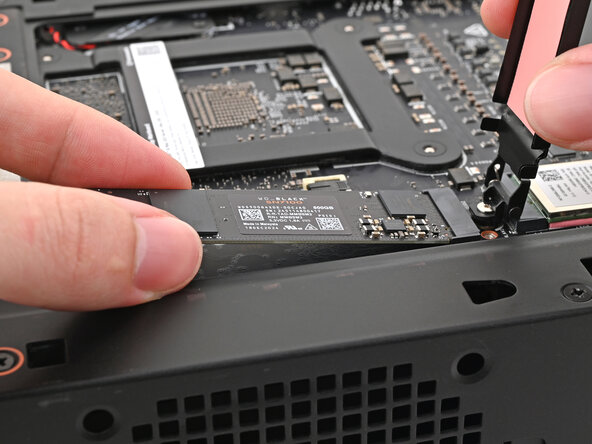
While holding the heat spreader upright, align the SSD's gold contacts with its socket.
-
Insert the SSD into the socket at a shallow angle. The gold contacts should be mostly covered by the socket.
-
-
-
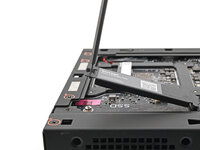
Insert your Framework Desktop Screwdriver into the captive screw on the secondary storage heat spreader and press it flat to the Mainboard.
-
Tighten the screw securing the secondary storage.
-
-
-
Lift the Desktop so it stands upright on your work surface.
-
-
-
Slide the Right Panel onto the right edge of the chassis and press it flat to ensure its clips are slotted into place.
-
Push the Right Panel towards the base of the computer to engage the clips.
-
-
-
Orient the Top Panel so its arrow is pointing towards the rear of the computer.
-
While holding the Top Panel at a slight downward angle, slide it across the top of the chassis (from rear to front) until you feel its clips catch.
-
Lay the Top Panel flat on the chassis to align the remaining clips.
-
-
-
While securing the computer with one hand, use the other hand to slide the Top Panel towards the front of the computer and engage the clips.
-
-
-
Insert the Top Panel screw into its hole and twist clockwise until it feels snug.
-
-
-
Repeat the same procedure for the other Top Panel screw.
-
-
-
Use your finger to close the two D-rings on the Top Panel screws.
-
-
-
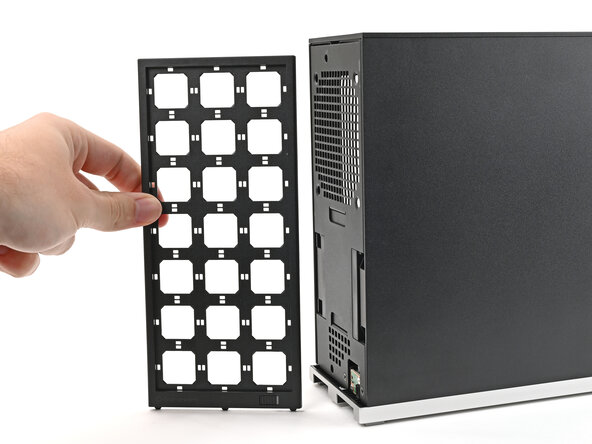
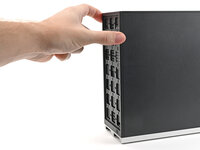
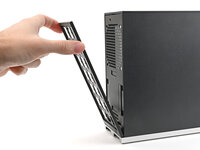
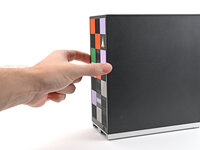
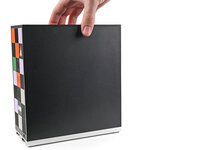
Use your fingers to pull the Front Panel off the magnets securing it to the chassis.
-
-
-
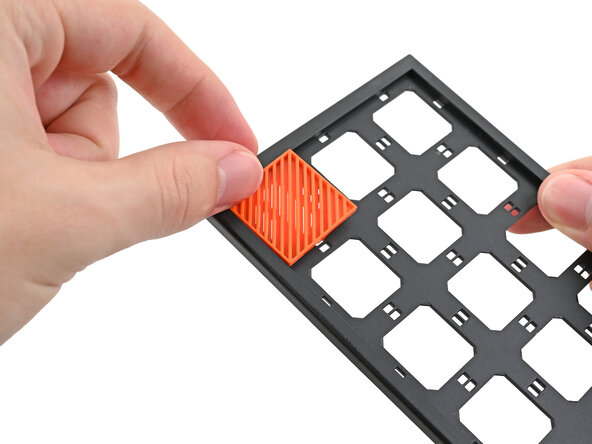
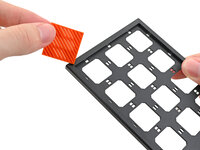
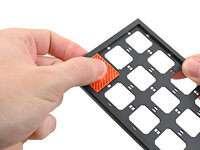
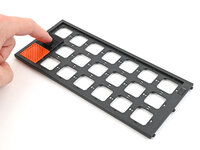
Lay a Tile over an open slot on the Front Panel.
-
Use your fingers to press the tile into the slot and engage the clips.
-
-
-
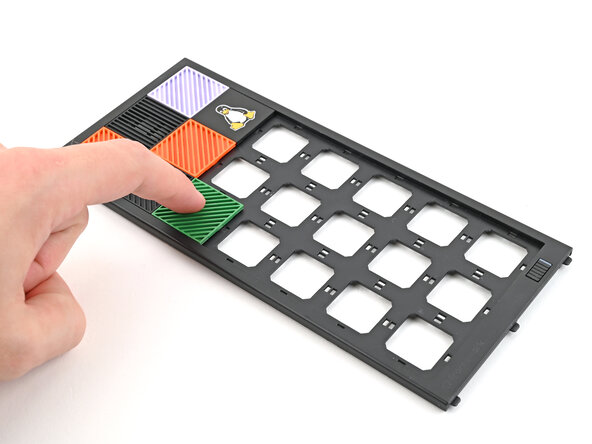
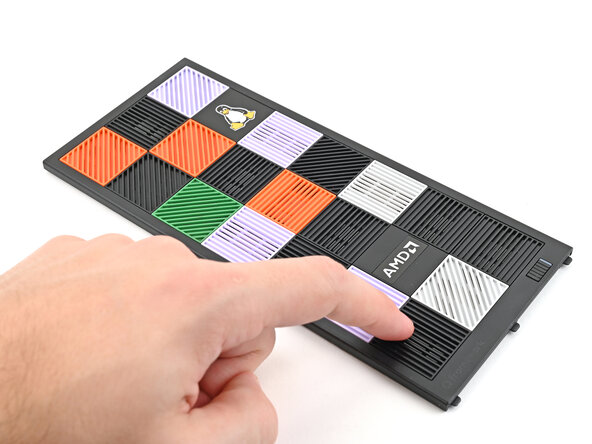
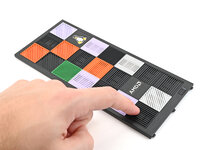
Install the remaining Tiles.
-
-
-
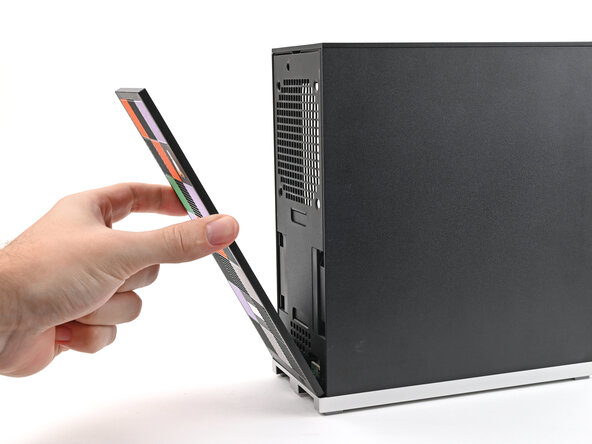
Lay the bottom of the Front Panel on the small, protruding lip in the silver base to align its tabs.
-
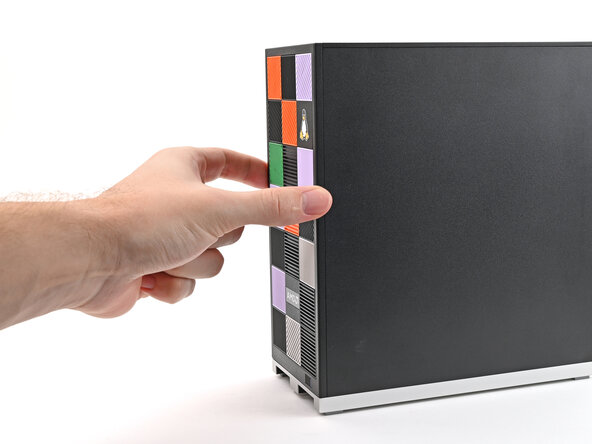
Press the Front Panel flat to the chassis and let it align to the magnets.
-
-
-
Rotate the Desktop so its rear is resting on your workspace.
-
-
-
Slide an Expansion Card into an Expansion Card slot.
-
Repeat for the other Expansion Card slot.
-
-
-
If there's a red bar showing under the Expansion Card latch, use your finger to flip the latch and lock the Expansion Cards into their slots.
-
-
-
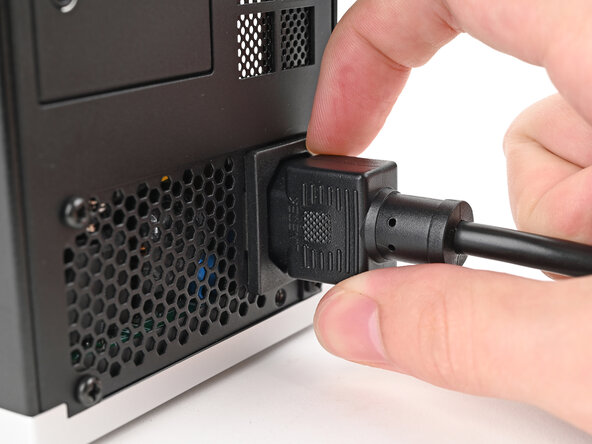
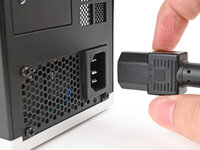
Plug the AC Cable into the back of the Desktop.
-
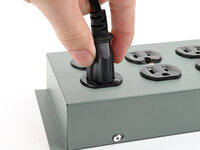
Plug the AC Cable into a power outlet.
-
-
-
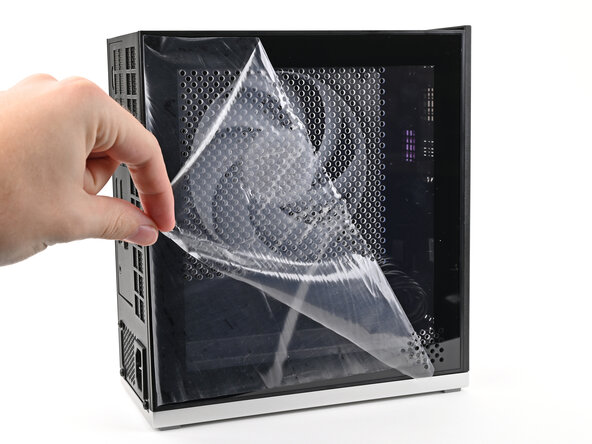
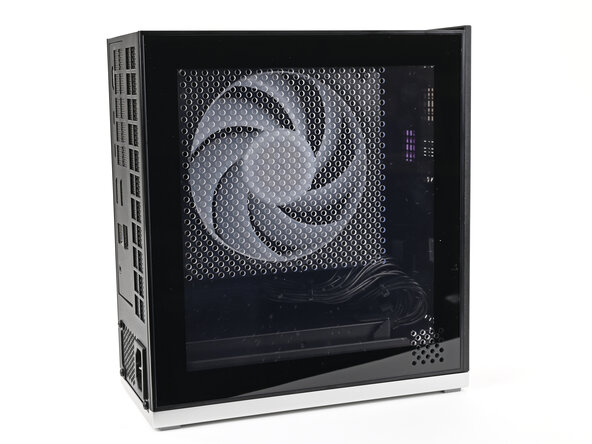
If your Left Panel came with a protective liner, remove it.
-
-
-
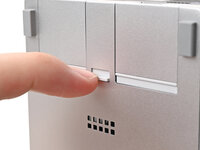
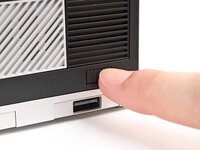
Press the power button on the bottom right of the Front Panel to turn the Desktop on.
-
You're done assembling your Framework Desktop! Now, you'll need to install an OS.
-


For drivers, firmware, and software updates, check out this page.
If you need help, contact Framework support.
