crwdns2915892:0crwdne2915892:0
If the battery on your Fluke 77 Series III Multimeter needs to be replaced, this guide details the steps for doing so. Replacing the battery is a routine, but critical part replacement for the Fluke 77 Series III Multimeter.
crwdns2942213:0crwdne2942213:0
-
-
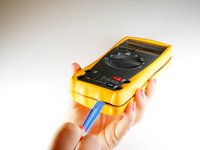
Turn the multimeter so it is display side down.
-
Lift up the back stand of the device by putting your thumb in the curved well at the bottom of the device, so you have access to the two covered screws below.
-
-
-
Use your Phillips #2 Screwdriver to remove the four black 21 mm Phillips #2 screws.
-
-
-
-
Turn the Fluke 77 Series III Multimeter back over so that it is display side up.
-
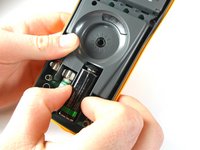
Pry the front panel from the back panel at the seam.
-
If the front panel does not come off easily, move a plastic opening tool along the seam until the panels separate completely.
-
-
-
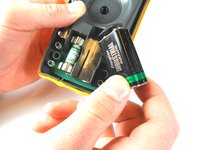
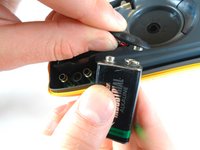
Locate the 9V battery in the lower right corner of the device.
-
Pull the battery out of its terminal.
-
-
-
Detach the two metal snaps from the battery.
-


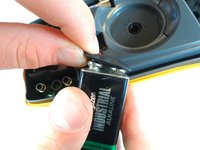
To reassemble your device, follow these instructions in reverse order.
crwdns2935221:0crwdne2935221:0
crwdns2935229:05crwdne2935229:0
crwdns2935287:0crwdne2935287:0

Cal Poly, Team 2-10, Amido Winter 2014 crwdns2935289:0Cal Poly, Team 2-10, Amido Winter 2014crwdne2935289:0
CPSU-AMIDO-W14S2G10
crwdns2931471:04crwdne2931471:0
crwdns2935297:010crwdne2935297:0
crwdns2947410:01crwdne2947410:0
Easy to understand and all went well!