crwdns2915892:0crwdne2915892:0
After years of use, the elastic on your favorite sheets may get stretched out and loose, making it difficult to make the bed and even harder to keep the sheet on tight.
This guide will walk you through the steps of removing the old elastic and sewing in a new one, extending the life of your sheet. You will need a sewing machine and basic knowledge of operating it.
crwdns2942213:0crwdne2942213:0
-
-
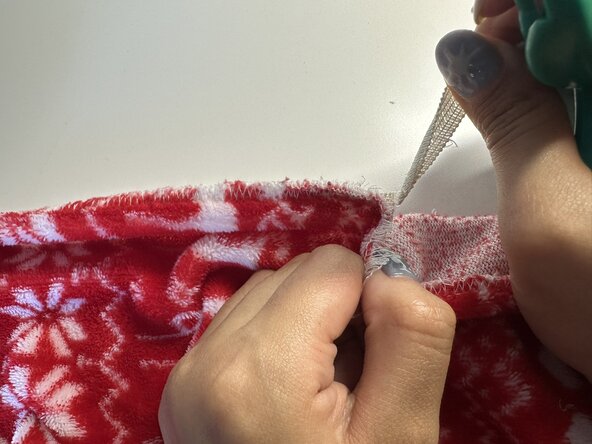
Make a small cut in elastic casing at the edge of the fabric seam to access the elastic inside.
-
With your sewing scissors, carefully cut the stitches that attach the elastic to the fabric, if sewn in place.
-
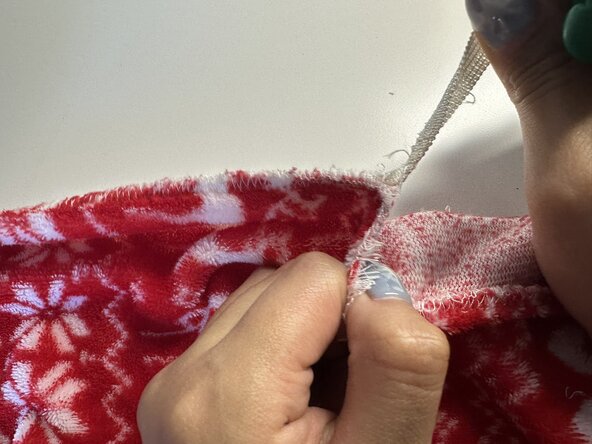
Gently pull the elastic to detach it from the fabric.
-
Continue cutting and pulling the elastic until it completely detaches from the casing.
-
-
-
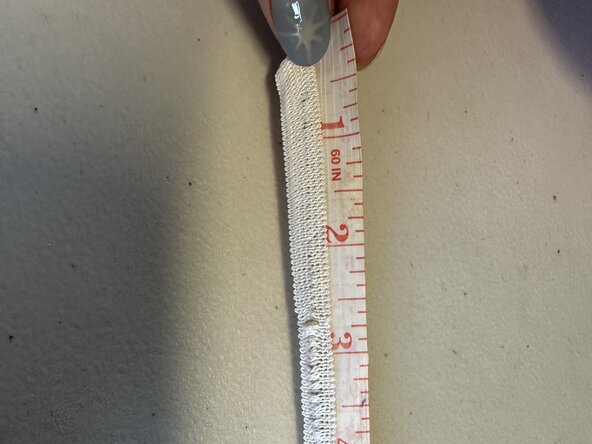
Use a measuring tape, to measure the length of the old elastic.
-
-
-
-
Lay the new elastic flat on a table. Use the old elastic as a reference, measure the same length with a measuring tape, and mark it with tailor's chalk.
-
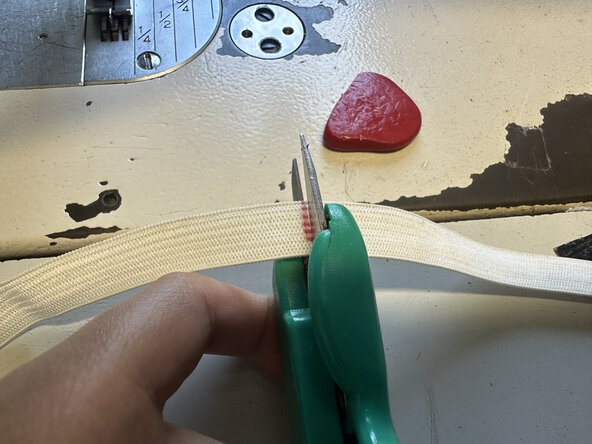
With sewing scissors, cut the new elastic at the marked length.
-
-
-
Overlap the ends of the new elastic.
-
If you need, pin them to keep them secure.
-
With your sewing machine, sew the ends securely using a straight stitch to ensure strength under tension.
-
-
-
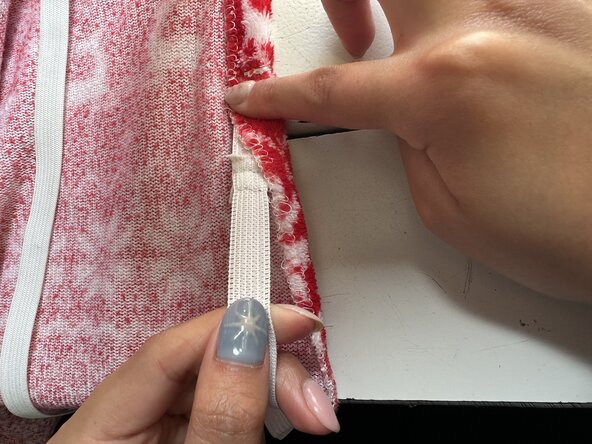
Align the elastic along the edge of the sheet, about 1/2 inch from the edge.
-
Secure the elastic with an anchor stitch by sewing back and forth a few times to hold it in place and prevent the elastic from shifting as you sew.
-
Start folding the fabric over the elastic to create a casing. Fold the fabric far enough to cover the elastic.
-
Sew along the folded edge with a straight stitch, gently stretching the elastic as you go.
-
Work in small sections as you fold, stretch, and sew.
-
-
-
When you've sewn the elastic all the way around, make a small stitch by sewing back and forth where the ends meet.
-
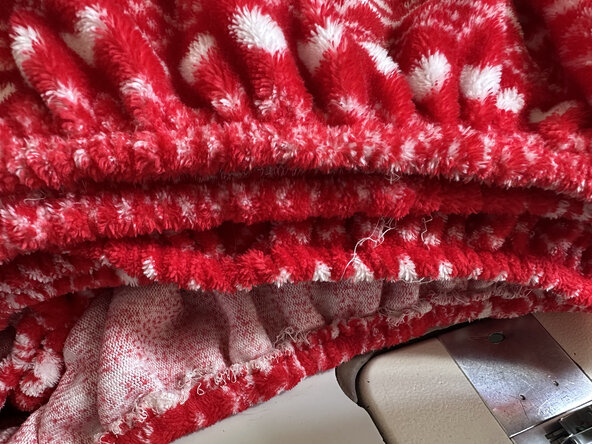
Give the sheet a stretch to ensure the elastic can move freely and gather the fabric evenly.
-


To reassemble your device, follow these instructions in reverse order.
crwdns2935287:0crwdne2935287:0

CSU Los Angeles, Team 5-43, Harris Spring 2025 crwdns2935289:0CSU Los Angeles, Team 5-43, Harris Spring 2025crwdne2935289:0
CSULA-HARRIS-S25S5G43
crwdns2934841:01crwdne2934841:0
crwdns2935297:02crwdne2935297:0