crwdns2915892:0crwdne2915892:0
Why this is an important replacement!
A good working keyboard is an integral peripheral for a home office or gaming computer setup, and the assurance that it is in working order without any damaged keys will make the experience more enjoyable. With my repair guide, I will show you how to replace the key stabilizers and key caps on the Filco Majestouch-2 mechanical keyboard. This repair guide will also help you save money from having to take it to repair shop, or finding someone else to repair it for you. In a few simple steps we will get your keyboard back to working order in no time!
-
-
Follow the keyboards USB connector to the back of the computer, and gently pull it out to power it off.
-
-
-
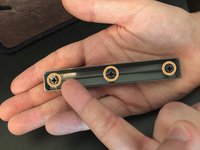
Lay out keycap stabilizer and keycap removal tool next to keyboard to ensure organization.
-
The key cap stabilizer tools are small, and we don't want to lose them!
-
The Key Cap removal tool will work with any cap on your keyboard, so it is good to keep it around when the next repair comes along!
-
-
-
Grab the key cap removal tool, and while holding vertically, gently press down on the space bar until an audible "click" is heard.
-
Gently lift up to release the key from its foundation.
-
-
-
-
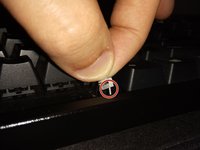
Insert the two key stabilizers by guiding each piece through the metal bar and setting them upright in their holder.
-
Upright signifies that the “+” is facing upward, this is important as the space bar has the same styled holes underneath.
-
-
-
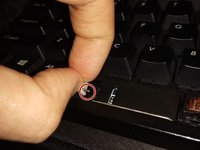
Ensure that both stabilizers have been positioned upright, it should look like this.
-
-
-
Grab the space bar key cap and gently press down on its foundation until you hear an audible click.
-
-
-
Reconnect the USB power cable to computer and test keycap in all areas for consistency. You have completed your repair!
-


If you want to repair any other key cap on this keyboard, you can return to this guide and follow the same instructions.
crwdns2935221:0crwdne2935221:0
crwdns2935227:0crwdne2935227:0
crwdns2935287:0crwdne2935287:0

USF Sarasota-Manatee, Team S1-G1, Stewart Spring 2018 crwdns2935289:0USF Sarasota-Manatee, Team S1-G1, Stewart Spring 2018crwdne2935289:0
USFSM-STEWART-S18S1G1
crwdns2931471:015crwdne2931471:0
crwdns2935297:031crwdne2935297:0