crwdns2915892:0crwdne2915892:0
Vacuum tubes are necessary components that help to raise the volume of your tunes by increasing the amplitude of the sound signals you emit. It is, therefore, required that you replace them annually for better amp performance, or at least when they crack.
crwdns2942213:0crwdne2942213:0
-
-
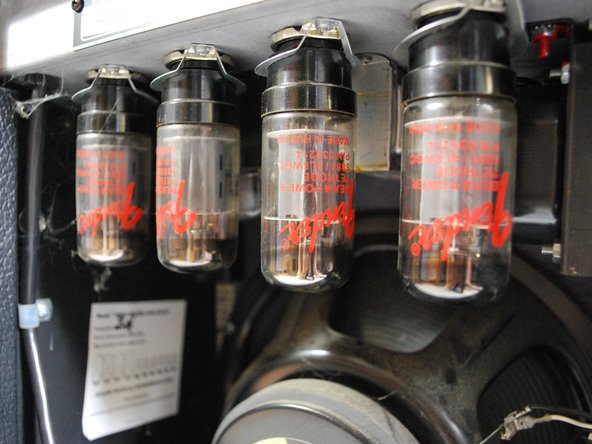
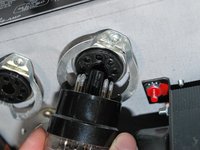
Take off the back panel by unscrewing the four Phillips head screws on the back of the amplifier. You will find the four power vacuum tubes are the largest ones on the left side.
-
-
-
Using the cloth, you can then remove a tube by pressing up on the two metal flaps near the top of the tubes, while lightly pulling the tube down.
-
-
-
-
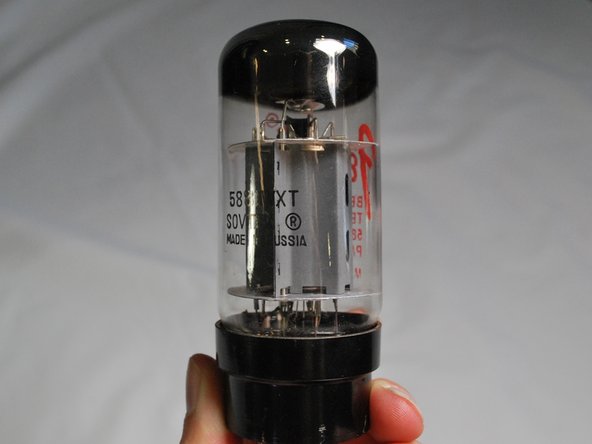
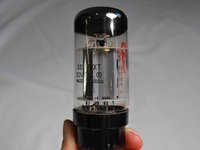
Check the tube for any cracks in the glass. also check to make sure the filaments are not burnt out.
-
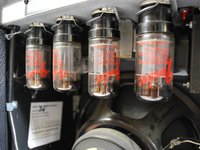
A new or working tube should look like the one in the picture, no cracks or broken filaments.
-
If you buy a replacement tube, it is recommended that you buy one that is the same as the original and made by the same company.
-
-
-
Take the new replacement tube (or your old one if it is still working) and insert it into the appropriate slot, pressing lightly but firmly. Make sure that the prongs at the end line up with the correct holes.
-
You should hear a click when the tube is secured in place.
-
Repeat these steps with the other three tubes if necessary.
-


crwdns2935221:0crwdne2935221:0
crwdns2935229:02crwdne2935229:0

crwdns2915084:0crwdne2915084:0

Cal Poly, Team 9-27, Maness Winter 2014 crwdns2935289:0Cal Poly, Team 9-27, Maness Winter 2014crwdne2935289:0
CPSU-MANESS-W14S9G27
crwdns2931471:05crwdne2931471:0
crwdns2935297:07crwdne2935297:0
crwdns2947410:01crwdne2947410:0
What about Bias adjustment??