crwdns2915892:0crwdne2915892:0
Use this guide to replace the display assembly, including the LCD screen, front glass and digitizer, on your Fairphone.
crwdns2942213:0crwdne2942213:0
-
-
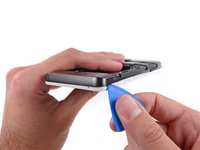
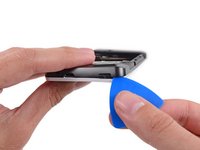
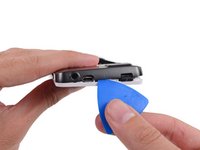
With the indentation as leverage, use your fingernail to pry the bottom portion of the back cover from the phone.
 crwdns2952109:0crwdne2952109:0
-
-
-
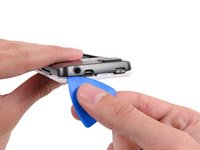
Slide the back cover down and remove it from the phone.
-
-
-
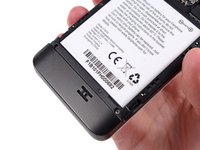
Use a fingernail in this indentation to push the battery toward the top of the phone
-
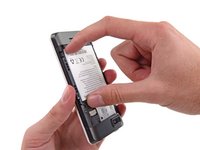
Pull the battery out away from the phone.
-
-
-
Remove the battery from your Fairphone.
-
-
-
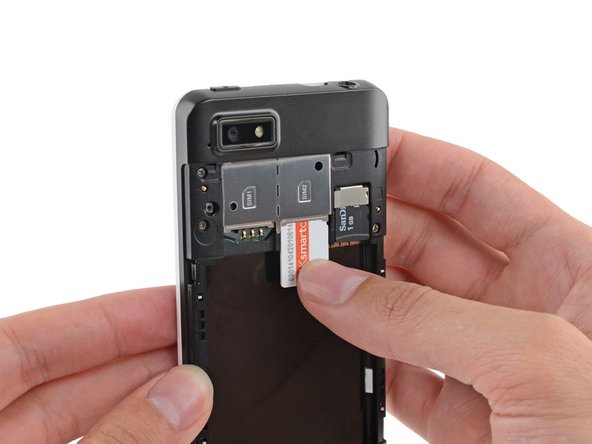
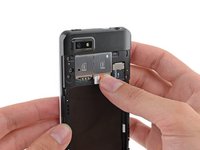
Use your finger to slide the SIM card straight down out of its tray.
-
Remove the SIM card from your Fairphone.
-
-
-
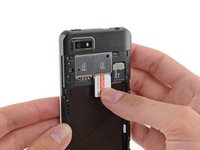
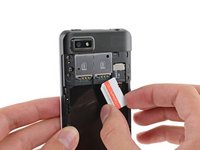
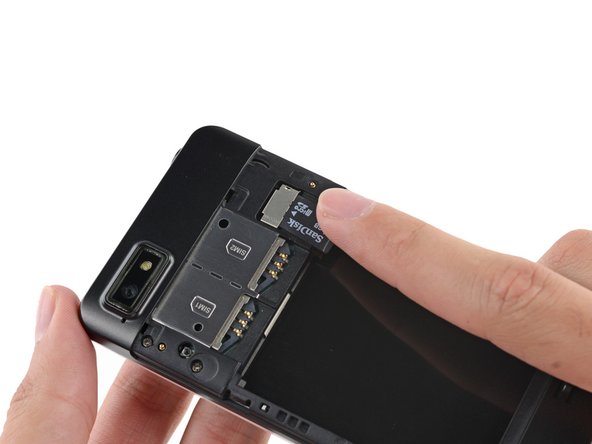
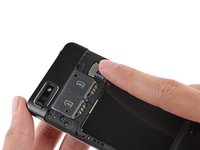
If you have a microSD card, use your finger to slide it straight out of its slot.
-
Remove the microSD card from your phone.
-
-
-
Remove the five 3.9 mm Phillips #000 screws securing the midframe to the display assembly.
-
-
-
Use an opening pick to carefully pry the midframe away from the display assembly.
-
Start just below the volume rocker and work your way down toward the bottom of the phone, freeing the plastic clips along the side.
-
-
-
Carefully round the corner, separating the midframe from the display assembly.
-
-
-
-
Run the opening pick and pry along the top seam.
-
-
-
Separate any remaining clips and remove the midframe from the phone.
-
-
crwdns2935267:0crwdne2935267:0Tweezers$4.99
-
Use tweezers to remove the volume rocker and power buttons from the display assembly.
-
-
-
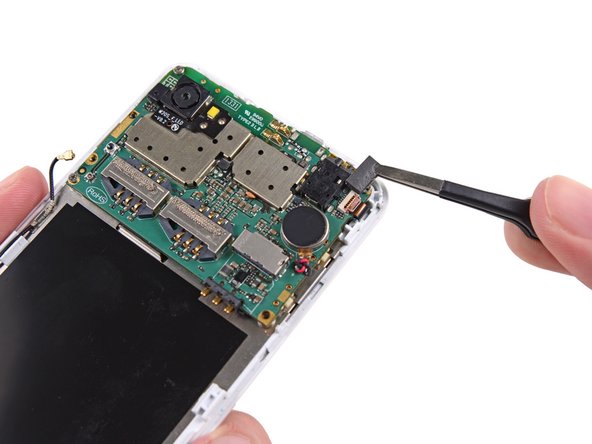
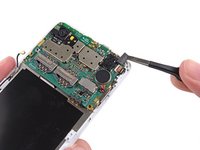
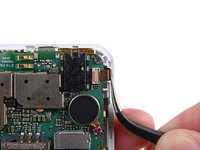
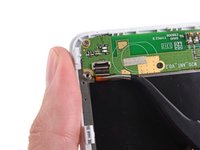
Use the flat end of a spudger to disconnect the antenna cable connector.
-
-
-
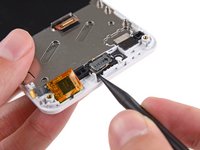
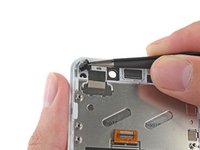
Use tweezers to remove the adhesive foam tape from the top of the digitizer cable ZIF socket.
-
-
-
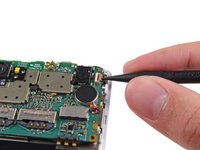
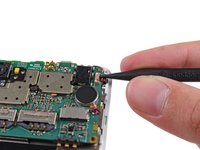
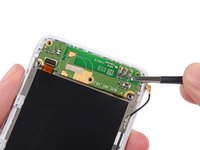
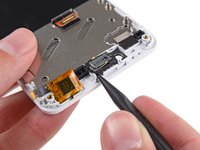
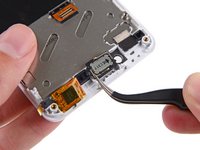
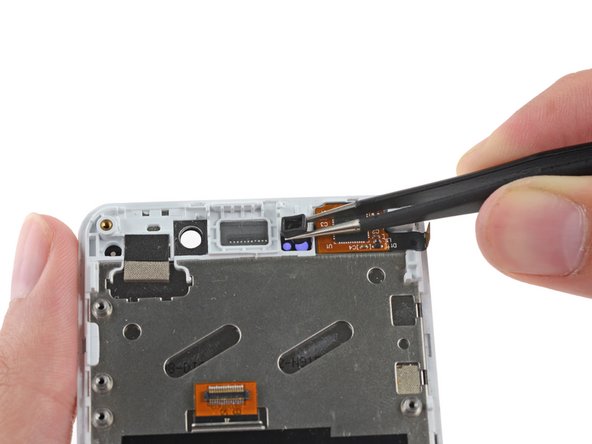
Use the tip of a spudger to flip open the tab on the digitizer ZIF connector.
-
Use tweezers to pull the digitizer cable away from its socket on the motherboard.
-
-
-
Remove the three 2.5 mm Phillips #000 screws securing the motherboard to the display assembly.
-
-
-
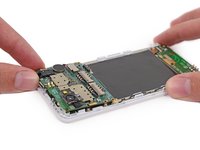
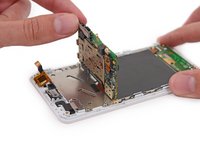
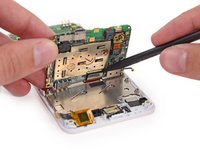
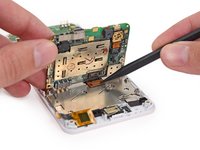
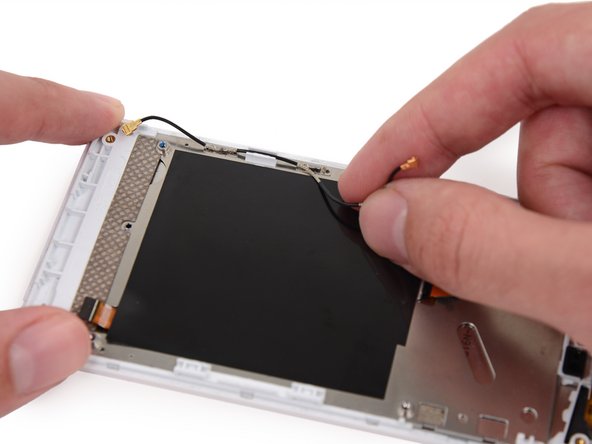
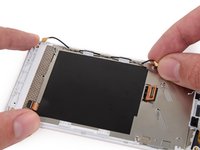
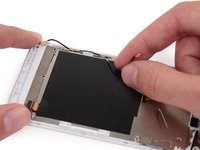
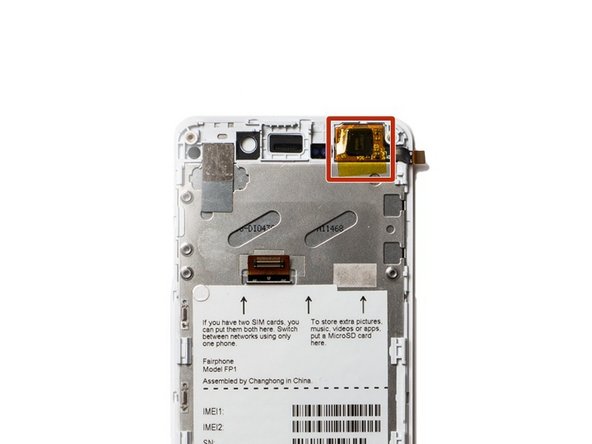
Gently lift the top end of the motherboard up to expose the display data cable.
-
-
-
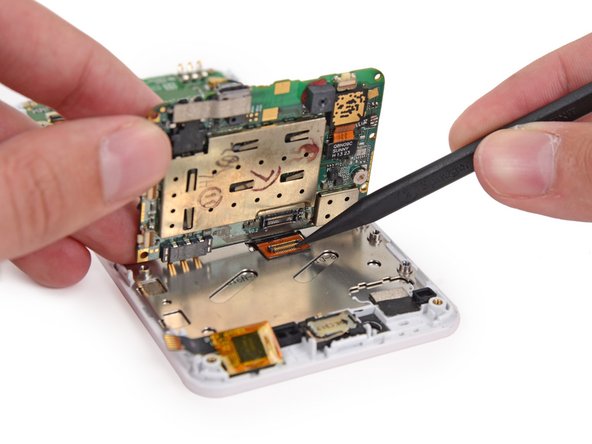
Use the tip of a spudger to disconnect the display data cable from the back of the motherboard.
-
-
-
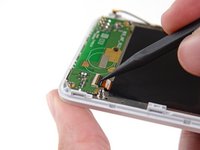
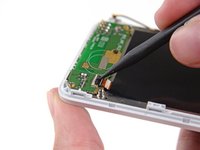
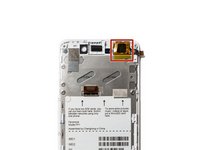
Remove the motherboard from the display assembly.
-
-
-
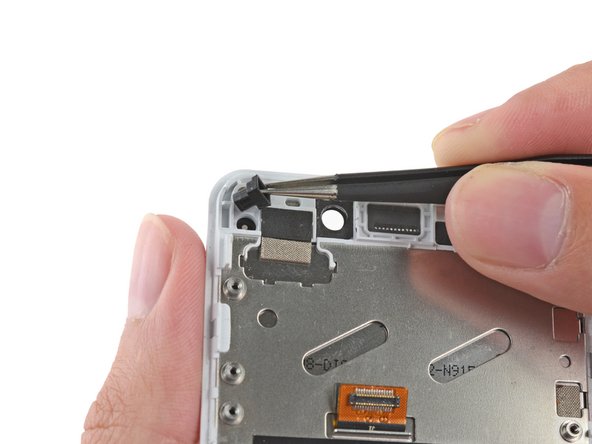
Use the flat end of a spudger to disconnect the antenna cable connector.
-
-
crwdns2935267:0crwdne2935267:0Tweezers$4.99
-
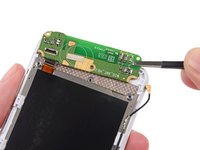
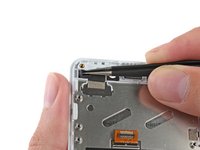
Use the tip of a spudger to flip open the tab on the daughterboard data cable ZIF connector.
-
Use tweezers to pull the daughterboard data cable away from its socket.
-
-
-
Remove the following screws securing the Wi-Fi daughterboard to the display assembly:
-
Two 2.5 mm Phillips #000 screws
-
One 1.6 mm Phillips #000 screw
-
-
-
Use tweezers to gently pry the board up and remove it from the phone.
-
-
-
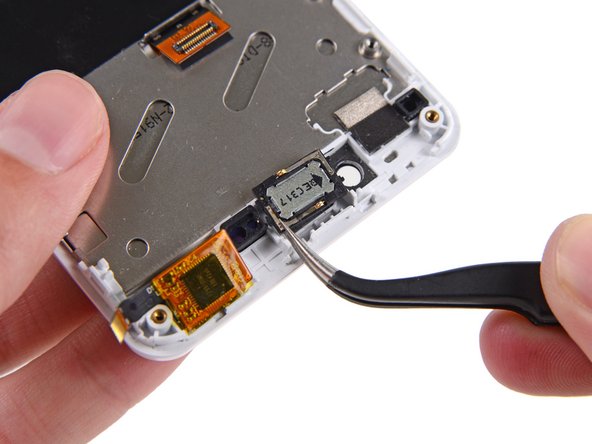
Use the tip of a spudger to gently pry the speaker up from the display assembly.
-
Remove the speaker.
-
-
-
Remove the antenna interconnect cable from the display assembly.
-
-
-
Remove the rubber guide from the recess near the front facing camera hole.
-
-
-
Remove the rubber guide to the right of the earpiece speaker recess.
-
Your replacement display will have a piece of yellow tape covering the touch sensor chip. Do not remove this tape; if you do, your phone may not work after reassembly.
-


To reassemble your device, follow these instructions in reverse order.
crwdns2935221:0crwdne2935221:0
crwdns2935229:0102crwdne2935229:0


crwdns2947412:016crwdne2947412:0
So far, so good.
My display is replaced now.
Unfortunately, removing the motherboard easily destroyed the camera, which didn't come up with the motherboard, being glued to display at the back.
So now I gotta get a new camera and do the hole thing again -.-
Atrocio - crwdns2934203:0crwdne2934203:0 crwdns2950251:0crwdne2950251:0
step 20:
Watch out not to loose the two rubber things of step 27 and 28 while taking out the motherboard. I foud the small one floor.
Koen Go - crwdns2934203:0crwdne2934203:0 crwdns2950251:0crwdne2950251:0
The Camera is not mentioned at all. It's glued to the Display and yet still working, it can't focus anymore. So I might have to get a new one as well.
Juliane Grossmann - crwdns2934203:0crwdne2934203:0 crwdns2950251:0crwdne2950251:0
Screen fixed :-) thanks for the guide!
Watch the glued camera on step 19...
Aitor - crwdns2934203:0crwdne2934203:0 crwdns2950251:0crwdne2950251:0
Awesome! Did it, and everything still works. Mighty pleased with myself. Thank you, iFixit!!!
Meike Hensmann - crwdns2934203:0crwdne2934203:0 crwdns2950251:0crwdne2950251:0