crwdns2942213:0crwdne2942213:0
-
-
Power Off Printer
-
Unplug Printer From Outlet
-
-
-
Remove 6 Screws from Base of Printer
-
Carefully remove cover.
-
-
-
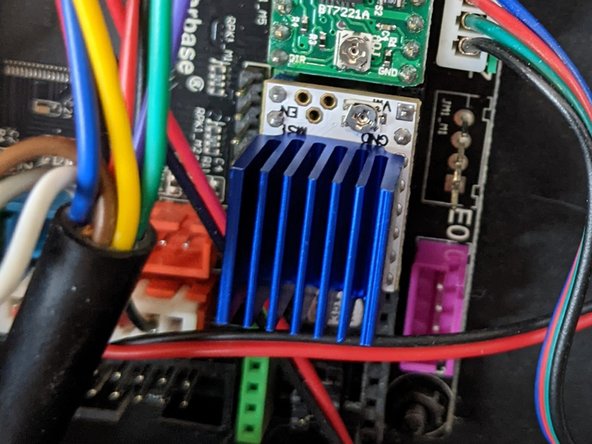
Unplug Stepper Cable
-
Gently Remove Stepper Driver
-
-
-
-
Using small needle nose pliers gently remove the plastic clip that holds the stepper cable connector.
-
Rotate the plastic clip 180º
-
Gently, but firmly, press the plastic clip back onto the board.
How about showing a picture for Step 4?
Unfortunately, I did not take a photo when I was doing it.
Do you pull out all 4 wires?
The wires stay in their connector. The clip that needs to be reversed is the plastic bit that aligns the connector to the board.
Gotcha. Thank you!
Rotate the plastic clip 108º? or 180º?
If I understand correctly, then just pull the plug with 4 wires out of the seat, pull out the seat from the pins and turn it 180º?
That is, it turns out that where the black wire was, the blue one will take its place?
And how many drivers change? 3 or 4? And with all you need to turn the connector?
Yes, rotate 180. The idea is to flip the plastic clips such that the the wire connectors plug in opposite of normal. Do this for each stepper driver that you replace. The stepper drivers that come with the QQ run in the opposite direction as the the 2208s.
It is enough to replace the driver and turn the wire over. And nothing more?
That is all I needed for my QQ.
-
-
-
Align the pins in the correct location and position.
-
Press gently but firmly into place.
-
-
-
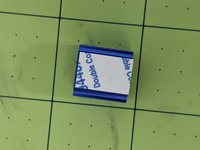
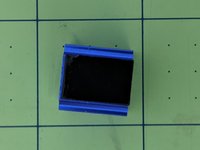
Remove sticker from back of heat sink
-
Carefully press the heat sink to the back of the TMC2208
-
-
-
Remove Old Driver
-
Reverse Direction of Stepper
-
Insert TMC2208
-
Add Heatsink
-
Plug Stepper Back In
-


Re-assemble your printer and enjoy near silent (fans make some noise) printing!
Re-assemble your printer and enjoy near silent (fans make some noise) printing!
crwdns2935221:0crwdne2935221:0
crwdns2935229:02crwdne2935229:0

crwdns2947412:08crwdne2947412:0
How about Vref?
I haven't needed to mess with it.
Hi, thanks for a great tutorial!
Does the firmware of the QQ-S need to be updated/replaced as well, or will these drivers run with stock FW?
Thanks again!
You can either, flip the orientation of the plug on the board, or modify config values in the firmware config file and re-flash the firmware. I chose to flip the plug so I would need to mess with flashing firmware.
Do you need to reverse the plug for a 2209? Difference between 2208 and 2209 for my QQS Pro?
I think that the 2208 and 2209 are the same direction, but I don't have first hand experience with the 2209.
FLSUN QQ silent not working.
Not able to print.
I did the procedure I need to add the best way to connect the one-way connector on the motherboard is to melt the plastic with an iron and if you don't have It, a torch lighter and a knife will do the job.
Once I installed the new part and I did the printer calibration, It's 100% silent. But the problem is that the part have not a consistent voltage and mess with the height of the arm during the print. I noticed on the silent part that you have a screw to adjust the voltage. I was not able to find the ordinal part voltage because I don't ave the electronic tool to measure It. An oscilloscope will do the job because you can probe the circuit. I put back the original part and I was able to print after the calibration.
At the end, I put my printer in the basement and I let It print.
The part are used are here below: 5PCS 3D Printer TMC2208 V1.2 Stepper Motor Driver, TMC2208 Stepstick Stepper Motor Driver Module with Heat Sink https://www.aliexpress.com/item/10050027...