crwdns2933423:0crwdne2933423:0

FLSUN QQ Stepper Driver Replacement (TMC2208)

crwdns2942213:0crwdne2942213:0

    • Power Off Printer

    • Unplug Printer From Outlet

  1. FLSUN QQ Stepper Driver Replacement (TMC2208), Open Base of Printer: crwdns2935265:02crwdnd2935265:01crwdnd2935265:01crwdne2935265:0
    • Use 2.5mm Hex Driver

    • Remove 6 Screws from Base of Printer

    • Carefully remove cover.

  2. FLSUN QQ Stepper Driver Replacement (TMC2208), Remove Old Stepper Driver: crwdns2935265:03crwdnd2935265:01crwdnd2935265:01crwdne2935265:0
    • Unplug Stepper Cable

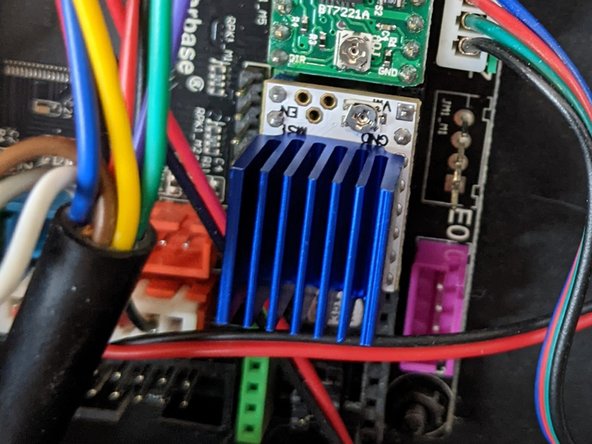
    • Gently Remove Stepper Driver

    • You can skip this step if you reverse the direction of the steppers in firmware.

    • Using small needle nose pliers gently remove the plastic clip that holds the stepper cable connector.

    • Alternate pulling from the top and bottom of the clip to avoid damage to the board.

    • Rotate the plastic clip 180º

    • Gently, but firmly, press the plastic clip back onto the board.

  3. FLSUN QQ Stepper Driver Replacement (TMC2208), Plug In the New TMC2208 Driver: crwdns2935265:05crwdnd2935265:01crwdnd2935265:01crwdne2935265:0
    • Align the pins in the correct location and position.

    • In my case the blue header on the TMC2208 aligned with the green side of the socket on the board.

    • Press gently but firmly into place.

  4. FLSUN QQ Stepper Driver Replacement (TMC2208), Install Heat Sink: crwdns2935265:06crwdnd2935265:01crwdnd2935265:03crwdne2935265:0 FLSUN QQ Stepper Driver Replacement (TMC2208), Install Heat Sink: crwdns2935265:06crwdnd2935265:02crwdnd2935265:03crwdne2935265:0 FLSUN QQ Stepper Driver Replacement (TMC2208), Install Heat Sink: crwdns2935265:06crwdnd2935265:03crwdnd2935265:03crwdne2935265:0
    • Avoid shorting out any of the pins. Do not place heat sink in contact with any of the pins.

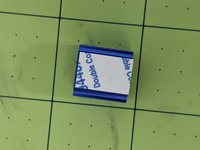
    • Remove sticker from back of heat sink

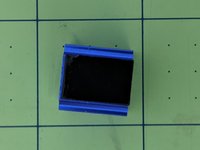
    • Carefully press the heat sink to the back of the TMC2208

    • Remove Old Driver

    • Reverse Direction of Stepper

    • Insert TMC2208

    • Add Heatsink

    • Plug Stepper Back In

crwdns2915888:0crwdne2915888:0

Re-assemble your printer and enjoy near silent (fans make some noise) printing!

crwdns2935229:02crwdne2935229:0

Daniel Green

crwdns2935283:002/08/15crwdne2935283:0

1,014 crwdns2915208:0crwdne2915208:0

crwdns2935297:05crwdne2935297:0

crwdns2944067:08crwdne2944067:0

I haven't needed to mess with it.

Daniel Green -

Hi, thanks for a great tutorial!

Does the firmware of the QQ-S need to be updated/replaced as well, or will these drivers run with stock FW?

Thanks again!

RJ T - crwdns2934203:0crwdne2934203:0

You can either, flip the orientation of the plug on the board, or modify config values in the firmware config file and re-flash the firmware. I chose to flip the plug so I would need to mess with flashing firmware.

Daniel Green - crwdns2934203:0crwdne2934203:0

Do you need to reverse the plug for a 2209? Difference between 2208 and 2209 for my QQS Pro?

Alex Smith - crwdns2934203:0crwdne2934203:0

crwdns2917038:0crwdne2917038:0

crwdns2936625:0crwdne2936625:0:

crwdns2936751:024crwdne2936751:0 2

crwdns2936753:07crwdne2936753:0 11

crwdns2936753:030crwdne2936753:0 42

crwdns2942667:0crwdne2942667:0 5,330