crwdns2933423:0crwdne2933423:0

Expobar Office Lever Pressurestat Replacement

crwdns2942213:0crwdne2942213:0

  1. Expobar Office Lever Pressurestat Replacement, Remove accessories: crwdns2935265:01crwdnd2935265:01crwdnd2935265:03crwdne2935265:0 Expobar Office Lever Pressurestat Replacement, Remove accessories: crwdns2935265:01crwdnd2935265:02crwdnd2935265:03crwdne2935265:0 Expobar Office Lever Pressurestat Replacement, Remove accessories: crwdns2935265:01crwdnd2935265:03crwdnd2935265:03crwdne2935265:0
    • Set aside the following

    • The drip tray grid

    • The drip tray

    • The housing cup holder

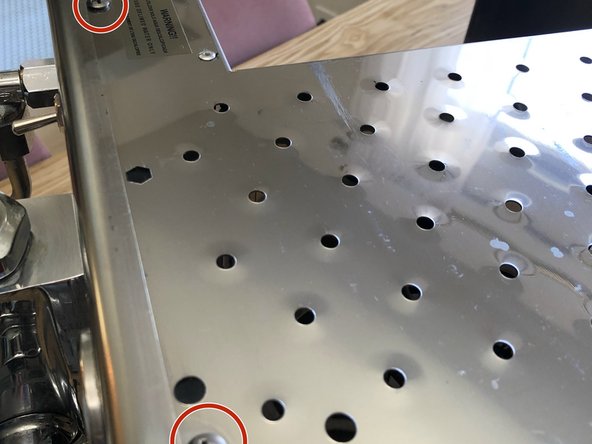
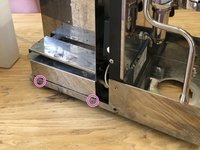
  2. Expobar Office Lever Pressurestat Replacement, Remove the housing screws: crwdns2935265:02crwdnd2935265:01crwdnd2935265:03crwdne2935265:0 Expobar Office Lever Pressurestat Replacement, Remove the housing screws: crwdns2935265:02crwdnd2935265:02crwdnd2935265:03crwdne2935265:0 Expobar Office Lever Pressurestat Replacement, Remove the housing screws: crwdns2935265:02crwdnd2935265:03crwdnd2935265:03crwdne2935265:0
    • Remove the 5 Phillips #2 screws securing the housing

    • There are two on each side of the machine and one in the rear

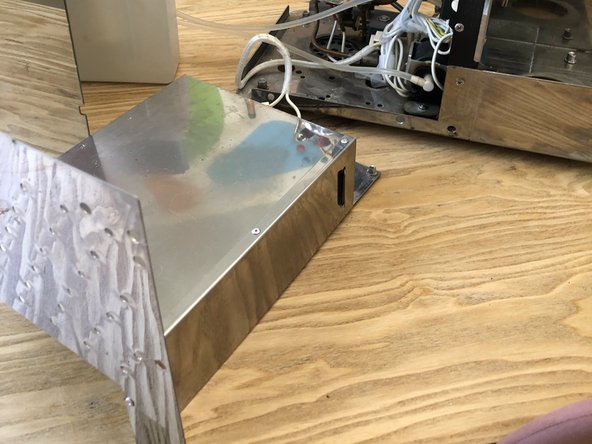
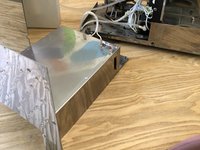
  3. Expobar Office Lever Pressurestat Replacement, Set the housing aside: crwdns2935265:03crwdnd2935265:01crwdnd2935265:02crwdne2935265:0 Expobar Office Lever Pressurestat Replacement, Set the housing aside: crwdns2935265:03crwdnd2935265:02crwdnd2935265:02crwdne2935265:0
    • Tip back the housing and set it off to the side

    • The housing is a solid 5mm sheet of steel. It weighs about 10lb / 5kg

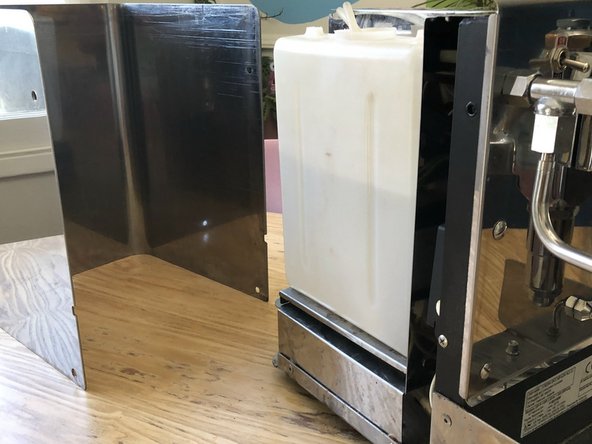
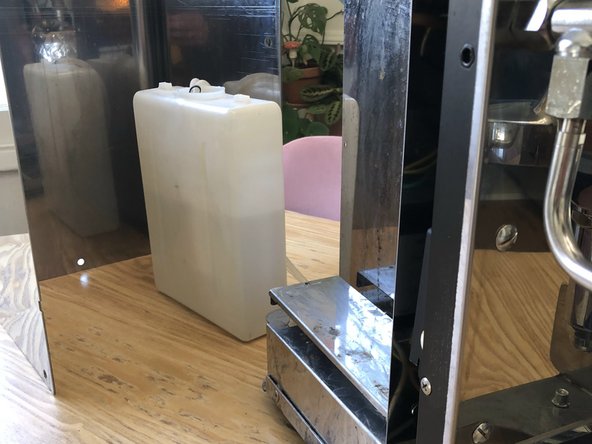
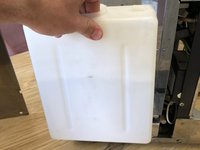
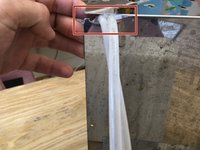
  4. Expobar Office Lever Pressurestat Replacement, Remove the water tank: crwdns2935265:04crwdnd2935265:01crwdnd2935265:03crwdne2935265:0 Expobar Office Lever Pressurestat Replacement, Remove the water tank: crwdns2935265:04crwdnd2935265:02crwdnd2935265:03crwdne2935265:0 Expobar Office Lever Pressurestat Replacement, Remove the water tank: crwdns2935265:04crwdnd2935265:03crwdnd2935265:03crwdne2935265:0
    • The water tank can be lifted off and set to the side

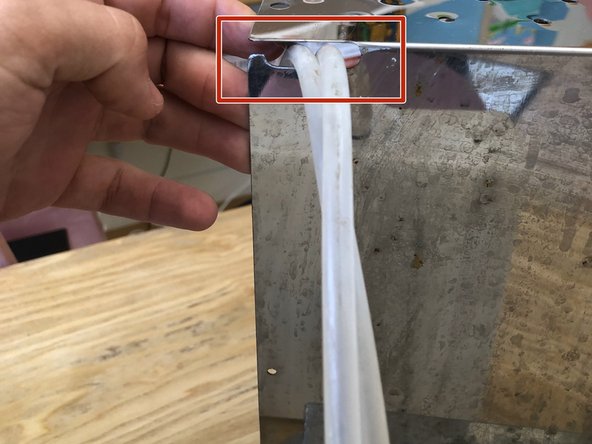
    • The hose line connecting to the water tank needs to be carefully slotted out of the metal sheet

  5. Expobar Office Lever Pressurestat Replacement, Remove the Divider: crwdns2935265:05crwdnd2935265:01crwdnd2935265:03crwdne2935265:0 Expobar Office Lever Pressurestat Replacement, Remove the Divider: crwdns2935265:05crwdnd2935265:02crwdnd2935265:03crwdne2935265:0 Expobar Office Lever Pressurestat Replacement, Remove the Divider: crwdns2935265:05crwdnd2935265:03crwdnd2935265:03crwdne2935265:0
    • Remove the two Phillips #2 screws at the top of the divider

    • Remove the two Hex 3mm screws securing the bottom of the divider

    • Carefully tip the divider down

    • There will be wires connected to the water weight sensor

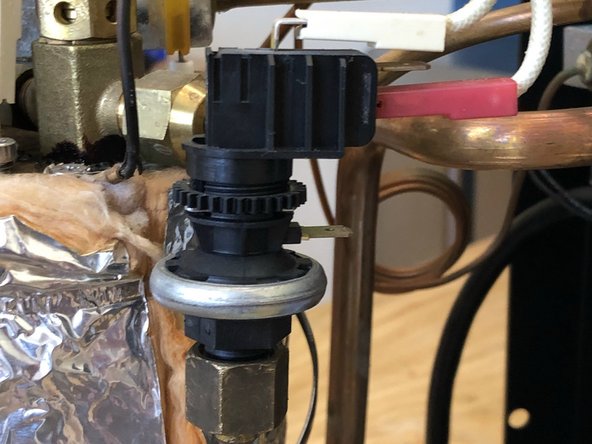
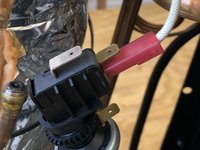
  6. Expobar Office Lever Pressurestat Replacement, Locate the pressurestat: crwdns2935265:06crwdnd2935265:01crwdnd2935265:02crwdne2935265:0 Expobar Office Lever Pressurestat Replacement, Locate the pressurestat: crwdns2935265:06crwdnd2935265:02crwdnd2935265:02crwdne2935265:0
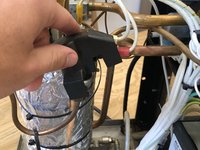
    • The pressurestat should be covered by a small plastic clip-on protector. Remove it.

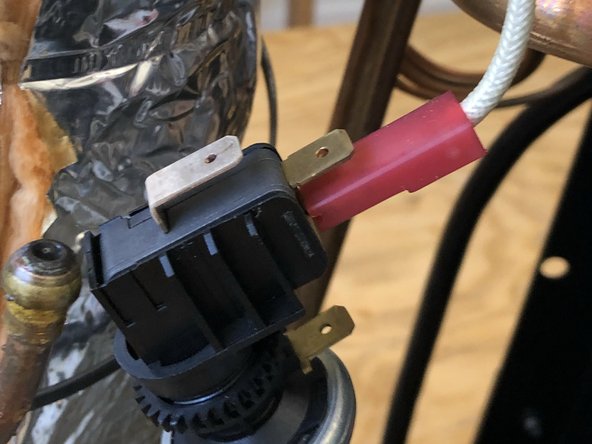
    • Note the white and red wiring connections to ensure correct installation of the new pressurestat

  7. Expobar Office Lever Pressurestat Replacement, Remove the pressurestat: crwdns2935265:07crwdnd2935265:01crwdnd2935265:03crwdne2935265:0 Expobar Office Lever Pressurestat Replacement, Remove the pressurestat: crwdns2935265:07crwdnd2935265:02crwdnd2935265:03crwdne2935265:0 Expobar Office Lever Pressurestat Replacement, Remove the pressurestat: crwdns2935265:07crwdnd2935265:03crwdnd2935265:03crwdne2935265:0
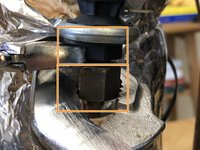
    • Use two crescent wrenches to remove the pressure stats. The bottom nut will unscrew while the top is used for grip.

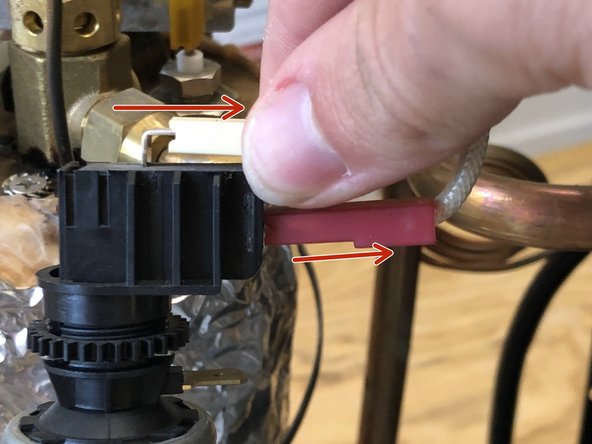
    • Remove the wire connections by sliding them carefully away from the pressurestat

  8. Expobar Office Lever Pressurestat Replacement, Adjust the pressurestat: crwdns2935265:08crwdnd2935265:01crwdnd2935265:01crwdne2935265:0
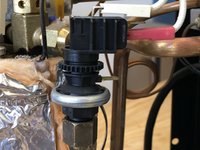
    • The pressurestat has a spring tension system which can be adjusted the turning the plastic gear

    • It is only possible to test the adjustment of the pressure stat while the machine is open

    • You have to have it on and open to adjust it. Doing so exposes you to a risk of shock and burns.

    • If you are nervous of the risks, you can close up the machine and test the pressure. If any adjustments are needed wait for the machine to cool and reopen

crwdns2915888:0crwdne2915888:0

To reassemble your device, follow these instructions in reverse order.

crwdns2935227:0crwdne2935227:0

Jarred Stelfox

crwdns2935283:009/04/18crwdne2935283:0

207 crwdns2915208:0crwdne2915208:0

crwdns2935295:0crwdne2935295:0

crwdns2915084:0crwdne2915084:0

iFixit crwdns2935289:0iFixitcrwdne2935289:0

Staff

crwdns2931471:0136crwdne2931471:0

crwdns2935297:017.428crwdne2935297:0
crwdns2944067:00crwdne2944067:0
crwdns2917038:0crwdne2917038:0

crwdns2936625:0crwdne2936625:0:

crwdns2936751:024crwdne2936751:0 6

crwdns2936753:07crwdne2936753:0 19

crwdns2936753:030crwdne2936753:0 53

crwdns2942667:0crwdne2942667:0 480