crwdns2915892:0crwdne2915892:0
This will teach you to uninstall and reinstall a laser from the motherboard. This is needed if the laser stops working and cannot be turned on by pressing the button to do so. The tools required will be a screwdriver and a soldering iron. The soldering iron is hot and may cause a potential hazard. For those who are uncomfortable soldering, there is a link to a soldering guide in the Troubleshooting section of the device page.
crwdns2942213:0crwdne2942213:0
-
-
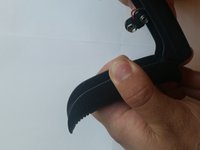
Pull the battery cover away from the handle by gripping near the thumb groove.
-
-
-
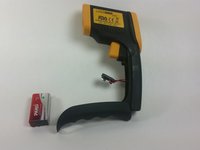
Gently pull the battery out of the handle.
-
-
-
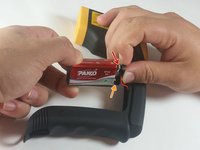
Disconnect the battery by pulling the connector away from it.
-
Positive first
-
Negative second
-
-
-
Remove the battery cover from the device by pulling it straight out.
-
-
-
-
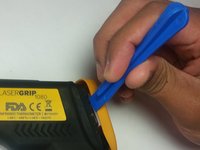
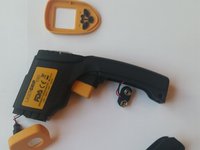
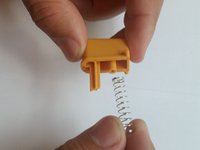
Using the plastic opening tool remove the front and rear yellow covers.
-
-
-
Remove the two 3.1 mm Phillips #0 screws.
-
-
-
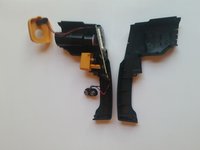
Realign the buttons with the button terminals.
-
Red terminal to red button.
-
Orange terminal to orange button.
-
Yellow terminal to yellow button.
-
-
-
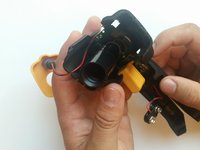
Carefully pull the trigger out.
-
-
-
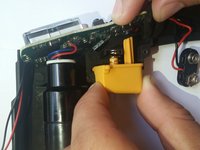
Pull the motherboard out of its slot in the device.
-
-
-
Use a soldering iron to melt the solder that holds the wires for the laser to the motherboard.
-


To reassemble your device, follow these instructions in reverse order.
To reassemble your device, follow these instructions in reverse order.
crwdns2915084:0crwdne2915084:0

USF Tampa, Team 5-1, Blackwell Fall 2015 crwdns2935289:0USF Tampa, Team 5-1, Blackwell Fall 2015crwdne2935289:0
USFT-BLACKWELL-F15S5G1
crwdns2931471:03crwdne2931471:0
crwdns2935297:09crwdne2935297:0