crwdns2915892:0crwdne2915892:0
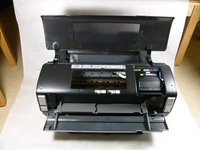
To get to the inside parts of the printer, the housing components must come off.
crwdns2942213:0crwdne2942213:0
-
-
Turn off the printer.
-
Disconnect all data connections coming into the printer such as USB, networkd cables, firewire, etc. as well as removing the power cord.
-
-
-
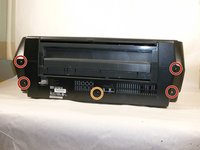
Locate the IEEE cover in the back.
-
Gently slide the cover to the right to unlatch, then pull to remove it.
-
-
-
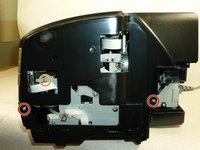
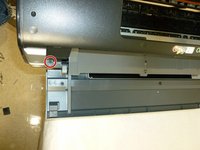
Using a Phillips #2 screwdriver, remove the four 10 mm screws shown.
-
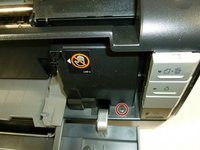
Remove the 6 mm screw that holds the rear housing in place.
-
-
-
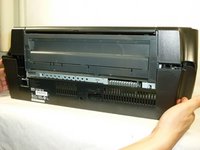
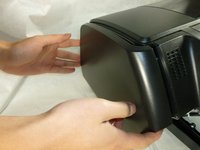
Remove the rear housing by pulling it backwards.
-
-
-
-
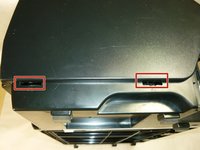
Insert a plastic opening tool into the cutouts of the lower housing.
-
Release the two tabs of the side housing by lifting the tool in an upward motion.
-
Remove the side housing by pulling it outwards.
-
-
-
Using the same method, remove the other side housing.
-
-
-
Lift the paper support.
-
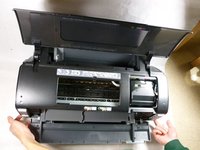
Open the printer cover and front cover.
-
-
-
Remove the four 10 mm Phillips #2 screws from the sides of the printer.
-
Remove the three 6 mm Phillips #2 screws.
-
-
-
Detach the tabs from the pins on each side by pulling it outwards.
-
-
-
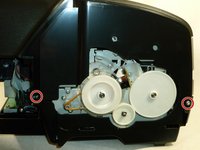
Remove the two 10 mm Phillips #2 screws on the front of the printer.
-
-
-
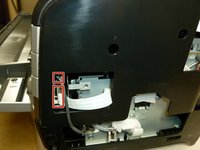
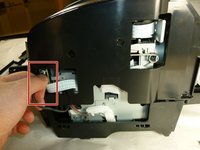
Disconnect the two cables on the side by carefully pulling it outwards.
-
-
-
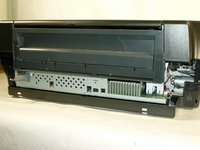
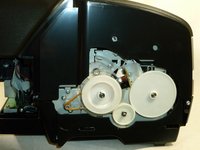
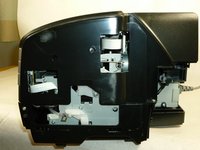
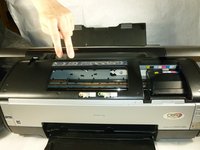
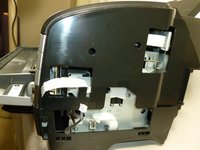
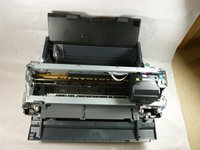
Remove the upper housing by lifting it upwards.
-


To reassemble your device, follow these instructions in reverse order.
To reassemble your device, follow these instructions in reverse order.
crwdns2935221:0crwdne2935221:0
crwdns2935229:010crwdne2935229:0
crwdns2915084:0crwdne2915084:0

Cal Poly, Team 17-11, Regan Fall 2011 crwdns2935289:0Cal Poly, Team 17-11, Regan Fall 2011crwdne2935289:0
CPSU-REGAN-F11S17G11
crwdns2931471:04crwdne2931471:0
crwdns2935297:012crwdne2935297:0
crwdns2947410:01crwdne2947410:0
Thank you so much, Larry! I am repurposing my 1400 for sublimation printing and need to get the print head a little easier than standard methods! Much appreciated!