crwdns2915892:0crwdne2915892:0
This is a replacement guide for the projector lens for the Epson PowerLite 822 Plus. Model number EMP-822H. When the projector lens is not working as it should that is when the image quality will decrease, becoming fuzzy or blurry. This guide will show you how to remove and replace the current projector lens in your projector.
crwdns2942213:0crwdne2942213:0
-
-
Flip the projector over.
-
Remove all 8 screws on the bottom of the projector.
-
-
-
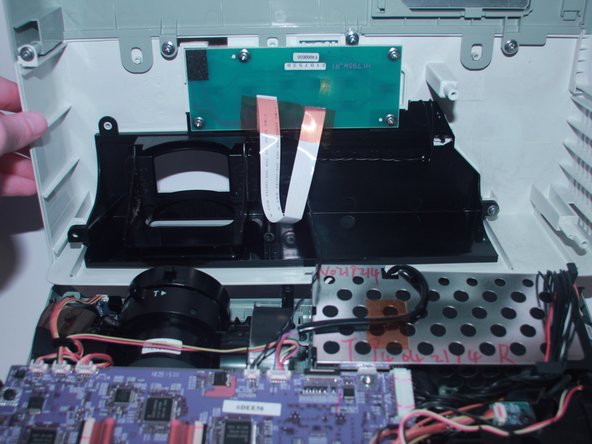
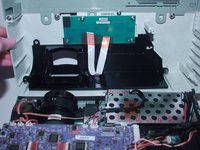
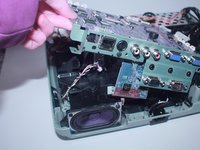
Now, flip the projector back over and pry the top of it open revealing the inside of the projector.
-
-
-
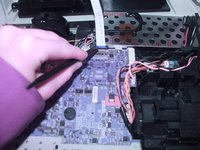
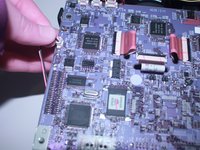
Use the spudger to disconnect it from the motherboard.
-
-
-
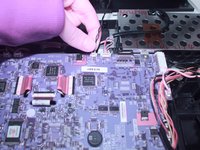
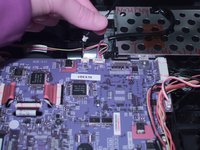
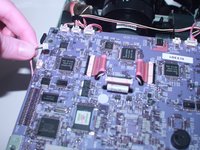
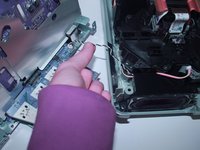
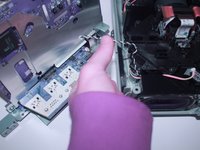
Using your finger gently move back and forth the JST cable that connects the top to the motherboard.
-
Now completely take off the top of the projector.
-
-
-
-
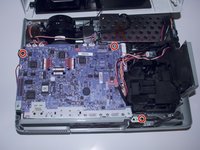
Remove the 3 screws that secure the motherboard in place.
-
-
-
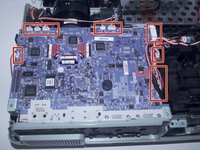
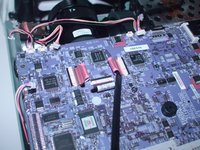
Gently move back and forth the 11 JST connectors until they come out.
-
-
-
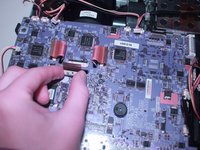
With the spudger lift the red plastic tabs from their connectors.
-
-
-
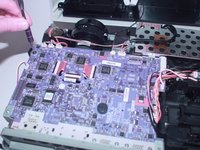
Lift the motherboard and disconnect the JST connector underneath.
-
-
-
Now, the motherboard is completely removed from the projector and you are ready to replace it.
-
-
-
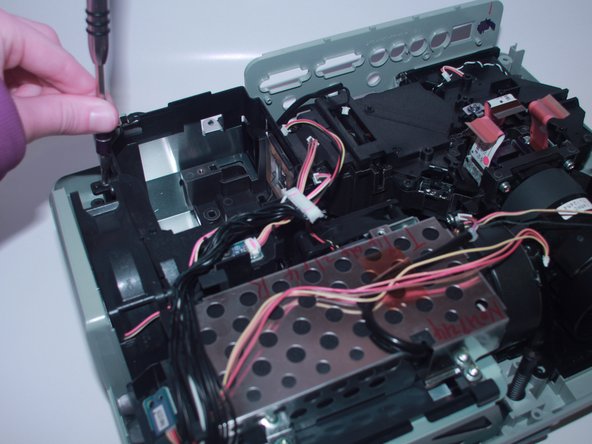
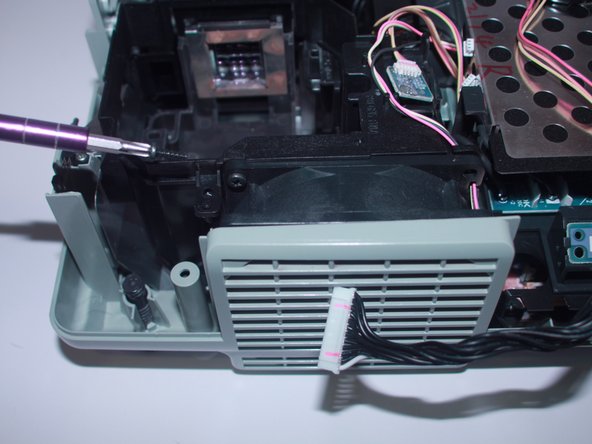
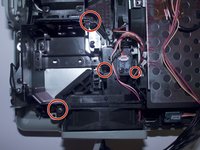
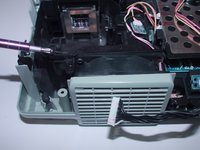
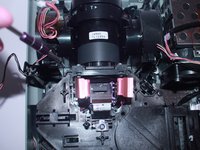
Use a Phillips #2 screwdriver to remove the four 6 mm screws that hold together the fan bracket.
-
-
-
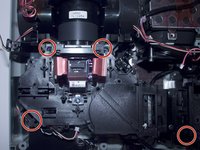
Use a Phillips #2 screwdriver to remove the four 6 mm screws that secure the projector.
-
-
-
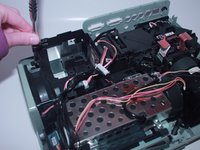
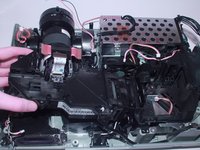
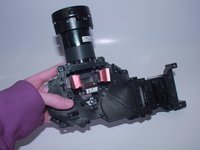
Pull out the loose projector and it is ready to be replaced.
-
To reassemble your device, follow these instructions in reverse order.


