crwdns2915892:0crwdne2915892:0
Replacing the switches on your Epomaker Shadow-X can help restore or customize the typing experience. Follow this guide to safely remove and replace switches. Note: this process requires the keyboard to be hot-swappable.
crwdns2942213:0crwdne2942213:0
-
-
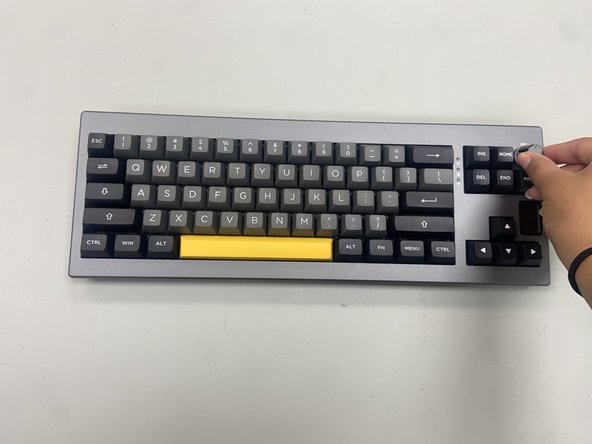
Unplug or disconnect the keyboard from the PC.
-
Turn off and unplug the keyboard if connected via USB-C.
-
If using Bluetooth, disconnect it from all paired devices.
-
-
-
Use a keycap puller to remove each keycap over the switches you plan to replace.
-
Gently pull upward to avoid damaging the keycap or switch stem.
-
-
-
-
Use a switch puller to press the clips on each side of the switch.
-
Gently pull the switch straight up to remove it from the socket.
-
-
-
Align the pins of the new switch with the socket or PCB holes. Carefully press the switch into place until it clicks or fits snugly into the PCB.
-


You’ve completed the switch replacement on your Epomaker Shadow-X keyboard! With new switches installed, your keyboard should offer an improved typing experience. Test each key to ensure they’re responsive, and enjoy the renewed feel of your keyboard.
You’ve completed the switch replacement on your Epomaker Shadow-X keyboard! With new switches installed, your keyboard should offer an improved typing experience. Test each key to ensure they’re responsive, and enjoy the renewed feel of your keyboard.
crwdns2935221:0crwdne2935221:0
crwdns2935229:02crwdne2935229:0

crwdns2915084:0crwdne2915084:0

University of North Texas, Team 6-1, Kilpatrick Fall 2024 crwdns2935289:0University of North Texas, Team 6-1, Kilpatrick Fall 2024crwdne2935289:0
UNT-KILPATRICK-F24S6G1
crwdns2931471:04crwdne2931471:0
crwdns2935297:05crwdne2935297:0