crwdns2915892:0crwdne2915892:0
The bridge of a guitar plays a crucial role in transmitting string vibrations to the body, influencing sound quality and usability. Over time, bridges can wear out, crack, or break due to string tension, humidity, or physical damage. When this happens, repairing the bridge is necessary to restore the instrument’s functionality.
This guide provides a step-by-step approach to replacing a broken bridge on an Epiphone Lespaul Special II guitar, providing the method to conduct a safe, effective, and beginner-friendly repair. Whether you’re an experienced musician or someone new to guitar repairs, these instructions will walk you through every stage, from removing old strings and hardware to securely installing a new bridge.
Additionally, our approach has been shaped by user research to ensure clarity for beginners. We consulted expert sources to align our procedure with professional repair standards.
By following this guide, you’ll be able to confidently repair your guitar’s bridge, restoring its usability and sound while learning valuable repair techniques along the way, without the hassle and cost of professional repairs.
crwdns2942213:0crwdne2942213:0
-
-
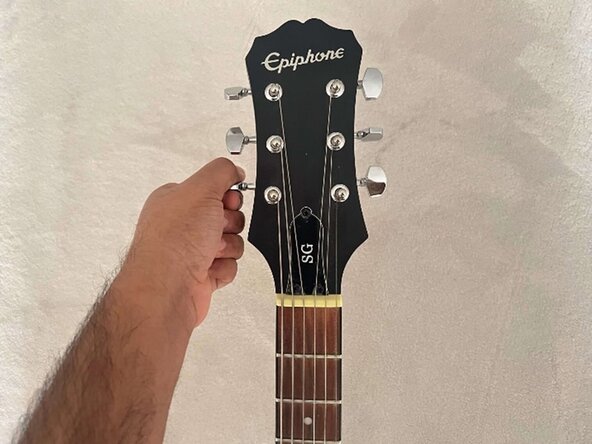
Twist each tuning peg in an anti-clockwise direction to tune down and release the tension on the strings.
-
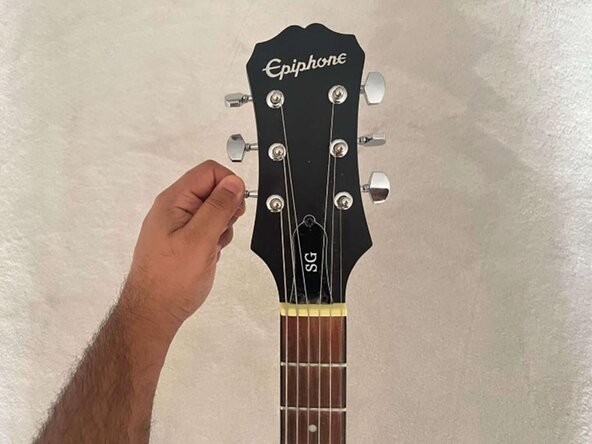
Ensure your strings are loose before proceeding.
-
-
-
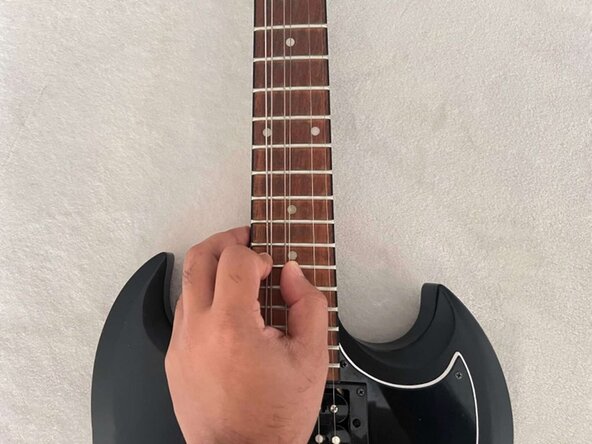
Remove each string from the body of the guitar.
-
-
-
-
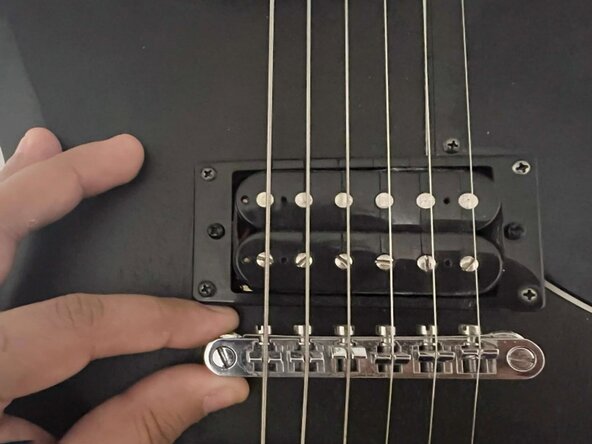
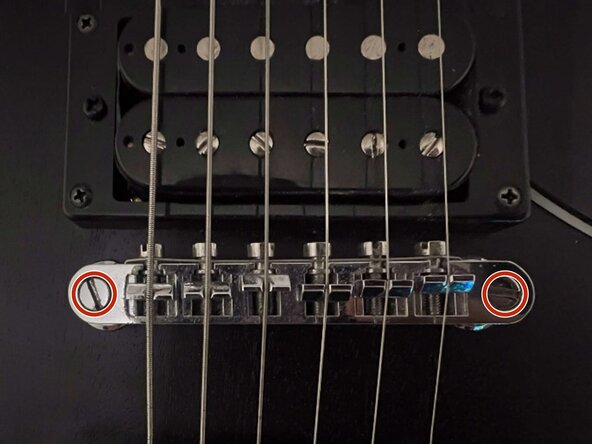
Use a 4.0 mm flathead screwdriver to remove two 20 mm screws from the bridge.
-
-
-
Replace the bushings below the bridge of the guitar.
-
Put the new bridge in place.
-
Use a 4.0 mm flathead screwdriver to securely tighten the 20 mm screws, ensuring the bridge is held firmly in place.
-
Double-check that the bridge is aligned correctly and firmly attached.
-


By following this guide, you have successfully replaced your guitar’s bridge, ensuring its structural integrity and optimal sound quality. To complete the process, reverse the steps to reassemble the instrument. Once restrung and tuned, your guitar will be fully restored and ready to play. This DIY approach saves time and money while enhancing your understanding of guitar maintenance.
By following this guide, you have successfully replaced your guitar’s bridge, ensuring its structural integrity and optimal sound quality. To complete the process, reverse the steps to reassemble the instrument. Once restrung and tuned, your guitar will be fully restored and ready to play. This DIY approach saves time and money while enhancing your understanding of guitar maintenance.
crwdns2915084:0crwdne2915084:0

York University, Team 3-10, Woodhouse Winter 2025 crwdns2935289:0York University, Team 3-10, Woodhouse Winter 2025crwdne2935289:0
YORK-WOODHOUSE-W25S3G10
crwdns2931471:02crwdne2931471:0
crwdns2935303:01crwdne2935303:0