crwdns2933423:0crwdne2933423:0

Ematic Genesis 2 Charging Port Replacement

crwdns2942213:0crwdne2942213:0

  1. Ematic Genesis 2 Charging Port Replacement, Charging Port: crwdns2935265:01crwdnd2935265:01crwdnd2935265:02crwdne2935265:0 Ematic Genesis 2 Charging Port Replacement, Charging Port: crwdns2935265:01crwdnd2935265:02crwdnd2935265:02crwdne2935265:0
    • With your fingers, carefully pry off the back plastic casing. Starting at the corners is usually the easiest.

  2. Ematic Genesis 2 Charging Port Replacement: crwdns2935265:02crwdnd2935265:01crwdnd2935265:03crwdne2935265:0 Ematic Genesis 2 Charging Port Replacement: crwdns2935265:02crwdnd2935265:02crwdnd2935265:03crwdne2935265:0 Ematic Genesis 2 Charging Port Replacement: crwdns2935265:02crwdnd2935265:03crwdnd2935265:03crwdne2935265:0
    • Remove all four screws surrounding the battery with the Phillips head screwdriver.

    • Carefully remove the battery from the device using the Metal Spudger tool to gently separate the battery by wedging it between the device and the battery.

  3. Ematic Genesis 2 Charging Port Replacement: crwdns2935265:03crwdnd2935265:01crwdnd2935265:02crwdne2935265:0 Ematic Genesis 2 Charging Port Replacement: crwdns2935265:03crwdnd2935265:02crwdnd2935265:02crwdne2935265:0
    • Remove both screws on either side of the audio jack using the Philips head screwdriver.

    • Detach audio jack from device.

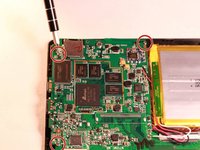
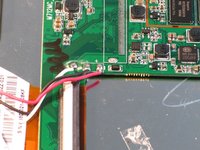
  4. Ematic Genesis 2 Charging Port Replacement: crwdns2935265:04crwdnd2935265:01crwdnd2935265:02crwdne2935265:0 Ematic Genesis 2 Charging Port Replacement: crwdns2935265:04crwdnd2935265:02crwdnd2935265:02crwdne2935265:0
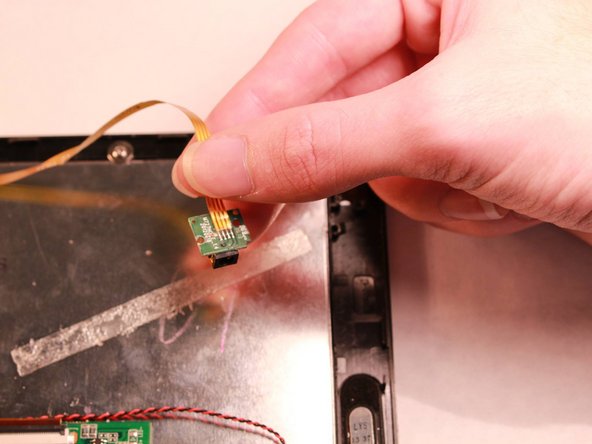
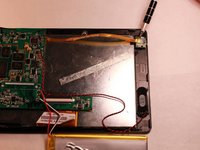
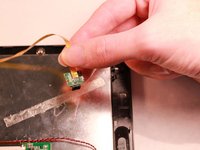
    • Remove the 3 screws surrounding the circuit board using the Philips head screwdriver.

    • Carefully disconnect the circuit board from the device by detaching the copper flexible PCB ribbon cable.

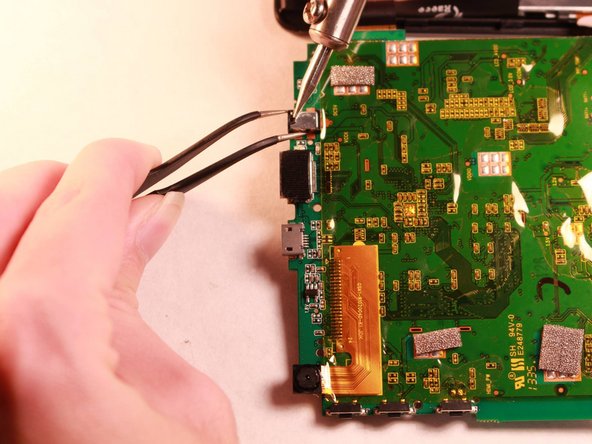
  5. Ematic Genesis 2 Charging Port Replacement: crwdns2935265:05crwdnd2935265:01crwdnd2935265:02crwdne2935265:0 Ematic Genesis 2 Charging Port Replacement: crwdns2935265:05crwdnd2935265:02crwdnd2935265:02crwdne2935265:0
    crwdns2935267:0crwdne2935267:0
    Tweezers
    $4.99
    crwdns2942207:0crwdne2942207:0
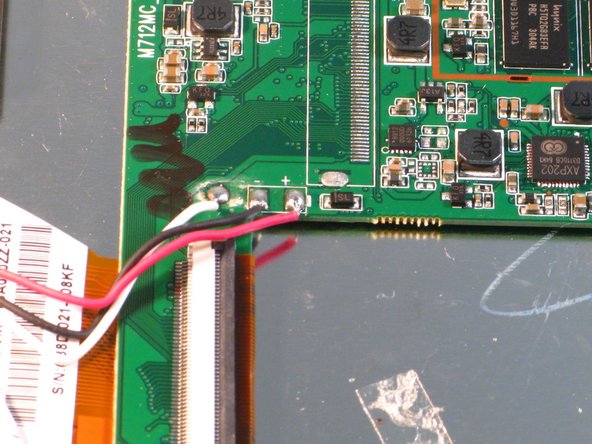
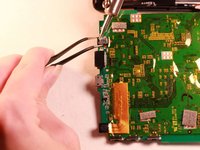
    • Use a soldering iron to heat the solder holding the charging port to the circuit board.

    • Remove the charging port from board using tweezers.

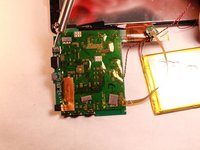
  6. Ematic Genesis 2 Charging Port Replacement: crwdns2935265:06crwdnd2935265:01crwdnd2935265:01crwdne2935265:0
    • Solder replacement port into place.

    • Make sure all connections match original.

crwdns2915888:0crwdne2915888:0

To reassemble your device, follow these instructions in reverse order.

crwdns2935227:0crwdne2935227:0

Alexandria Ehrnsberger

crwdns2935283:008/26/15crwdne2935283:0

137 crwdns2915208:0crwdne2915208:0

crwdns2935295:0crwdne2935295:0

crwdns2915084:0crwdne2915084:0

Western Carolina University, Team 1-1, Virtue Fall 2015 crwdns2935289:0Western Carolina University, Team 1-1, Virtue Fall 2015crwdne2935289:0

WCU-VIRTUE-F15S1G1

crwdns2931471:04crwdne2931471:0

crwdns2935297:07crwdne2935297:0

crwdns2944067:00crwdne2944067:0

crwdns2917038:0crwdne2917038:0

crwdns2936625:0crwdne2936625:0:

crwdns2936751:024crwdne2936751:0 0

crwdns2936753:07crwdne2936753:0 1

crwdns2936753:030crwdne2936753:0 3

crwdns2942667:0crwdne2942667:0 544