crwdns2915892:0crwdne2915892:0
Having a correctly leveled bed is crucial to your success when 3D printing anything. It's always recommended to manually level your bed, just in case something's wrong with automatic leveling.
This guide will teach you how to correctly level the bed of an Elegoo Neptune 4 3D printer. Bed leveling can be difficult, especially for beginners, but it is important to be able to print your models and avoid having many print failures. By bed leveling your 3D printer you will ensure the nozzle maintains the correct distance from the bed, which is crucial for good first-layer adhesion and consistent prints.
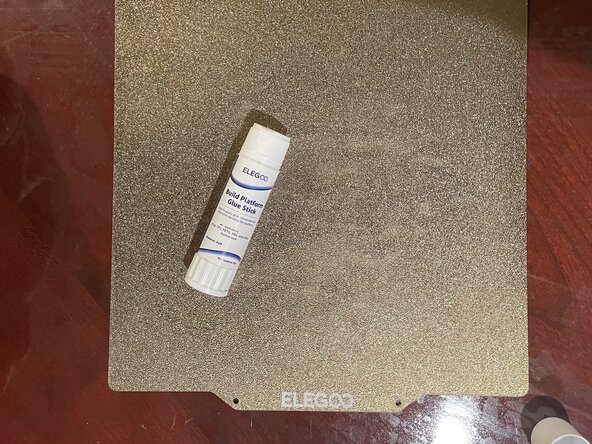
If you’re doing your first print and the model isn’t sticking, the issue might not be bed leveling at all. In that case, try applying a thin layer of glue stick to the print surface to improve adhesion.
Before you begin this repair, make sure your 3D printer is off and unplugged from the power outlet. If you've recently used your printer, wait for it to cool down to avoid burns.
crwdns2942213:0crwdne2942213:0
-
-
Check to ensure none of the screws on your 3D printer are loose.
-
If they are loose, tighten them with your Phillips #0 screwdriver.
-
-
-
Check for any issues not related to leveling.
-
Check if the filament is untangled.
-
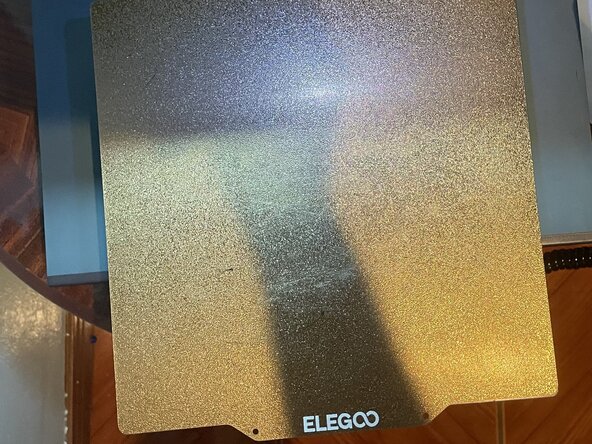
Remove any print waste or scraps of filament left from the bed. Clean thoroughly!
-
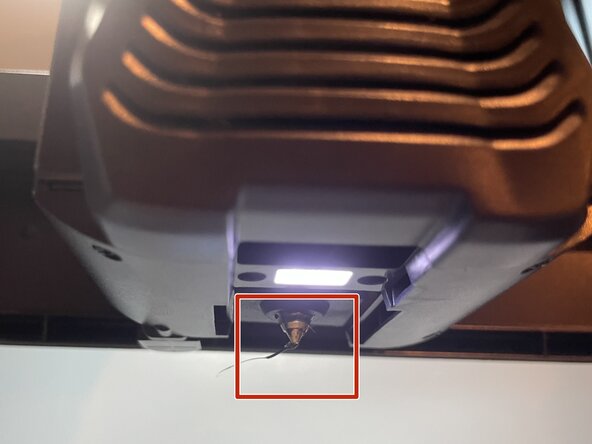
Check for a clogged nozzle.
-
-
-
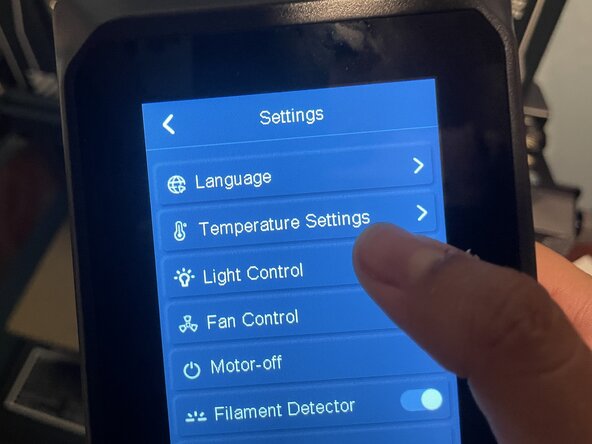
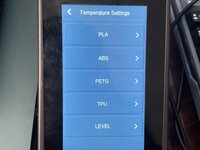
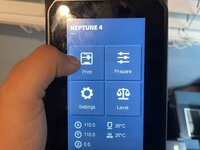
Go to "Settings."
-
Go to "Temperature Settings" and pick the filament you are going to use.
-
-
-
-
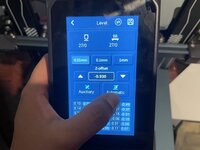
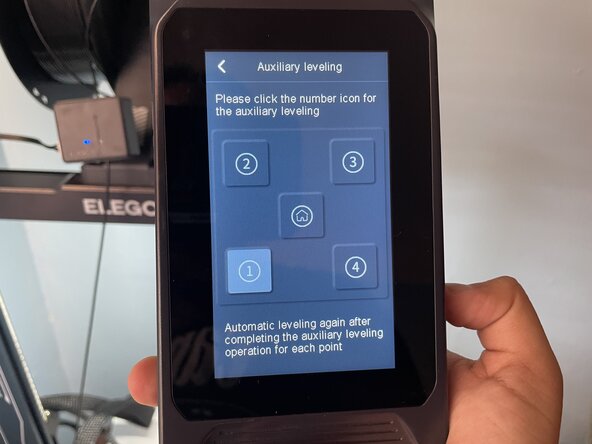
Press "Auxiliary" to manually adjust the bed.
-
-
-
Place a sheet of paper on top of the bed and nozzle.
-
-
-
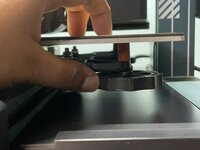
Turn the wheels at each corner and in the middle so that a piece of paper can slide between the nozzle and the bed with slight resistance.
-
Do this at least twice to make sure that the paper can move between the bed and nozzle with little resistance.
-
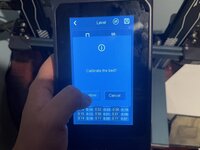
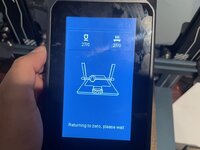
On the printer's screen, tap each of the four corner points and home one at a time.
-
At each corner, adjust the bed to set the correct distance between the nozzle and the bed.
-
-
-
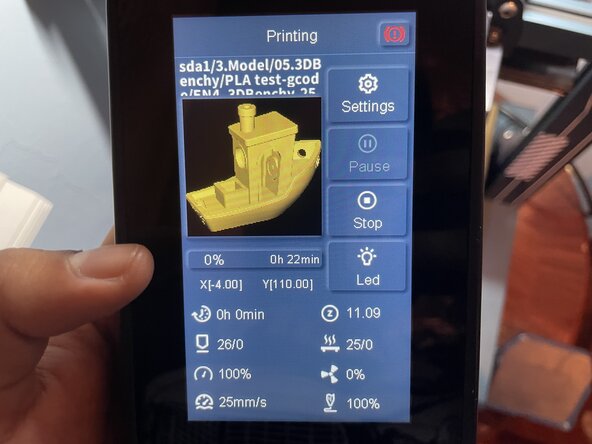
To check that your bed leveling is correct, begin a new print.
-
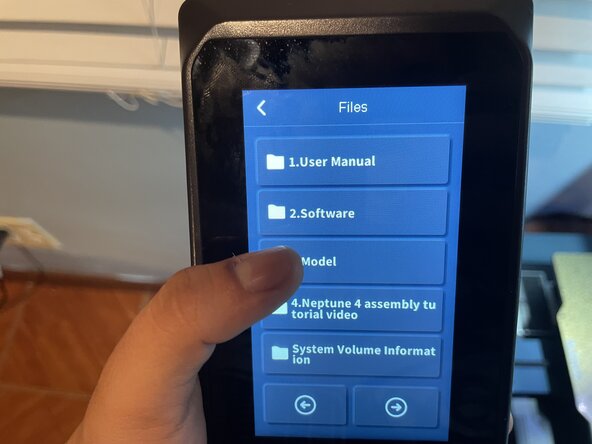
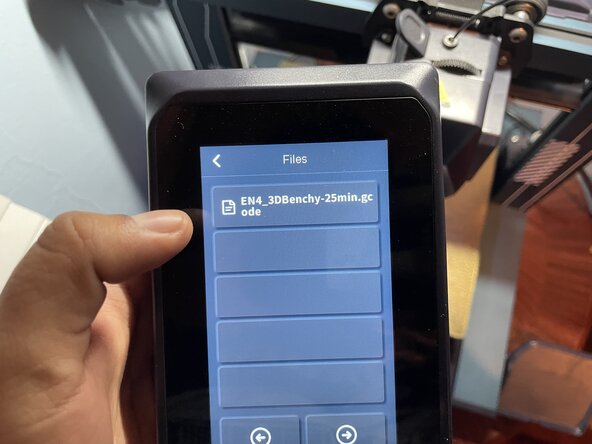
Insert the USB that contains your G-code file into the 3D printer.
-
-
-
Pick your G-code file that contains your model to start the print.
-
Apply a thin layer of glue to the build plate to improve print adhesion and start a print.
-
-
-
Press "Confirm" to start the print.
-
Make sure to pay attention at the beginning of your print. If the bed is not leveled correctly, then your print will get messed up. To avoid wasting filament, stop the print and try again.
-
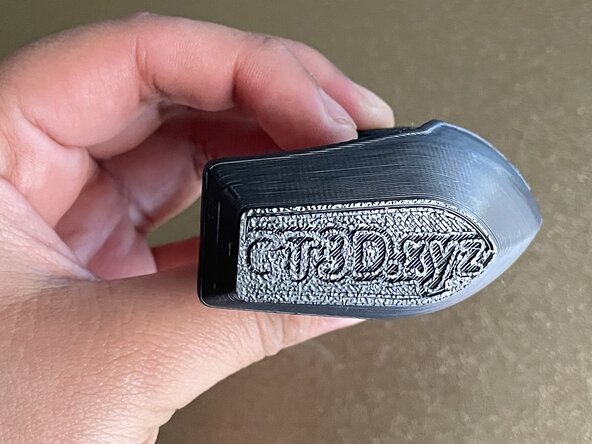
If your print has clear text, congratulations! You have successfully leveled your Neptune 4 3D printer!
-


This concludes the guide on how to manually level the bed of your Neptune 3D printer. Hopefully, by following these steps, you were able to successfully level your bed and are now able to bring your 3D model designs to life.
crwdns2935287:0crwdne2935287:0

CSU Los Angeles, Team 1-4, Ribeiro Spring 2025 crwdns2935289:0CSU Los Angeles, Team 1-4, Ribeiro Spring 2025crwdne2935289:0
CSULA-RIBEIRO-S25S1G4
crwdns2931471:04crwdne2931471:0
crwdns2935303:01crwdne2935303:0