crwdns2933423:0crwdne2933423:0
crwdns2947577:0crwdnd2947577:0crwdne2947577:0

Electrohome EAAC475 Display Replacement

crwdns2869540:0crwdne2869540:0: 1,5K

crwdns2959988:0crwdne2959988:0

crwdns2959990:0crwdne2959990:0
4
crwdns2959992:0crwdne2959992:0
26
crwdns2959994:0crwdne2959994:0
105
crwdns2959996:0crwdne2959996:0
1.507
crwdns2955950:0crwdne2955950:0: 1

crwdns2960002:01crwdne2960002:0.

crwdns2959984:0crwdne2959984:0: 0

crwdns2959956:0crwdne2959956:0

crwdns2959986:0crwdne2959986:0: 0

crwdns2959958:0crwdne2959958:0

crwdns2955944:0crwdne2955944:0: crwdns2931287:010crwdne2931287:0
crwdns2955970:0crwdne2955970:0: crwdns2937803:0crwdne2937803:0
Electrohome EAAC475 Display Replacement

crwdns2915892:0crwdne2915892:0

crwdns2959928:0crwdne2959928:0 ↓

Use this guide to replace a faulty display or fix the wire connection between the circuit board and the display in an electrohome EAAC475 .

crwdns2959930:0crwdne2959930:0

crwdns2943215:0crwdne2943215:0

    1. Electrohome EAAC475 Display Replacement, Battery: crwdns2935265:01crwdnd2935265:01crwdnd2935265:02crwdne2935265:0 Electrohome EAAC475 Display Replacement, Battery: crwdns2935265:01crwdnd2935265:02crwdnd2935265:02crwdne2935265:0
      • Remove the 10 mm Phillips #1 screw from the battery cover.

      • Remove the battery cover.

      crwdns2952109:0crwdne2952109:0

      crwdns2917038:0crwdne2917038:0

    2. Electrohome EAAC475 Display Replacement: crwdns2935265:02crwdnd2935265:01crwdnd2935265:01crwdne2935265:0
      • Remove the flat lithium battery.

      crwdns2952109:0crwdne2952109:0

      crwdns2917038:0crwdne2917038:0

    1. Electrohome EAAC475 Display Replacement, Buttons: crwdns2935265:03crwdnd2935265:01crwdnd2935265:02crwdne2935265:0 Electrohome EAAC475 Display Replacement, Buttons: crwdns2935265:03crwdnd2935265:02crwdnd2935265:02crwdne2935265:0
      • Disconnect the radio from all power sources.

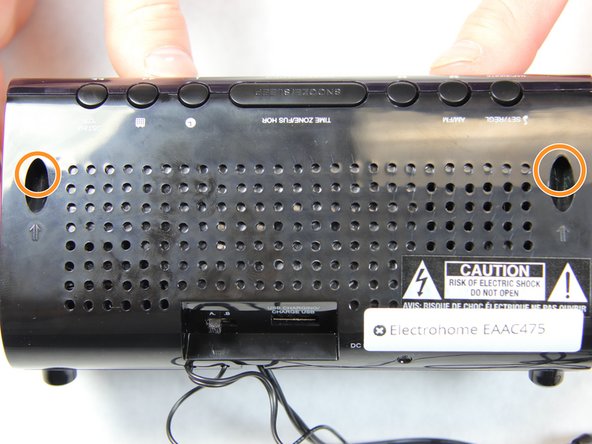
      • Remove the two 10 mm Phillips #1 screws from the bottom of the device.

      • Remove two 10 mm Phillips #1 screws from the back side of the device.

      crwdns2952109:0crwdne2952109:0

      crwdns2917038:0crwdne2917038:0

    2. Electrohome EAAC475 Display Replacement: crwdns2935265:04crwdnd2935265:01crwdnd2935265:03crwdne2935265:0 Electrohome EAAC475 Display Replacement: crwdns2935265:04crwdnd2935265:02crwdnd2935265:03crwdne2935265:0 Electrohome EAAC475 Display Replacement: crwdns2935265:04crwdnd2935265:03crwdnd2935265:03crwdne2935265:0
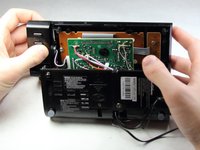
      • Carefully and slowly pull the lower case away from the rest of the device.

      • Do not completely separate the lower case. There are several wires connecting the two halves of the device.

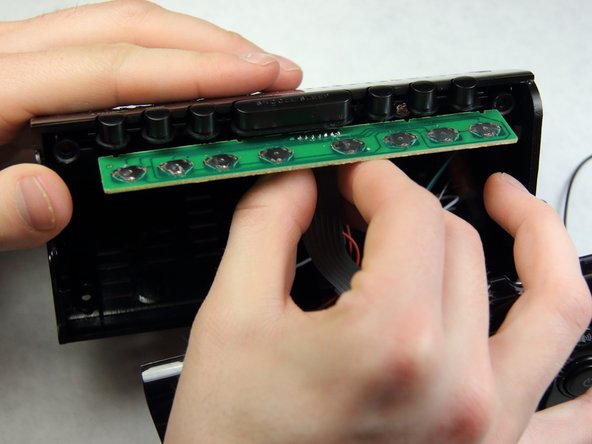
      • Flip the device over to access the button assembly.

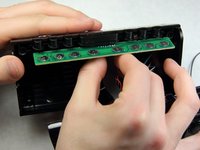
      • Slowly remove the button contact board from the assembly.

      crwdns2952109:0crwdne2952109:0

      crwdns2917038:0crwdne2917038:0

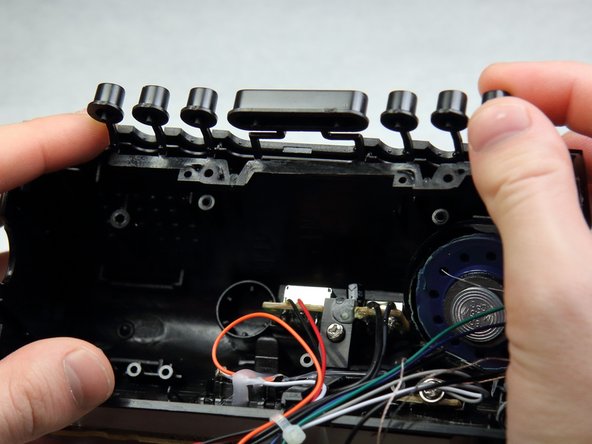
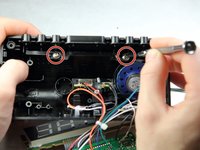
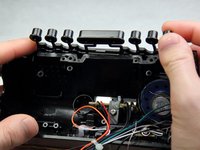
    3. Electrohome EAAC475 Display Replacement: crwdns2935265:05crwdnd2935265:01crwdnd2935265:02crwdne2935265:0 Electrohome EAAC475 Display Replacement: crwdns2935265:05crwdnd2935265:02crwdnd2935265:02crwdne2935265:0
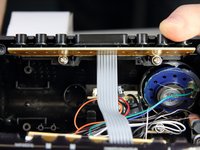
      • Remove the two 7 mm Phillips # 1 screws holding the buttons.

      • Remove the plastic buttons.

      crwdns2952109:0crwdne2952109:0

      crwdns2917038:0crwdne2917038:0

    1. Electrohome EAAC475 Display Replacement, Display: crwdns2935265:06crwdnd2935265:01crwdnd2935265:02crwdne2935265:0 Electrohome EAAC475 Display Replacement, Display: crwdns2935265:06crwdnd2935265:02crwdnd2935265:02crwdne2935265:0
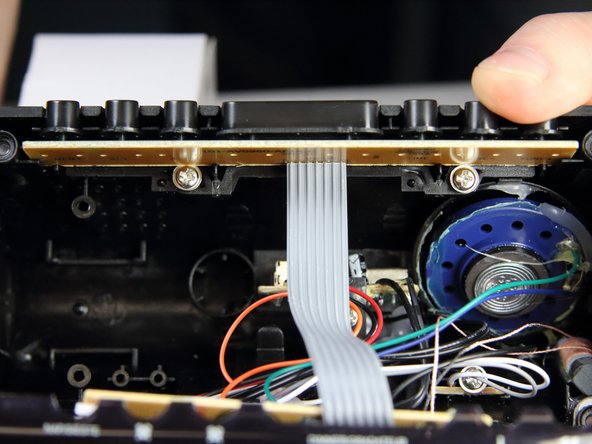
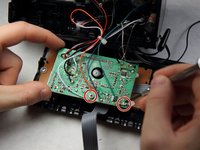
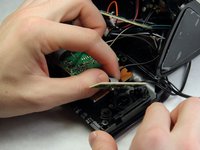
      • Remove the two 8 mm Phillips screws supporting the circuit board.

      • Pull off the circuit board to access the panels below.

      crwdns2952109:0crwdne2952109:0

      crwdns2917038:0crwdne2917038:0

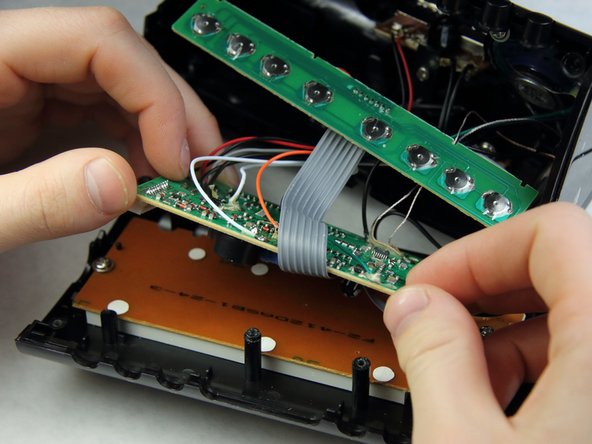
    2. Electrohome EAAC475 Display Replacement: crwdns2935265:07crwdnd2935265:01crwdnd2935265:02crwdne2935265:0 Electrohome EAAC475 Display Replacement: crwdns2935265:07crwdnd2935265:02crwdnd2935265:02crwdne2935265:0
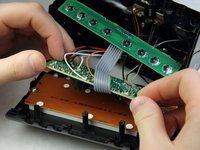
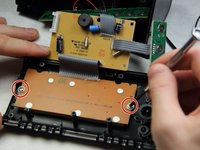
      • Remove the two 6 mm Phillips screws supporting the mini circuit board for the frontal buttons.

      • Remove the mini circuit board.

      crwdns2952109:0crwdne2952109:0

      crwdns2917038:0crwdne2917038:0

    3. Electrohome EAAC475 Display Replacement: crwdns2935265:08crwdnd2935265:01crwdnd2935265:02crwdne2935265:0 Electrohome EAAC475 Display Replacement: crwdns2935265:08crwdnd2935265:02crwdnd2935265:02crwdne2935265:0
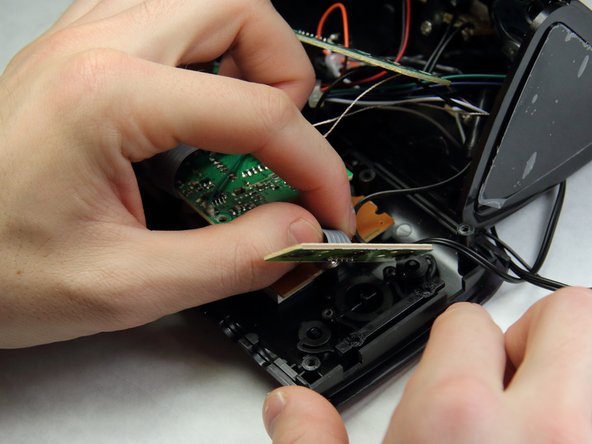
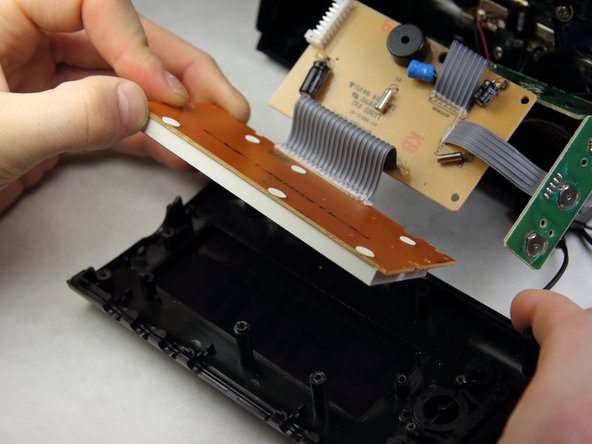
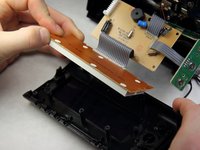
      • Move the now free circuit boards away from the display.

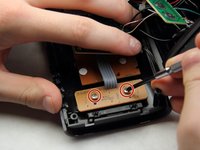
      • Remove the final two 7 mm Phillips screws securing the display.

      • Pull the display screen away from the casing.

      crwdns2952109:0crwdne2952109:0

      crwdns2917038:0crwdne2917038:0

    4. Electrohome EAAC475 Display Replacement: crwdns2935265:09crwdnd2935265:01crwdnd2935265:01crwdne2935265:0
      • You have successfully accessed the display.

      • Replacing the display with a new one will be challenging as soldering and connecting micro wires are necessary.

      crwdns2952109:0crwdne2952109:0

      crwdns2917038:0crwdne2917038:0

crwdns2915888:0crwdne2915888:0

To reassemble your device, follow these instructions in reverse order.

crwdns2935221:0crwdne2935221:0

Sohail Khatri

crwdns2935283:002/16/16crwdne2935283:0

201 crwdns2915208:0crwdne2915208:0

crwdns2935297:02crwdne2935297:0

crwdns2935287:0crwdne2935287:0

IUPUI, Team 2-1, Harley Spring 2016 crwdns2935289:0IUPUI, Team 2-1, Harley Spring 2016crwdne2935289:0

IUPUI-HARLEY-S16S2G1

crwdns2931471:04crwdne2931471:0

crwdns2935297:072crwdne2935297:0

crwdns2947412:00crwdne2947412:0

crwdns2917038:0crwdne2917038:0

crwdns2936625:0crwdne2936625:0:

crwdns2936751:024crwdne2936751:0 4

crwdns2936753:07crwdne2936753:0 26

crwdns2936753:030crwdne2936753:0 105

crwdns2959996:0crwdne2959996:0 1,507