crwdns2915892:0crwdne2915892:0
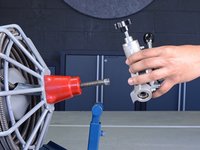
Use this guide to replace the top feeder assembly in the auto-feeder in your Electric Eel 75’ Drain Cleaner Z5K12IC75AF.
crwdns2942213:0crwdne2942213:0
-
-
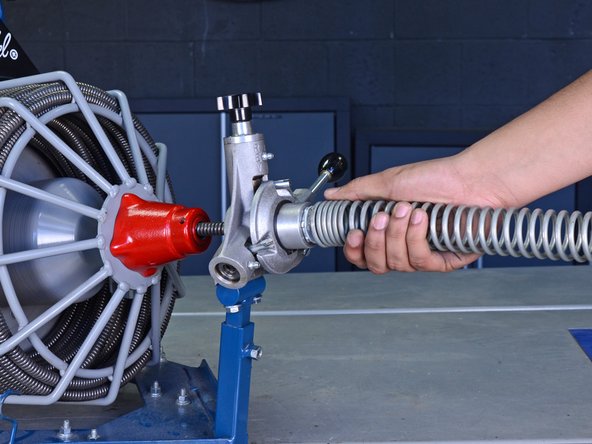
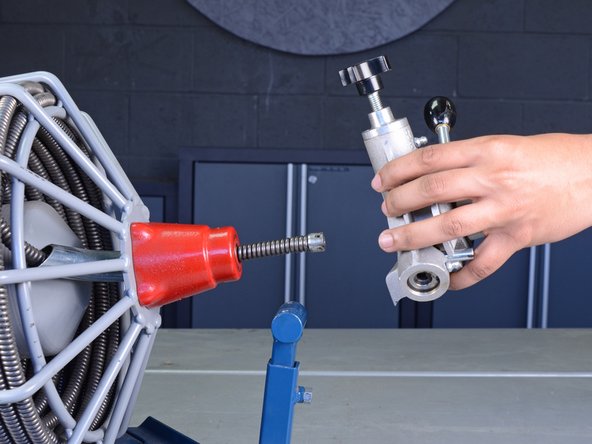
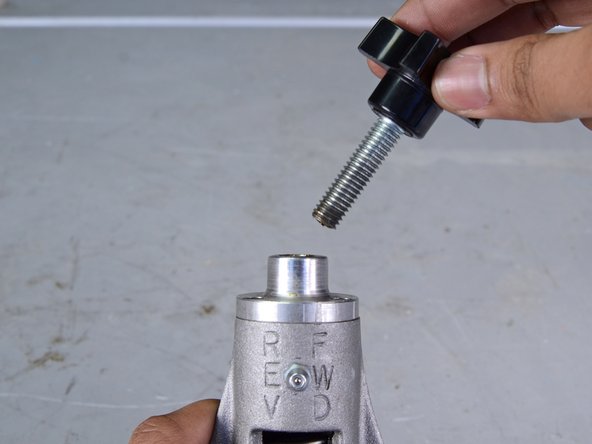
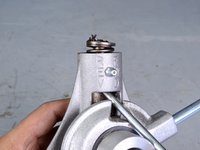
Twist the guide spring counter-clockwise to unscrew it from the auto-feeder.
-
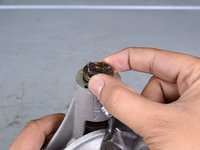
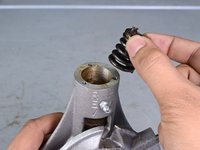
Remove the guide spring.
-
-
-
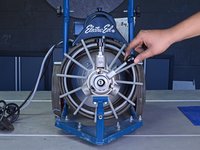
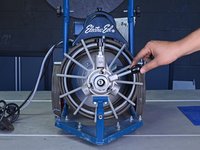
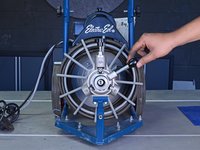
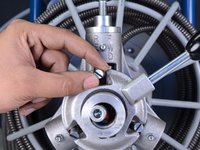
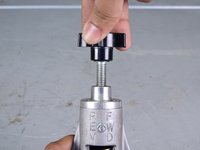
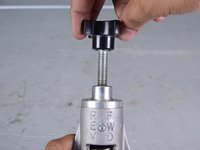
Unscrew the tension knob to loosen the tension spring in the top feeder assembly.
-
-
-
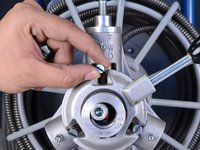
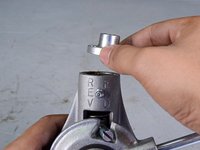
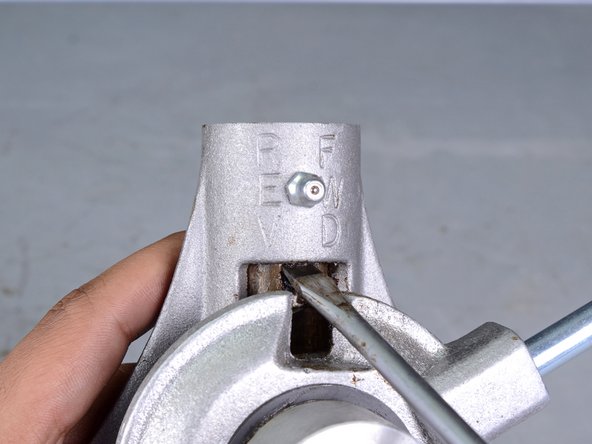
Set the feeder adjustment knob in the neutral position, in between the "FWD" and "REV" positions.
-
-
-
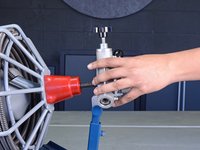
Push the top control finger up as far as possible.
-
-
-
Use a 1/2" open-ended wrench to remove the two bolts from the bottom of the feeder body mounting arm.
-
-
-
Remove the auto-feeder from the cable.
-
-
-
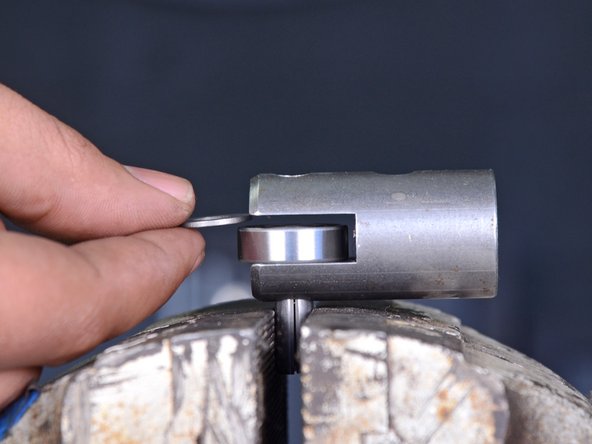
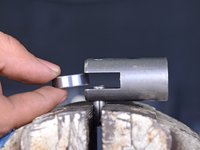
Use a vise to compress the roll pin until there is no longer space in the roll pin's slot.
-
-
-
-
Use a dead blow hammer or mallet to tap down the bearing carrier onto the roll pin until the pin just begins to peek into the bearing channel.
-
-
-
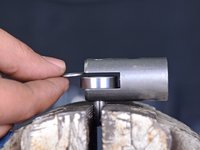
Insert a bearing and the bearing spacer into the bearing channel.
-
-
-
Continue to tap down the bearing carrier until the bearing and spacer are fully secured around the roll pin.
-
-
-
Use a roll pin punch to finish seating the roll pin into place.
-
-
-
Unscrew and remove the tension knob from the top feeder assembly.
-
-
-
Use a 9/64" hex key to remove the three bolts from the top of the feeder.
-
-
-
Use a flat head screwdriver to remove the top control finger.
-
-
-
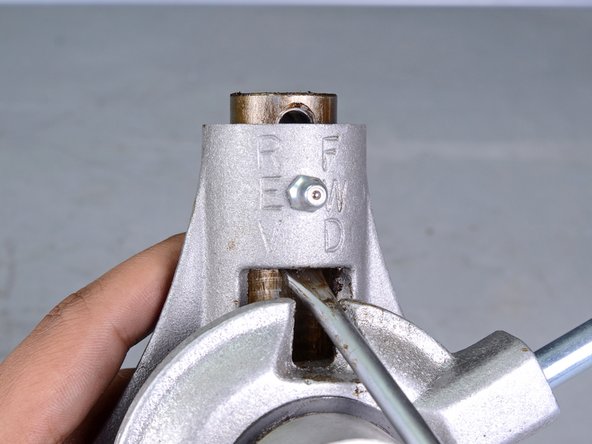
Insert a flathead screwdriver or other long tool underneath the tension spring in the top feeder assembly.
-
Use the tool to push up on the spring and ball bearing carrier so you can remove them by hand.
-
-
-
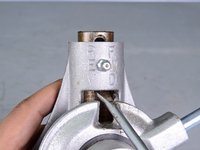
Remove the ball bearing carrier and tension spring.
-
-
-
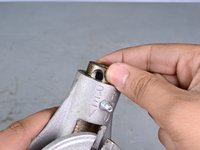
Use a flathead screwdriver or other long tool to push up on the bearing carrier so you can remove it by hand.
-
-
-
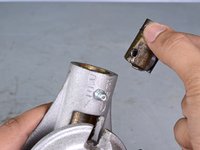
Remove the top bearing carrier assembly from the feeder body.
-


To reassemble your device, follow these instructions in reverse order.
After reassembly: Ensure the assembly you just installed is sufficiently lubricated using the Zerk fitting on the feeder body.
crwdns2935221:0crwdne2935221:0
crwdns2935227:0crwdne2935227:0
