crwdns2915892:0crwdne2915892:0
This guide is a detailed process on how to remove the vibration motors on the EasySMX ESM-9110 gaming controller. The EasySMX ESM-9110 controller contains two vibration motors which operate during gameplay. The replacement of these vibration motors will most likely fix any issues being had.
crwdns2942213:0crwdne2942213:0
-
-
Use a Phillips #000 screwdriver to remove the two 10 mm screws from the back of controller.
-
-
-
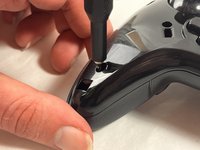
Insert a plastic opening tool into the slit on the side of controller.
-
Wiggle the tool until the cover becomes loose.
-
Repeat this on the other side of Controller.
-
-
-
-
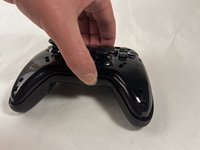
Remove the faceplate.
-
Repeat on the other side of the controller.
-
-
-
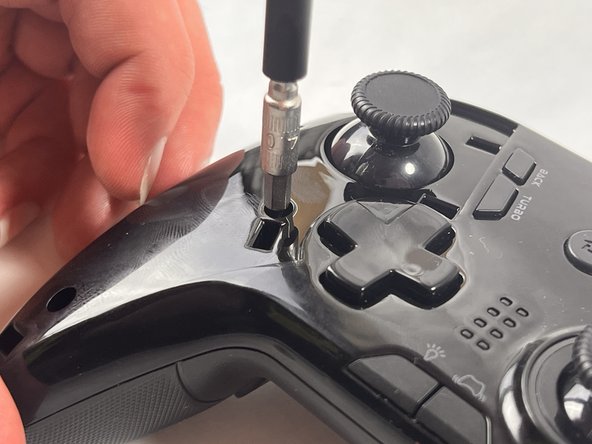
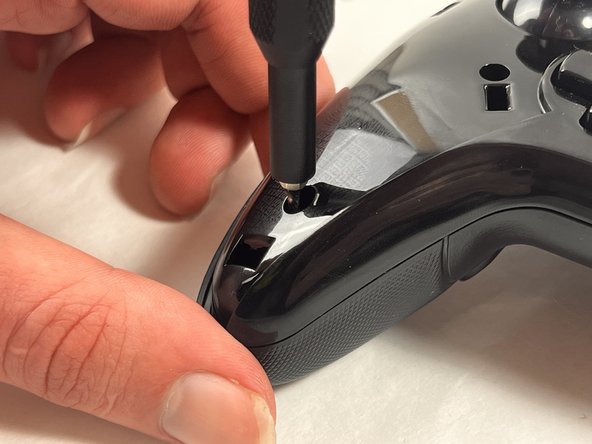
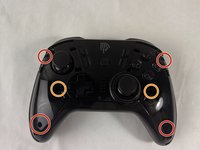
Use a Phillips #000 screwdriver to remove the four 20 mm screws from the controller's faceplate.
-
Use a Phillips #000 screwdriver (a screwdriver bit extension may be needed) to remove the two 20 mm screws from the controllers faceplate.
-
-
-
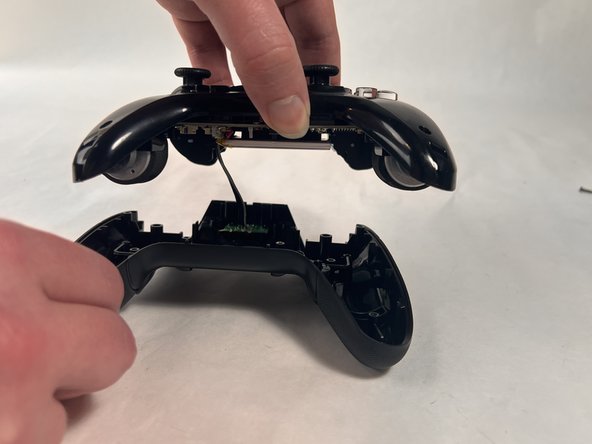
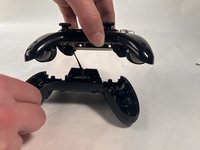
Remove the faceplate of the controller by lifting it directly up from the backplate.
-
-
-
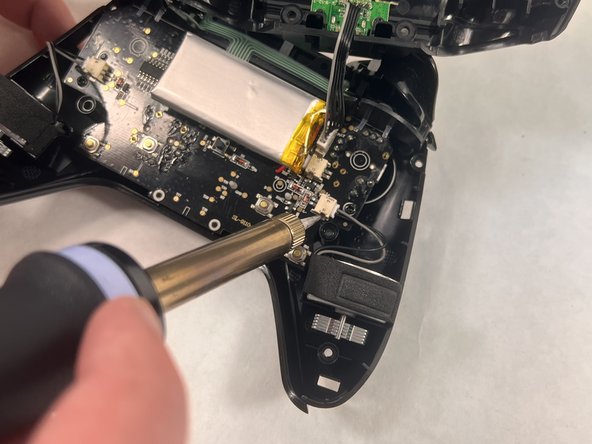
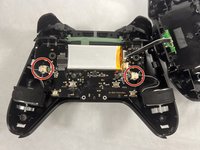
Locate the parts of the vibration motor that are connected to the motherboard
-
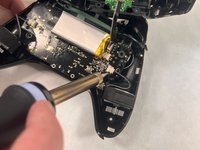
Solder these parts of the vibration motor to remove them.
-
To reassemble your device, follow these instructions in reverse order.
To reassemble your device, follow these instructions in reverse order.


