crwdns2915892:0crwdne2915892:0
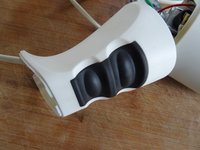
If the motor is stuck this guide will help you to open the mixer and remove the motor.
crwdns2942213:0crwdne2942213:0
-
crwdns2935267:0crwdne2935267:0iFixit Precision 4 mm Screwdriver Bit$2.99
-
Remove two Torx TR10 screws.
-
Carefully lift off the cover. It is latched at the front.
-
-
-
This is what it looks like under the cover.
-
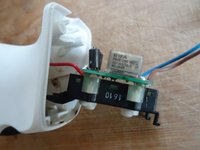
Slide out the two buttons and the small circuit board. The buttons are only snapped in.
-
-
-
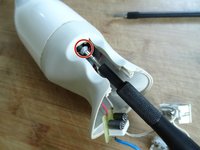
The handle is fastened with a Torx T8 machine screw and a Torx T8 plastic screw. You will need a long screwdriver.
-
Remove two Torx T8 screws.
-
-
-
-
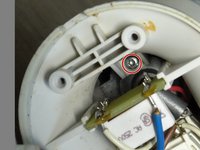
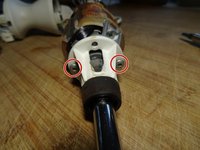
On newer models, the handle looks slightly different, see picture 1.
-
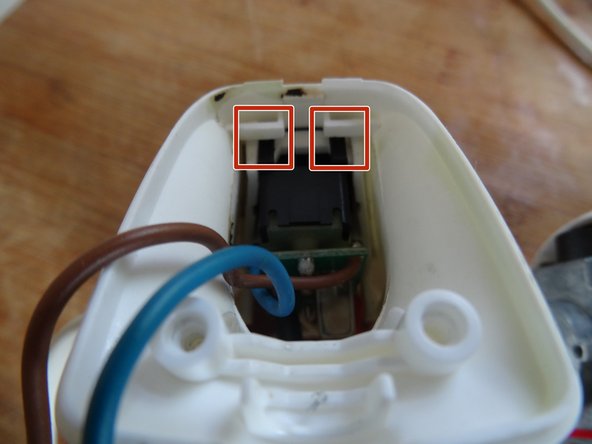
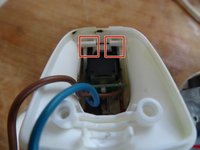
Carefully press the two catches on the switch module down a little. Then pull the module inwards a little.
-
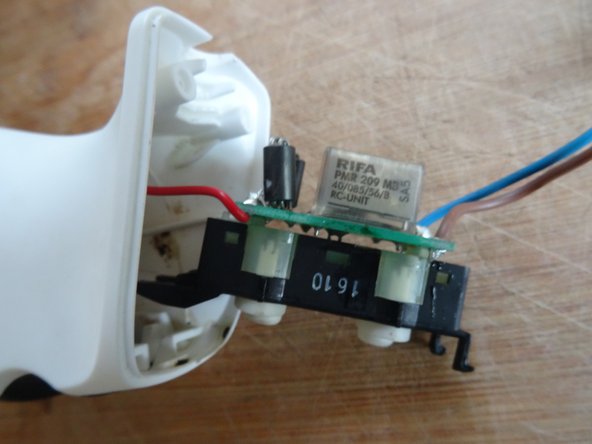
Carefully pull the switch module out of the device.
-
Unscrew the Torx T8 screw and the Torx T10 screw inside.
-
-
-
Unclip the handle from one side.
-
Unthread the cable, the buttons and the board.
-
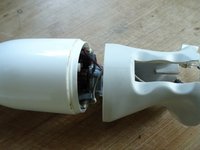
The motor ist exposed. However, it is not yet completely accessible, since the lower plastic housing part cannot yet be slid over the bell. The bell must first be removed.
-
-
-
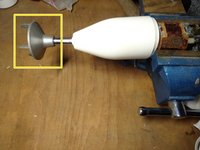
First try If the bell can be unscrewed. It is fastened with a left-hand thread, so turn it in the "wrong direction", clockwise, to loosen it.
-
Pull on the knife to remove it
-
If it does not come off easily, then slide the lower plastic part towards the bell and clamp the motor in a vice. Do not tighten the vice very much, the motor is sensitive.
-
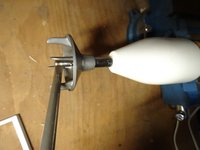
Use a long screwdriver as a lever between the bell and the shaft. Then carefully unscrew the bell. Reminder: the wrong way round, i.e. clockwise.
-
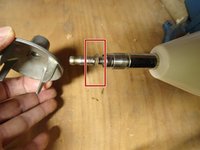
Pay attention to the washer between the shaft and the bell, do not lose it.
-
-
-
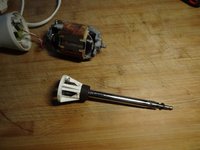
Pull off the lower case over the shaft.
-
-
-
Using a Torx T15 screwdriver unscrew the two screws securing the flange of the shaft to the motor.
-
Seperate the flange including the shaft from the motor.
-
-
-
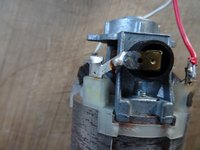
Desolder the red and the white wire. These wires are thin and delicate, don't break them.
-
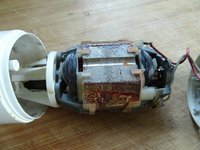
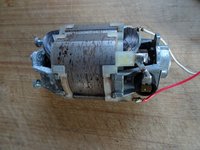
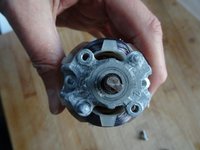
The motor remains.
-
To reassemble your device, follow these instructions in reverse order.
To reassemble your device, follow these instructions in reverse order.
crwdns2935221:0crwdne2935221:0
crwdns2935227:0crwdne2935227:0
crwdns2934873:0crwdne2934873:0
100%
crwdns2934883:0VauWehcrwdne2934883:0 crwdns2934875:0crwdne2934875:0
crwdns2934877:0crwdne2934877:0 ›


