crwdns2915892:0crwdne2915892:0
This guide details how to replace a broken filter on a Dyson Supersonic HD01 hair dryer. The filter is most likely to be the first issue encountered after prolonged use of your hairdryer. Filters may become broken from overuse or accidental incidents. After this guide, your Dyson HD01 will have a complete new and fixed filter.
crwdns2942213:0crwdne2942213:0
-
-
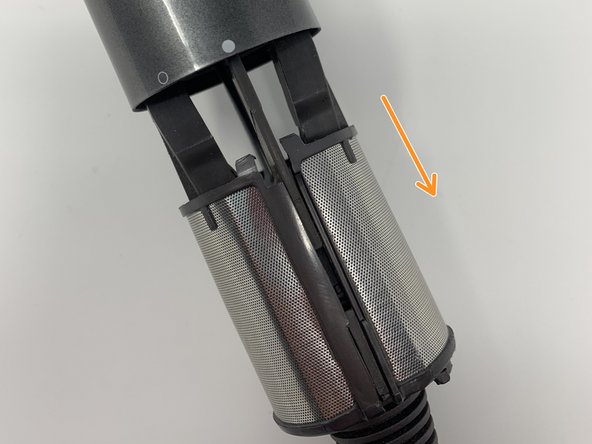
Find the red dot along the top of the filter cover.
-
Twist the filter cover counter-clockwise until the red dot is shifted to align with the white empty circle on the dryer handle.
-
-
-
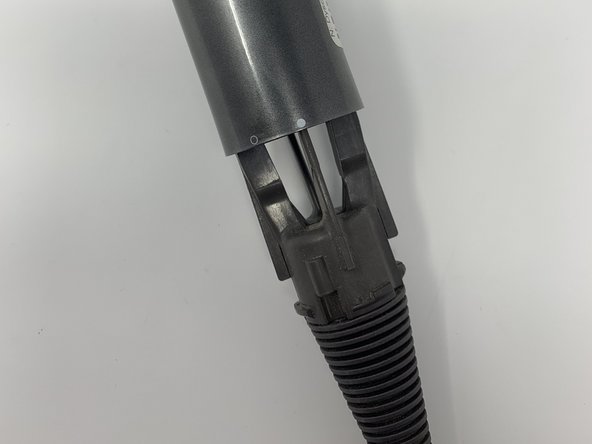
Remove the filter cover by sliding it off of the handle.
-
-
-
crwdns2935267:0crwdne2935267:0T6 Torx Screwdriver$9.99
-
Remove the two retaining screws at the base of the handle using a T6 Screwdriver.
-
-
-
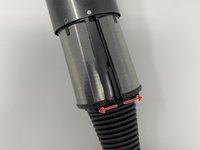
Seperate the filter mesh at the plastic seam by pulling it apart.
-
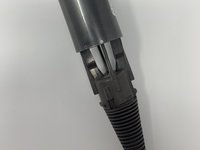
Remove the filter mesh by sliding it off of the handle.
-


To reassemble your device, follow these instructions in reverse order.
To reassemble your device, follow these instructions in reverse order.
crwdns2935221:0crwdne2935221:0
crwdns2935229:04crwdne2935229:0

crwdns2915084:0crwdne2915084:0

Utah Tech University, Team 1-5, McMurrin Fall 2022 crwdns2935289:0Utah Tech University, Team 1-5, McMurrin Fall 2022crwdne2935289:0
UTAHTECH-MCMURRIN-F22S1G5
crwdns2931471:03crwdne2931471:0
crwdns2935297:09crwdne2935297:0
crwdns2947412:05crwdne2947412:0
This guide is misleading and obviously trolling. The cable is attached to two ton of power converter bricks there's no way this thing will "slide off" the cable. lol.
The REAL procedure is so complicated, the only REAL tutorial/guide i have found prefers to disassemble the entire device instead of dealing with the power bricks. https://www.youtube.com/watch?v=2XnUlUBZ...
gcb -
slide right off. lol. https://www.youtube.com/watch?v=fsiXJndd... hope you have a saw and several pry tools.
gcb -
updated the guide but i'm not sure how to add steps from another guide (on replacing the motor) up to step 6 only...
Yep this works. The fiddly bit is getting the filter back in but it’s doable with a little patience and persistence. I didn’t replace the filter but did take it out to clean it properly as this small mesh cannot be cleaned properly from the outside.