crwdns2942213:0crwdne2942213:0
-
-
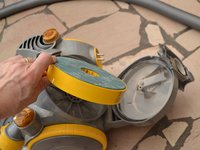
Take off the dust cannister.
-
Remove the suction hose.
-
-
-
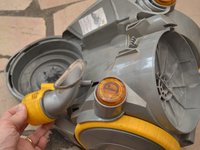
Extract the rear filter.
-
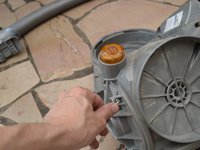
Unscrew the first Torx screw.
-
-
-
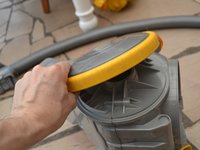
Optionally, remove the rear filter cover.
-
-
-
Unscrew the 2nd Torx screw.
-
Disassemble the suction hose connection (optional)
-
-
-
-
Remove the wheels.
-
Unscrew the 4 Torx screws (two in the right and two on the left).
-
-
-
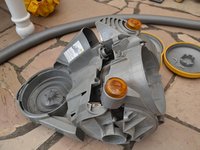
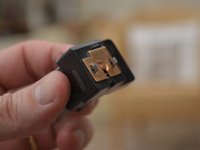
Open the body of the vacuum cleaner.
-
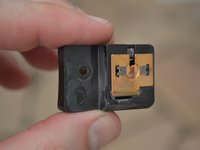
You can use a multimeter to test the switch.
-
Disconnect the brown wire at the switch.
-
Disconnect the blue wire at the single connector by the motor.
-
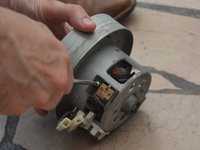
Lift out the motor.
-
-
-
Open the motor housing (4 clips).
-
Remover the motor from its plastic casing.
-
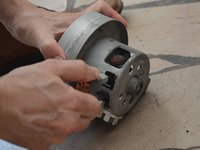
Disconnect the motor.
-
-
-
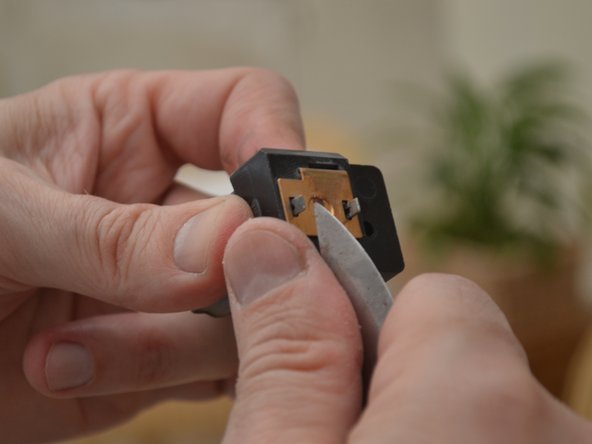
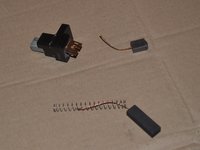
disassembly of 2 engine coals (1 Phillips screw per coal)
-
-
-
Worn brush.
-
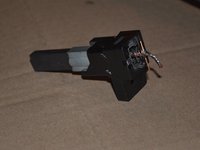
Opening the brush housing.
-


To reassemble your device, follow these instructions in reverse order.
To reassemble your device, follow these instructions in reverse order.
crwdns2935221:0crwdne2935221:0
crwdns2935229:017crwdne2935229:0
crwdns2934873:0crwdne2934873:0
100%


crwdns2934885:0crwdne2934885:0 crwdns2934875:0crwdne2934875:0
crwdns2934877:0crwdne2934877:0 ›
crwdns2947412:016crwdne2947412:0
Very useful guide - I treated myself to a new motor as the cost was not much more than the cost of replacement brushes.
Hi, where did you buy the new motor?
Nadja -
Bravo, très bon tutoriel
Bonjour
et si on n’a rien pour souder, y a t’il une autre solution svp?
Bonjour ! Si vous ne disposez pas de matérial de soudure, nous vous conseillons de vous rendre à un Repair Café ou un Fab Lab. Ces associations mettent du matériel à disposition et peuvent éventuellement aussi vous conseiller sur la démarche à suivre. Bonne réparation !