crwdns2915892:0crwdne2915892:0
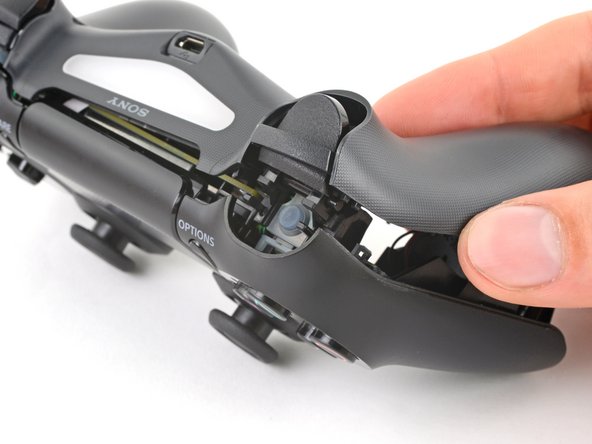
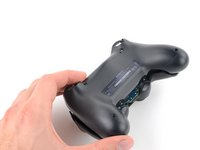
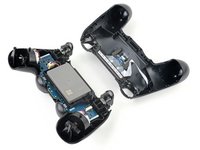
If your DualShock 4 controller consistently fails to charge, use this step-by-step guide to replace a faulty ribbon cable as it is typically the root of the problem.
Before following this guide, disconnect your controller from the PS4 console.
crwdns2942213:0crwdne2942213:0
-
-
Check the model number on the back of your controller. This guide was written using model CUH-ZCT1U. If you have another model, the guide procedure and replacement parts may differ slightly.
 crwdns2952109:0crwdne2952109:0
-
-
crwdns2935267:0crwdne2935267:0Microfiber Cleaning Cloths$3.99
-
Use a Phillips screwdriver to remove the four 6.4 mm-long screws securing the rear case.
-
-
-
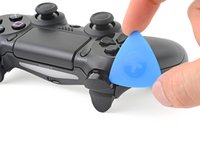
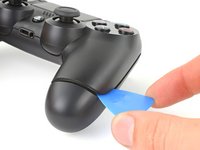
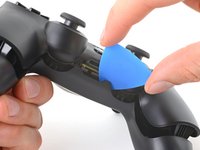
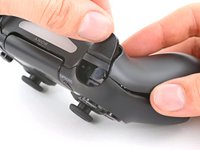
Use an opening pick to pry each corner of the L1 button from the front case.
-
Remove the button.
-
-
-
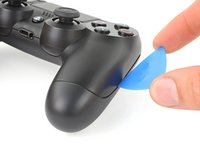
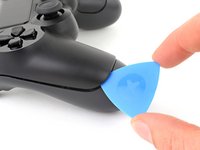
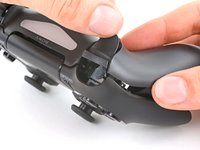
Use your opening pick to pry and remove the R1 button, just as you did for the L1 button.
-
-
-
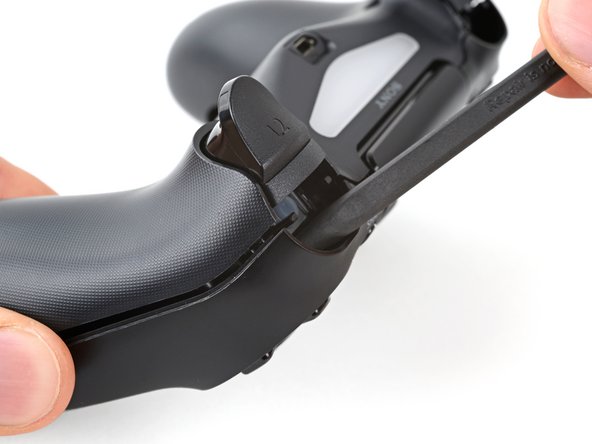
Insert your opening pick at a downward angle between the front case and rear case, halfway between the handle and the action buttons.
-
Slide your pick toward the handle and pry up to release the first clip.
-
Repeat this procedure on the other side of the controller to release the second clip.
-
-
-
Two more clips secure the rear case near the extension port and the headphone jack.
-
Insert your opening pick between the front case and rear case at either side of the ports.
-
Twist your pick to unclip this section of the rear case from the front case.
-
-
-
-
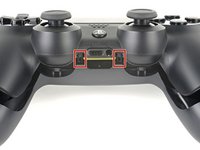
Locate the clips by looking through the gap above the R2 or L2 buttons.
-
-
-
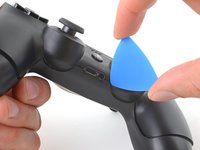
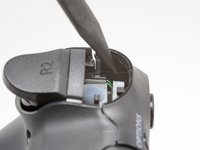
Insert the point of a spudger through the gap above the R2 button and push the retaining clip outward.
-
While pushing the clip outward, slowly pull the rear case away from the front case until you feel them separate.
-
Repeat this procedure for the clip near the L2 button.
-
-
-
Press the R2 button and slide the rear case over it.
-
-
-
Press the L2 button and slide the rear case over it.
-
-
-
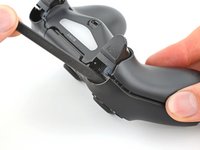
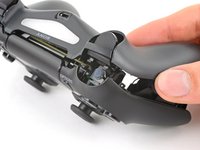
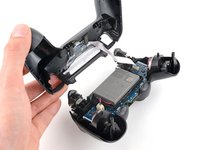
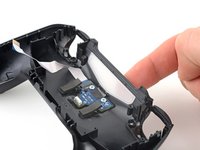
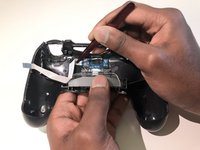
Flip the rear case over the top of the controller and lay it down, being careful not to strain the interconnect cable.
-
-
crwdns2935267:0crwdne2935267:0Tweezers$4.99
-
Use tweezers or your fingers to remove the interconnect cable by pulling its blue pull tab straight out of the socket.
-
-
-
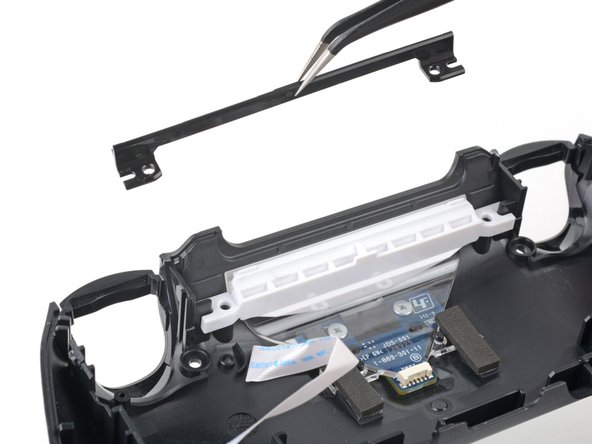
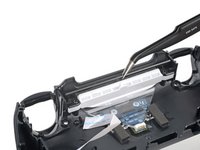
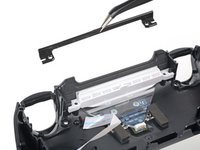
Use your Phillips screwdriver to remove the two 6.4 mm screws securing the light guide bracket to the rear case.
-
-
-
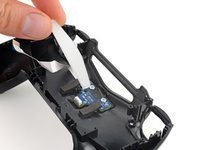
Remove the black spacer and white bracket from the light guide.
-
-
-
Peel both foam pads from the light guide.
-
-
-
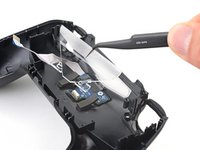
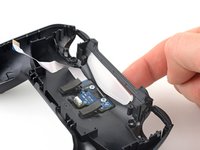
Grab and lift the light guide from its alignment pegs on the rear case.
-
Remove the light guide.
-
-
-
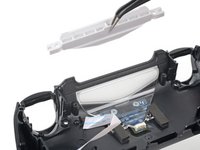
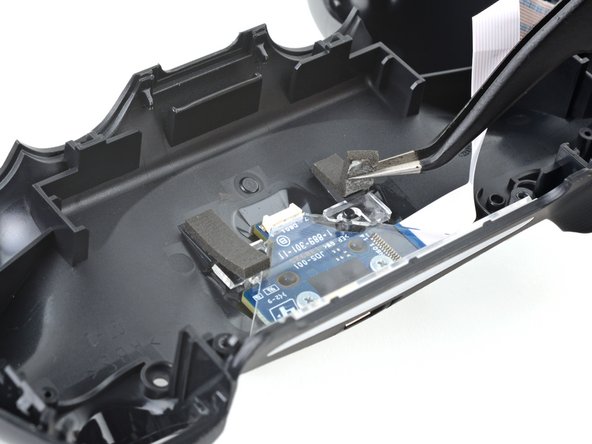
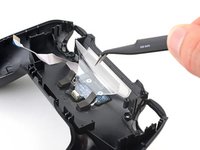
Push the light diffuser through the inside of the rear case and remove it.
-
-
crwdns2935267:0crwdne2935267:0Tweezers$4.99
-
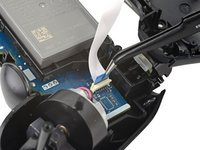
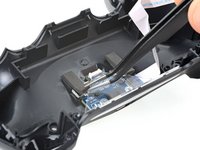
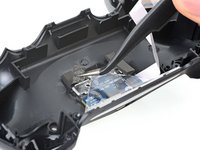
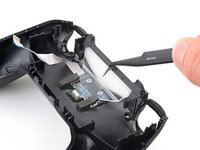
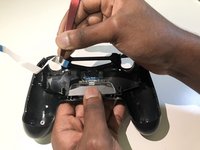
Use your thumb to hold down the clear plastic cover to create space to remove the ribbon cable.
-
With the cover held down, use tweezers to remove the faulty ribbon cable.
-


To reassemble your device, follow these instructions in reverse order.
crwdns2935221:0crwdne2935221:0
crwdns2935229:011crwdne2935229:0
crwdns2935287:0crwdne2935287:0

York University, Team S16-G1, Turner Winter 2021 crwdns2935289:0York University, Team S16-G1, Turner Winter 2021crwdne2935289:0
YORK-TURNER-W21S16G1
crwdns2931471:03crwdne2931471:0
crwdns2935297:04crwdne2935297:0
crwdns2947410:01crwdne2947410:0
One other thing I would recommend is before you install the new ribbon cable, I installed a layer of Polyamide/Kapton Tape on both sides of the cable before installing and flexing/bending - this in theory reduces the severity of the bends, which I'd say is what causes the wires to break internally. It doesn't have to necessarily be Kapton tape, just any tape to provide some structural support against crushing/creasing would help :)
Aadi Bhamidipati - crwdns2934203:0crwdne2934203:0 crwdns2950251:0crwdne2950251:0