crwdns2942213:0crwdne2942213:0
-
-
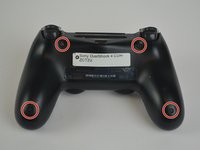
Unscrew the four 6.5mm screws, using a Phillips-Head screwdriver.
-
Pry the two halves of the shell apart using a plastic opening tool.
-
-
crwdns2935267:0crwdne2935267:0Tweezers$4.99
-
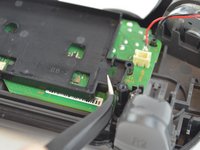
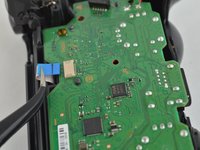
Pull the ribbon cable out of the motherboard port to fully separate the two halves, using a pair of tweezers.
-
-
-
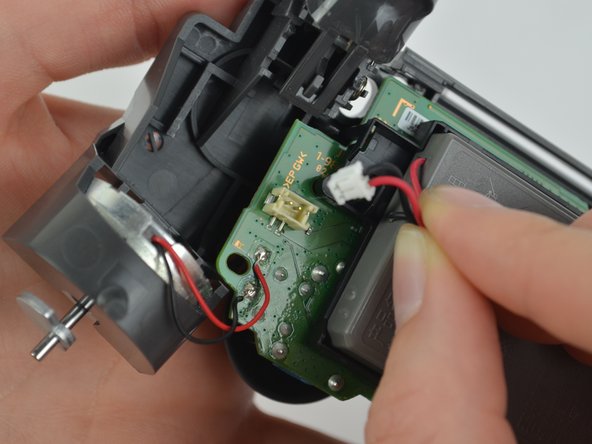
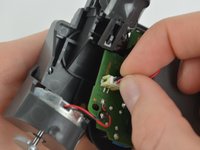
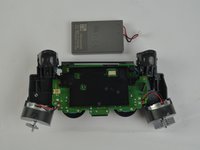
Unplug the black and red wires from the power port located on the motherboard.
-
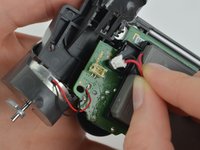
Remove the old battery from the controller.
-
-
-
-
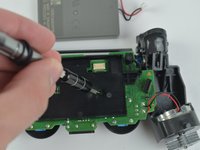
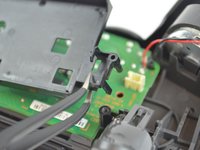
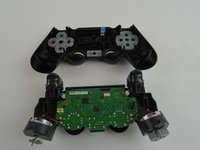
Remove the 6.43mm screw connecting the motherboard to the inner workings of the controller, using a Phillips-Head screwdriver.
-
-
-
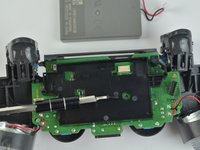
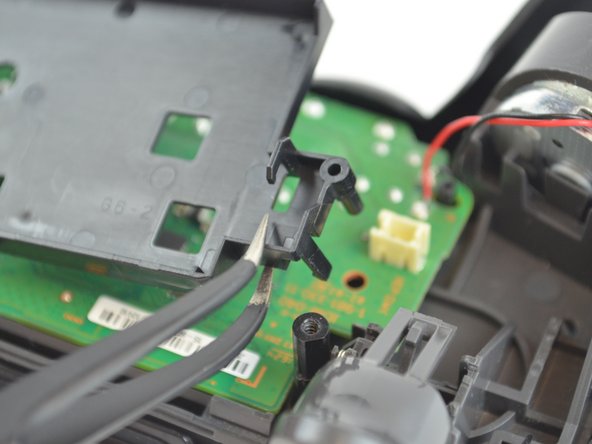
Unhook the battery case from the motherboard, and pull it off.
-
-
-
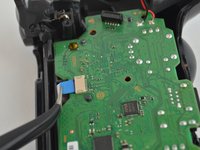
Pull out the second ribbon cable to separate the inner workings from the top of the outer shell.
-
-
-
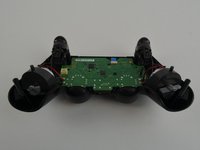
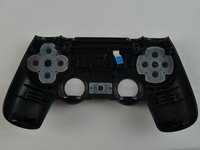
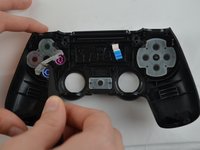
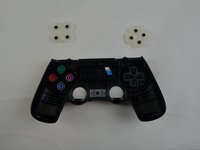
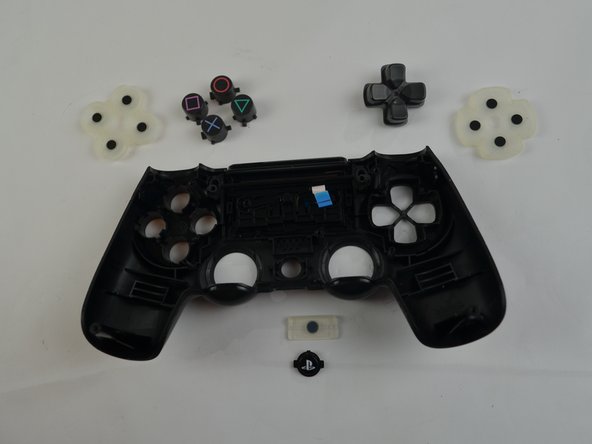
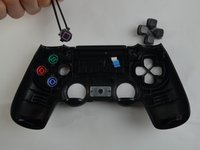
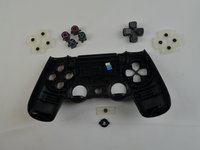
Remove the rubber pads that secure the buttons in place for the arrow buttons, shape buttons, and Playstation Home button.
-
-
crwdns2935267:0crwdne2935267:0Tweezers$4.99
-
Remove the old buttons, and replace them with new ones using a pair of tweezers.
-


To reassemble your device, follow these instructions in reverse order.
To reassemble your device, follow these instructions in reverse order.
crwdns2935221:0crwdne2935221:0
crwdns2935229:047crwdne2935229:0

crwdns2935287:0crwdne2935287:0

USF Tampa, Team S1-G5, Leahy Fall 2017 crwdns2935289:0USF Tampa, Team S1-G5, Leahy Fall 2017crwdne2935289:0
USFT-LEAHY-F17S1G5
crwdns2931471:03crwdne2931471:0
crwdns2935297:028crwdne2935297:0
crwdns2947412:02crwdne2947412:0
Where can I buy cuh zct2e spares from please
Can’t see an updated guide, and this one worked perfectly fine. Used to replace the buttons on a knock-off DualShock 4 from AliExpress. Construction was largely the same, only devoid of a screw anchoring the battery cradle. Would argue this was an extremely easy repair!