crwdns2915892:0crwdne2915892:0
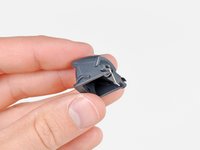
Use this guide to replace the plastic trigger buttons. The #2 trigger button has an attached internal spring.
crwdns2942213:0crwdne2942213:0
-
-
Remove the five 7.2 mm Phillips screws securing the rear cover to the controller.
-
-
-
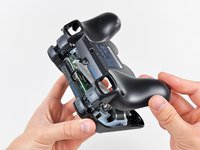
Press on the rear cover between the analog sticks and slightly lift the lower edge of it away from the rest of the controller.
-
-
-
Push the rear cover slightly toward the top edge of the controller to clear the front edge of the #2 triggers.
-
Pull the rear cover away from the rest of the controller, being careful not to pop off the #2 triggers.
-
-
-
-
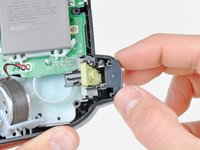
While holding the black plastic trigger retainer with one hand, pull the #2 trigger off of its axle.
-
-
-
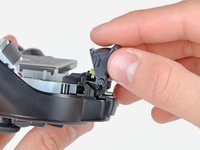
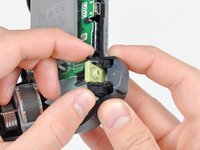
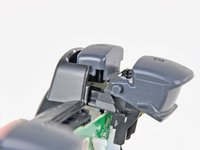
Pull the black plastic trigger retainer slightly away from the front cover.
-
Pull the #1 button out of the front cover.
-


To reassemble your device, follow these instructions in reverse order.
To reassemble your device, follow these instructions in reverse order.
crwdns2935221:0crwdne2935221:0
crwdns2935229:073crwdne2935229:0

crwdns2947412:08crwdne2947412:0
Might want to add that there's a small catch/tab in the middle of the bottom of the controller that needs to be released when taking apart the covers.
This worked great, and also works on normal Sixaxis controllers. I used this to swap the broken spring from the L2 button on my DS3 for a good spring from my Sixaxis. Works like new now.
The little green eletronic ribben where is it supposed to go?
The #00 screwdriver is working better
Did you replace button 2 rod with plastic replacement part or use original rod piece when fixing button 2
Is there a way I can buy trigger retainers?