crwdns2915892:0crwdne2915892:0
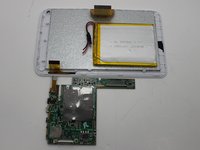
Replace the tablets Motherboard.
crwdns2942213:0crwdne2942213:0
-
-
Position the tablet so the ports and screws are facing you.
-
-
-
Remove the two 2.5mm screws using the Phillips #00 precision screwdriver.
-
-
-
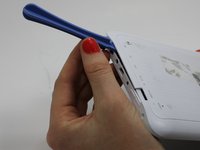
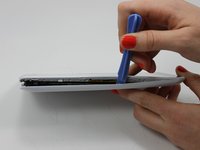
Use the plastic opening tool to assist in removing the back cover.
-
-
-
-
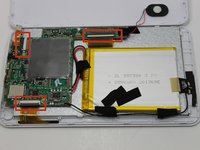
Upon removing the back cover position the tablet as seen in the picture.
-
-
-
Lift the black bars to expose the data strips.
-
Remove the data strips.
-
-
-
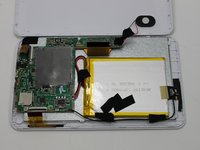
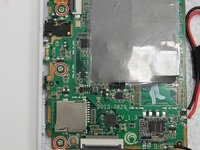
Remove the three 2.5mm screws using the Phillips #00 precision screwdriver that is holding the motherboard in place.
-
-
-
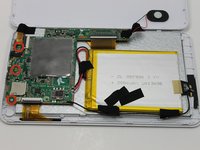
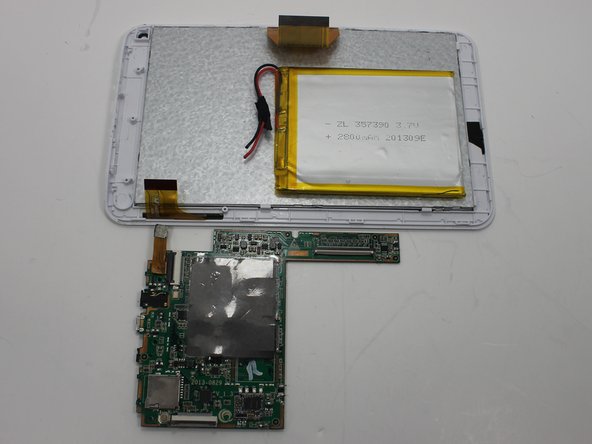
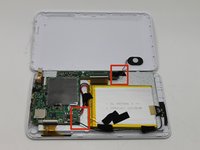
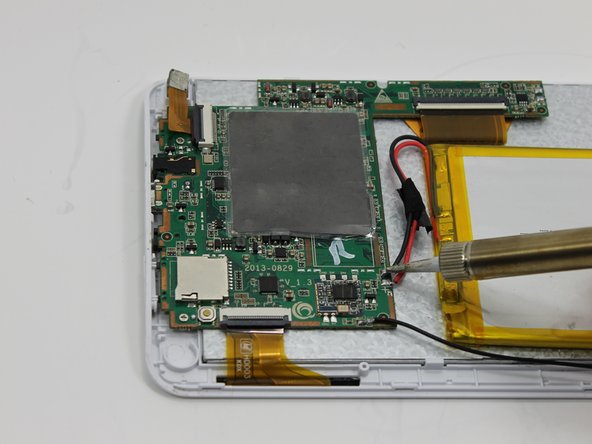
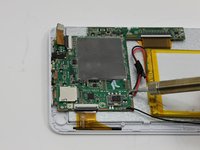
Remove the three wires connected to the battery along with the speaker wires from the motherboard. Then remove the motherboard from the tablet.
-
-
-
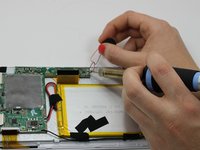
Install the new motherboard by soldering the speaker wires and the battery wires in their intended location. For additional soldering instructions please view this page: How To Solder and Desolder Connections
-


To reassemble your device, follow these instructions in reverse order.
crwdns2935221:0crwdne2935221:0
crwdns2935227:0crwdne2935227:0
crwdns2935287:0crwdne2935287:0

Michigan Tech, Team 1-4, Lauer Spring 2015 crwdns2935289:0Michigan Tech, Team 1-4, Lauer Spring 2015crwdne2935289:0
MTU-LAUER-S15S1G4
crwdns2931471:02crwdne2931471:0
crwdns2935297:010crwdne2935297:0