crwdns2915892:0crwdne2915892:0
This guide walks through the process of replacing the camera. For safety reasons, you must first follow instructions to remove the battery. After the battery is disconnected, you can follow the rest of the directions to safely remove the camera.
crwdns2942213:0crwdne2942213:0
-
-
Insert the plastic opening tool between the white back cover and black front over.
-
-
-
Slide the plastic opening tool along the edgeof the device until back cover is detached and remove the cover.
-
-
-
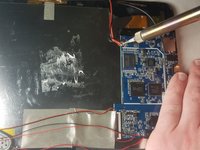
Remove the yellow tape holding the battery to the device using your fingers or plastic opening tool if necessary.
-
-
-
Use the hair dryer to melt the glue holding the battery to the device.
-
-
-
crwdns2935267:0crwdne2935267:0Plastic Cards$2.99
-
Insert the plastic card under the battery and use it to remove the battery from the device.
-
-
-
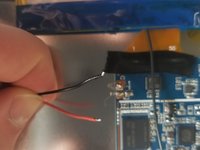
Desolder the red and black wires connecting the battery to the motherboard and remove the battery.
-
-
-
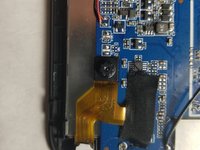
Remove black tape holding the cameras to the motherboard.
-
-
-
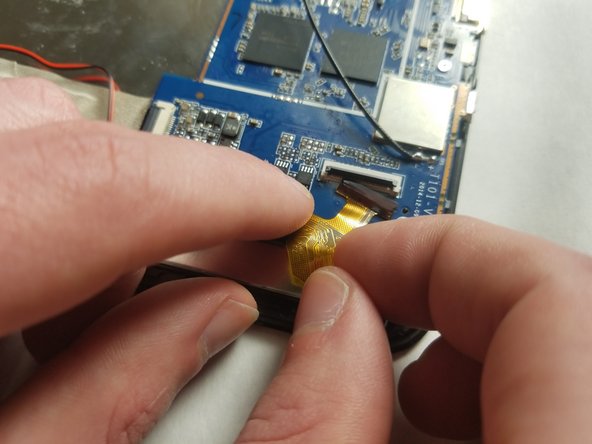
Use your fingernail to flip up the small locking flap on the ZIF connector.
-
Pull the ribbon cable from the ZIF connector.
-
-
-
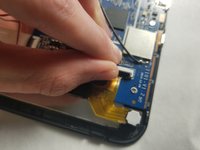
Remove the front camera from the device using your fingers.
-
-
-
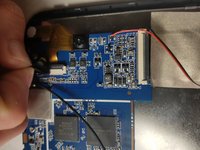
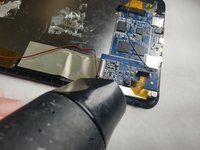
Melt the glue holding the rear camera in place using a hair dryer.
-
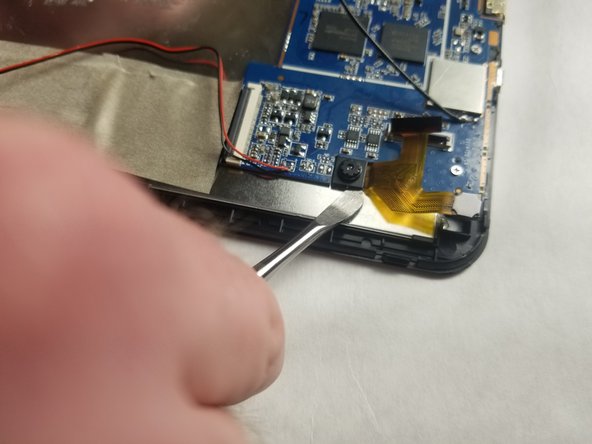
Insert the metal spludger under the rear camera and pry it free from the device.
-


To reassemble your device, follow these instructions in reverse order.
To reassemble your device, follow these instructions in reverse order.
crwdns2915084:0crwdne2915084:0

IUPUI, Team S5-G5, Baechle Spring 2018 crwdns2935289:0IUPUI, Team S5-G5, Baechle Spring 2018crwdne2935289:0
IUPUI-BAECHLE-S18S5G5
crwdns2931471:03crwdne2931471:0
crwdns2935297:06crwdne2935297:0