crwdns2933423:0crwdne2933423:0

Doorknob Privacy Pin Replacement

crwdns2942213:0crwdne2942213:0

  1. Doorknob Privacy Pin Replacement, Doorknob Privacy Pin: crwdns2935265:01crwdnd2935265:01crwdnd2935265:03crwdne2935265:0 Doorknob Privacy Pin Replacement, Doorknob Privacy Pin: crwdns2935265:01crwdnd2935265:02crwdnd2935265:03crwdne2935265:0 Doorknob Privacy Pin Replacement, Doorknob Privacy Pin: crwdns2935265:01crwdnd2935265:03crwdnd2935265:03crwdne2935265:0
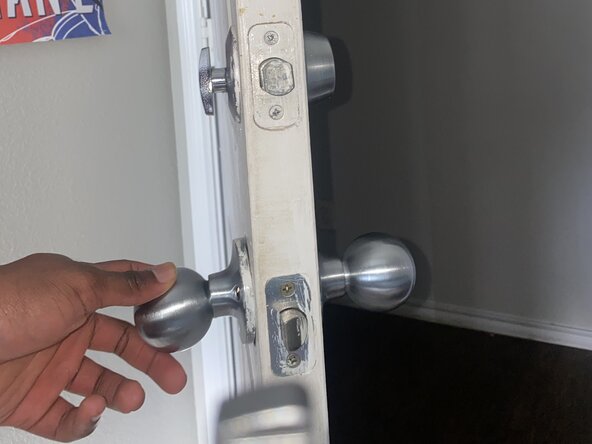
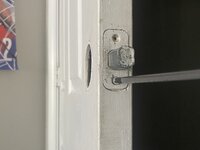
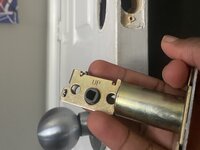
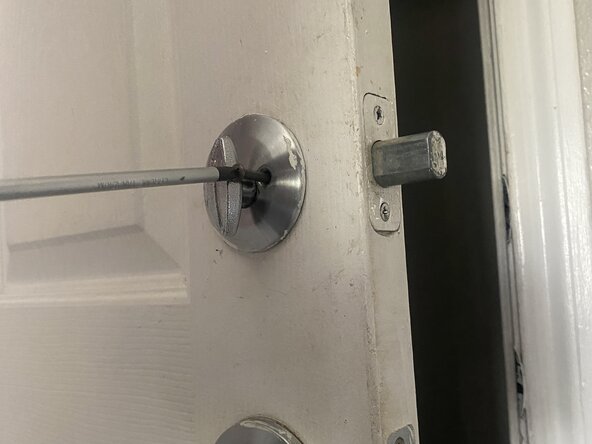
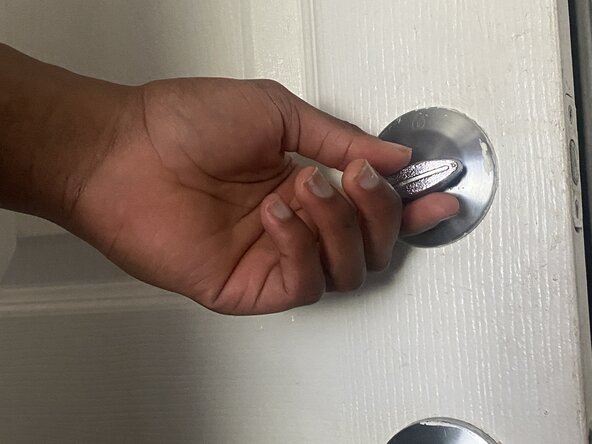
    • Use a Phillips #1 screwdriver to remove the two screws holding the interior and exterior doorknob halves together.

  2. Doorknob Privacy Pin Replacement: crwdns2935265:02crwdnd2935265:01crwdnd2935265:02crwdne2935265:0 Doorknob Privacy Pin Replacement: crwdns2935265:02crwdnd2935265:02crwdnd2935265:02crwdne2935265:0
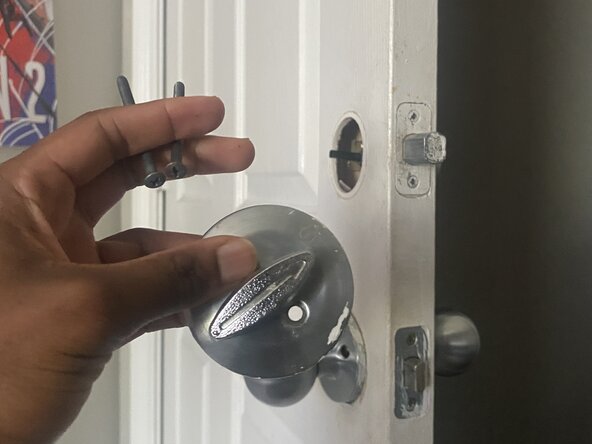
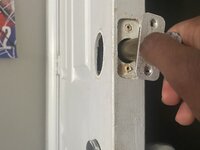
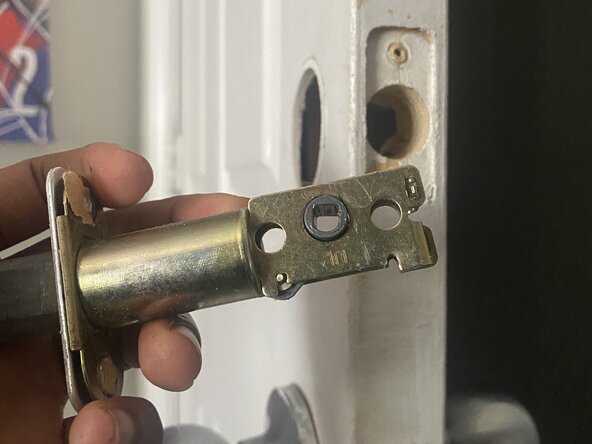
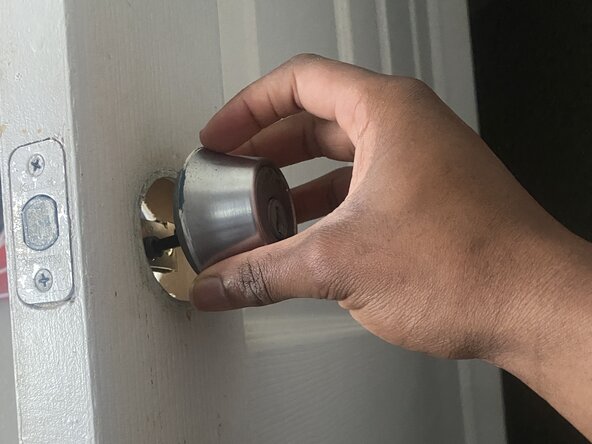
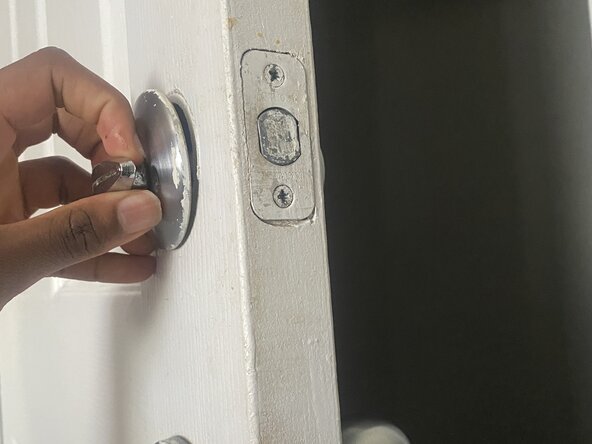
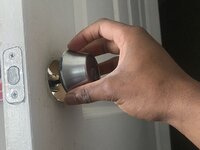
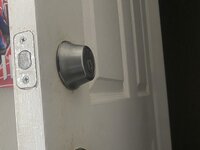
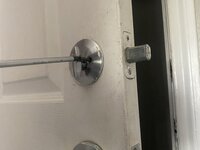
    • Carefully pull the doorknob halves apart.

    • The spindle and the latch mechanism should now be accessible.

  3. Doorknob Privacy Pin Replacement: crwdns2935265:03crwdnd2935265:01crwdnd2935265:03crwdne2935265:0 Doorknob Privacy Pin Replacement: crwdns2935265:03crwdnd2935265:02crwdnd2935265:03crwdne2935265:0 Doorknob Privacy Pin Replacement: crwdns2935265:03crwdnd2935265:03crwdnd2935265:03crwdne2935265:0
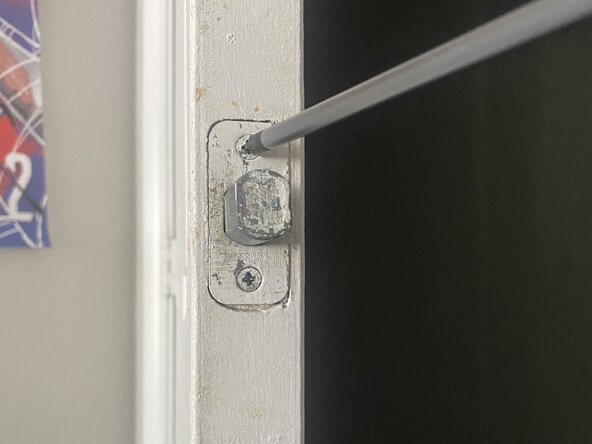
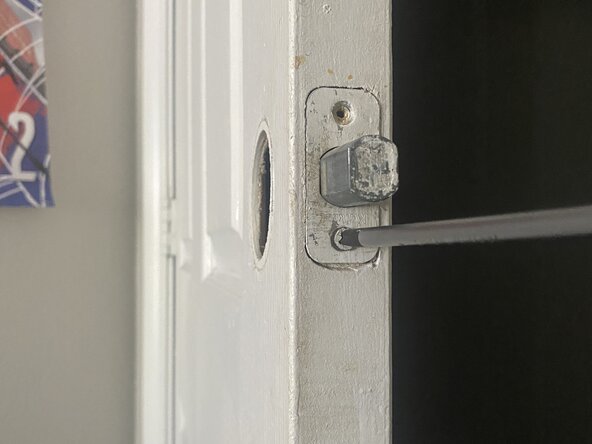
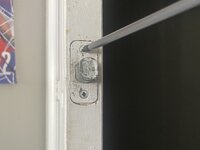
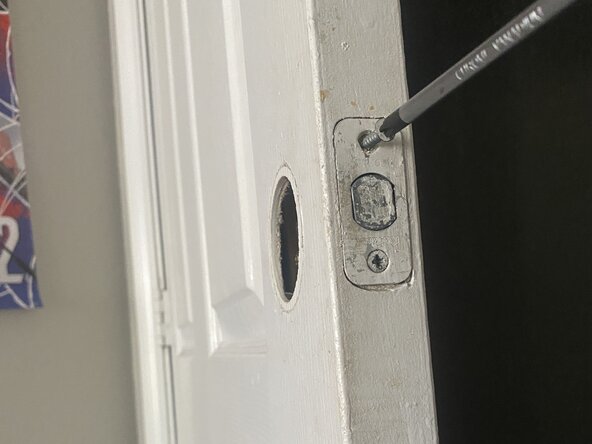
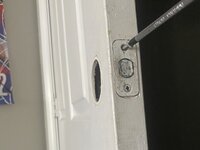
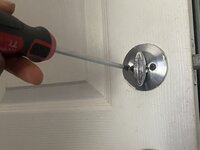
    • Use the Phillips #1 screwdriver to remove the privacy pin.

    • It is a small, threaded pin that screws into a hole on the latch mechanism itself or on the interior doorknob assembly.

  4. Doorknob Privacy Pin Replacement: crwdns2935265:04crwdnd2935265:01crwdnd2935265:01crwdne2935265:0
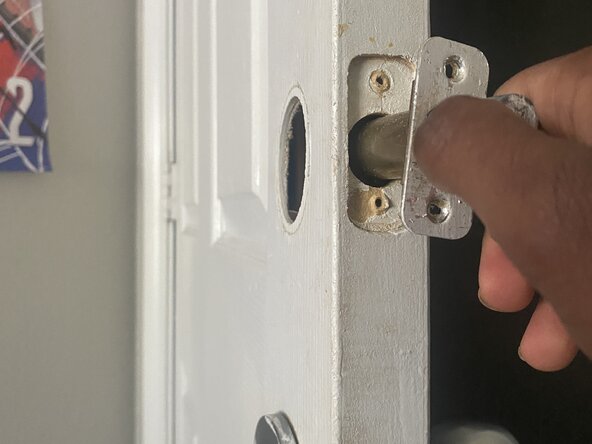
    • Remove the old/ damaged privacy pin.

  5. Doorknob Privacy Pin Replacement: crwdns2935265:05crwdnd2935265:01crwdnd2935265:03crwdne2935265:0 Doorknob Privacy Pin Replacement: crwdns2935265:05crwdnd2935265:02crwdnd2935265:03crwdne2935265:0 Doorknob Privacy Pin Replacement: crwdns2935265:05crwdnd2935265:03crwdnd2935265:03crwdne2935265:0
    • Screw the new privacy pin into the corresponding hole.

    • Ensure it's securely tightened but don't overtighten, as this could strip the threads.

  6. Doorknob Privacy Pin Replacement: crwdns2935265:06crwdnd2935265:01crwdnd2935265:03crwdne2935265:0 Doorknob Privacy Pin Replacement: crwdns2935265:06crwdnd2935265:02crwdnd2935265:03crwdne2935265:0 Doorknob Privacy Pin Replacement: crwdns2935265:06crwdnd2935265:03crwdnd2935265:03crwdne2935265:0
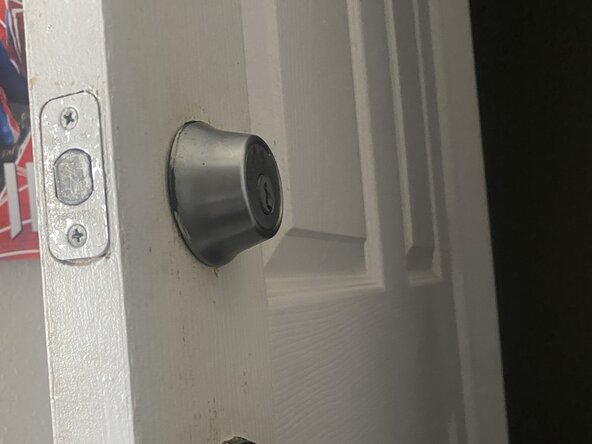
    • Align the spindle with the latch mechanism, then bring the two doorknob halves back together.

    • Make sure all parts are properly seated.

  7. Doorknob Privacy Pin Replacement: crwdns2935265:07crwdnd2935265:01crwdnd2935265:03crwdne2935265:0 Doorknob Privacy Pin Replacement: crwdns2935265:07crwdnd2935265:02crwdnd2935265:03crwdne2935265:0 Doorknob Privacy Pin Replacement: crwdns2935265:07crwdnd2935265:03crwdnd2935265:03crwdne2935265:0
    • Securely fasten the two screws with the Phillips #1 screwdriver.

    • Snap or twist the decorative covers back into place (If applicable).

    • Test the privacy pin several times to ensure it engages and disengages smoothly.

crwdns2915888:0crwdne2915888:0

To reassemble your device, follow these instructions in reverse order.

Elias Moseri

crwdns2935283:006/15/25crwdne2935283:0

145 crwdns2915208:0crwdne2915208:0

crwdns2935295:0crwdne2935295:0

crwdns2915084:0crwdne2915084:0

University of North Texas, Team 40-15, Kilpatrick Summer 2025 crwdns2935289:0University of North Texas, Team 40-15, Kilpatrick Summer 2025crwdne2935289:0

UNT-KILPATRICK-SU25S40G15

crwdns2934841:01crwdne2934841:0

crwdns2935303:01crwdne2935303:0

crwdns2947412:00crwdne2947412:0

crwdns2917038:0crwdne2917038:0

crwdns2936625:0crwdne2936625:0:

crwdns2936751:024crwdne2936751:0 2

crwdns2936753:07crwdne2936753:0 4

crwdns2936753:030crwdne2936753:0 82

crwdns2942667:0crwdne2942667:0 93