crwdns2915892:0crwdne2915892:0
In this guide, we will be showing you how to remove and replace the Display Assembly.
crwdns2942213:0crwdne2942213:0
-
-
Pull straight up on the pull-tab that is attached to the display-feed flex cable to disconnect the cable from the system board.
-
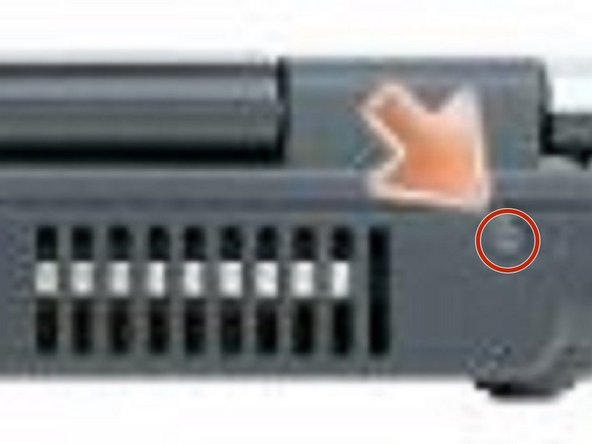
Disconnect the antenna cable.
-
Close the display.
-
Turn the computer upside down with the back of the computer facing you.
 crwdns2952109:0crwdne2952109:0
-
-
-
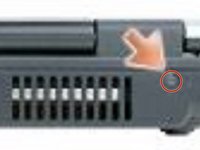
From the bottom of the computer, remove the two M2.5 x 8-mm screws labeled "D."
-
-
-
-
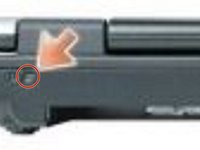
From the back of the computer, remove the two M2.5 x 8-mm screws labeled "D."
-
-
-
Turn the computer right-side up and open the display.
-
Carefully remove the antenna cable and the display cables from their routing guides.
-
-
-
Lift the display assembly out of the computer base.
-


To reassemble your device, follow these instructions in reverse order.

crwdns2935287:0crwdne2935287:0

RampUP America, Inc. crwdns2935289:0RampUP America, Inc.crwdne2935289:0
Community
crwdns2931471:045crwdne2931471:0
crwdns2935297:02,003crwdne2935297:0