crwdns2933423:0crwdne2933423:0
crwdns2947577:0crwdnd2947577:0crwdne2947577:0

Disassembling the Root Coding Robot

crwdns2942213:0crwdne2942213:0

  1. Disassembling the Root Coding Robot, Removing the bottom screws: crwdns2935265:01crwdnd2935265:01crwdnd2935265:01crwdne2935265:0
    • The first step in our disassembly is to remove the four bottom Phillips screws.

    crwdns2952109:0crwdne2952109:0

    crwdns2917038:0crwdne2917038:0

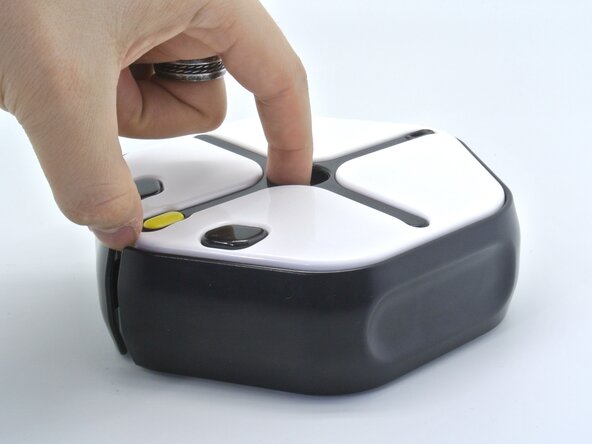
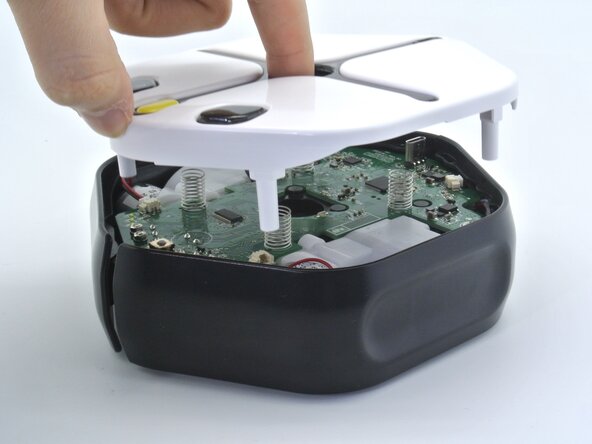
  2. Disassembling the Root Coding Robot, Opening up the Root: crwdns2935265:02crwdnd2935265:01crwdnd2935265:03crwdne2935265:0 Disassembling the Root Coding Robot, Opening up the Root: crwdns2935265:02crwdnd2935265:02crwdnd2935265:03crwdne2935265:0 Disassembling the Root Coding Robot, Opening up the Root: crwdns2935265:02crwdnd2935265:03crwdnd2935265:03crwdne2935265:0
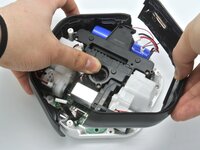
    • Once the screws are removed, simply flip the robot face up and lift the top cover. This will expose the Root's motherboard.

    crwdns2952109:0crwdne2952109:0

    crwdns2917038:0crwdne2917038:0

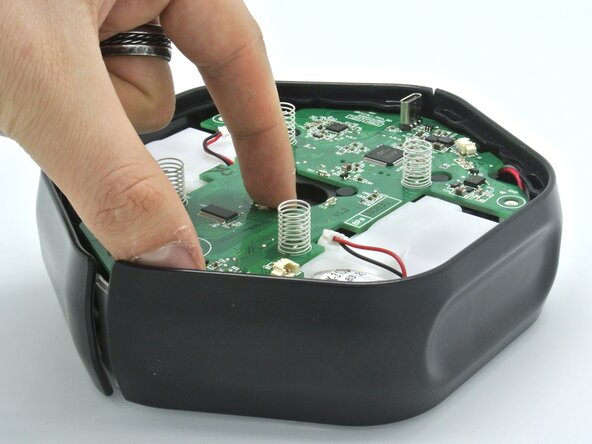
  3. Disassembling the Root Coding Robot, Disconnecting some cables: crwdns2935265:03crwdnd2935265:01crwdnd2935265:03crwdne2935265:0 Disassembling the Root Coding Robot, Disconnecting some cables: crwdns2935265:03crwdnd2935265:02crwdnd2935265:03crwdne2935265:0 Disassembling the Root Coding Robot, Disconnecting some cables: crwdns2935265:03crwdnd2935265:03crwdnd2935265:03crwdne2935265:0
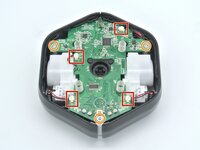
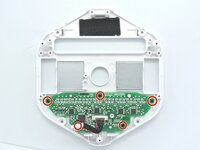
    • Remove the three screws holding the motherboard in place.

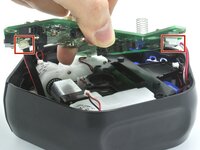
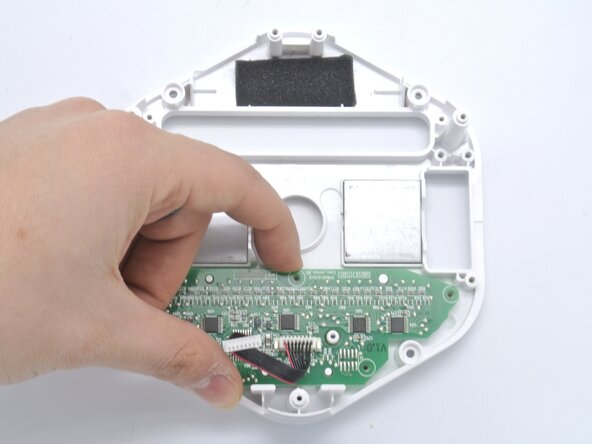
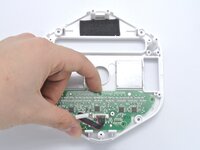
    • With a spudger, remove the four cables connected to the motherboard. This will allow us to lift it but there's still a couple of connectors to disconnect.

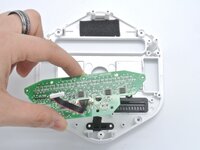
    • Don't force the motherboard out as the erasing mechanisms and color sensors are still connected to it.

    crwdns2952109:0crwdne2952109:0

    crwdns2917038:0crwdne2917038:0

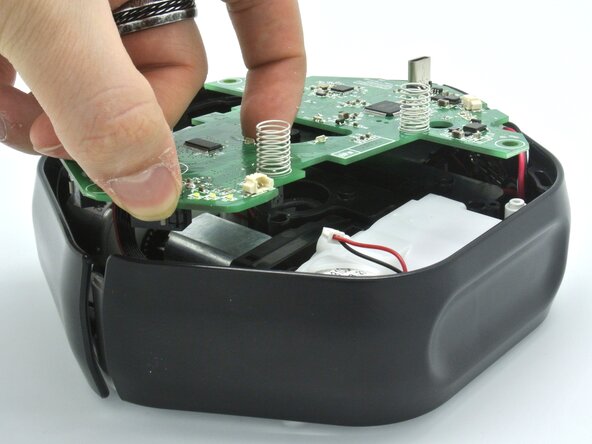
  4. Disassembling the Root Coding Robot, Removing the motherboard: crwdns2935265:04crwdnd2935265:01crwdnd2935265:02crwdne2935265:0 Disassembling the Root Coding Robot, Removing the motherboard: crwdns2935265:04crwdnd2935265:02crwdnd2935265:02crwdne2935265:0
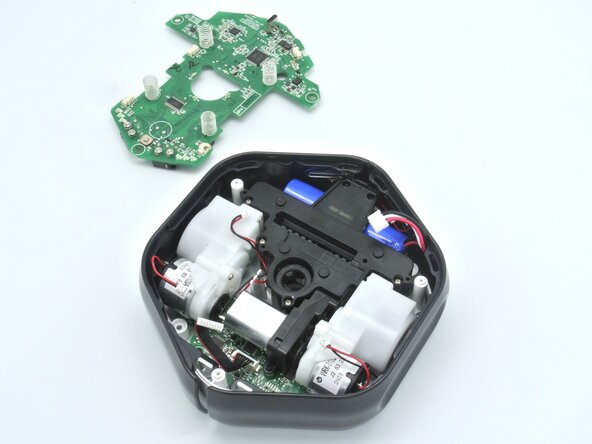
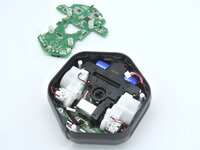
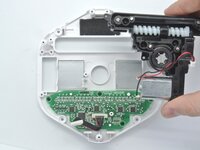
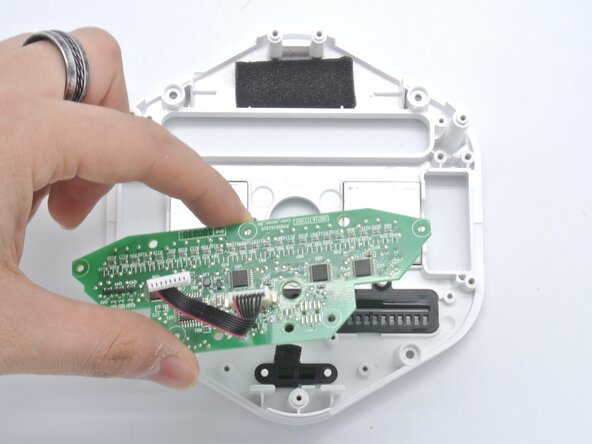
    • Now you can see both connectors still attached to the motherboard, remove them and simply set the motherboard aside.

    crwdns2952109:0crwdne2952109:0

    crwdns2917038:0crwdne2917038:0

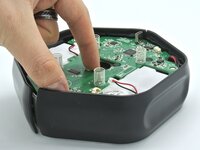
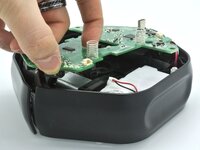
  5. Disassembling the Root Coding Robot, Side buttons: crwdns2935265:05crwdnd2935265:01crwdnd2935265:02crwdne2935265:0 Disassembling the Root Coding Robot, Side buttons: crwdns2935265:05crwdnd2935265:02crwdnd2935265:02crwdne2935265:0
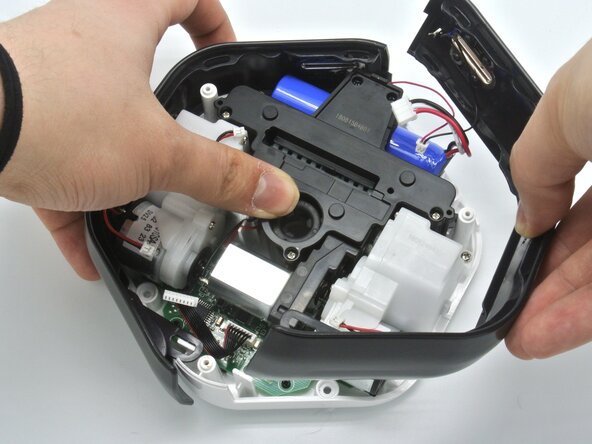
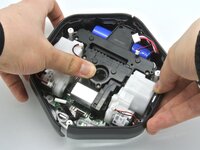
    • With the motherboard out of the way, we can simply lift the side buttons and remove them.

    crwdns2952109:0crwdne2952109:0

    crwdns2917038:0crwdne2917038:0

  6. Disassembling the Root Coding Robot, Motors: crwdns2935265:06crwdnd2935265:01crwdnd2935265:03crwdne2935265:0 Disassembling the Root Coding Robot, Motors: crwdns2935265:06crwdnd2935265:02crwdnd2935265:03crwdne2935265:0 Disassembling the Root Coding Robot, Motors: crwdns2935265:06crwdnd2935265:03crwdnd2935265:03crwdne2935265:0
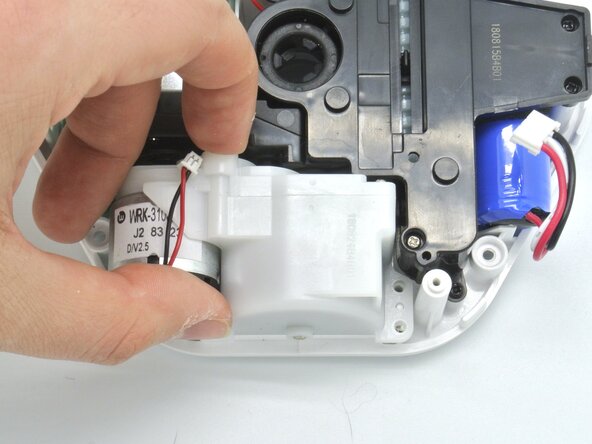
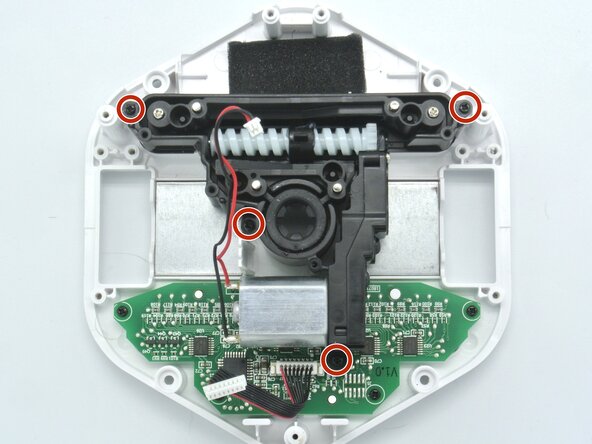
    • Without the side buttons we can now easily access the three Phillips screws holding down the motors.

    • Unscrew them and remove the motors.

    crwdns2952109:0crwdne2952109:0

    crwdns2917038:0crwdne2917038:0

  7. Disassembling the Root Coding Robot, Accessing the battery: crwdns2935265:07crwdnd2935265:01crwdnd2935265:02crwdne2935265:0 Disassembling the Root Coding Robot, Accessing the battery: crwdns2935265:07crwdnd2935265:02crwdnd2935265:02crwdne2935265:0
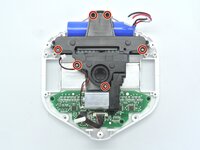
    • To access the battery, unscrew the 6 Phillips screws and remove the plastic piece.

    • With motors removed you can now see thge powerful magnets that hold this robot fixed on a whiteboard.

    crwdns2952109:0crwdne2952109:0

    crwdns2917038:0crwdne2917038:0

  8. Disassembling the Root Coding Robot, Battery: crwdns2935265:08crwdnd2935265:01crwdnd2935265:02crwdne2935265:0 Disassembling the Root Coding Robot, Battery: crwdns2935265:08crwdnd2935265:02crwdnd2935265:02crwdne2935265:0
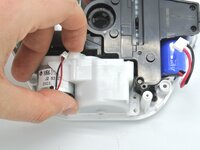
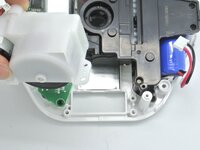
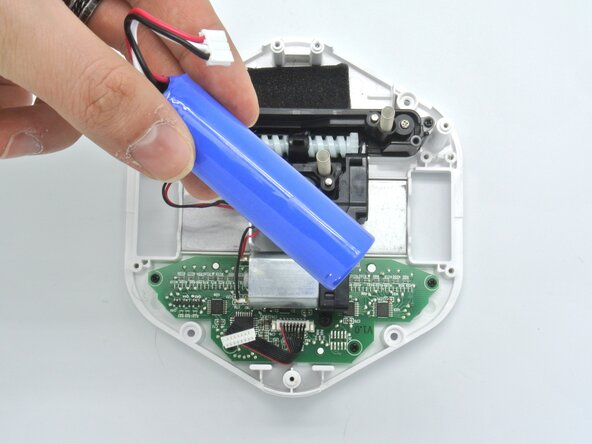
    • With access to the battery, you can simply take it out.

    crwdns2952109:0crwdne2952109:0

    crwdns2917038:0crwdne2917038:0

  9. Disassembling the Root Coding Robot, Repositionning some cables: crwdns2935265:09crwdnd2935265:01crwdnd2935265:02crwdne2935265:0 Disassembling the Root Coding Robot, Repositionning some cables: crwdns2935265:09crwdnd2935265:02crwdnd2935265:02crwdne2935265:0
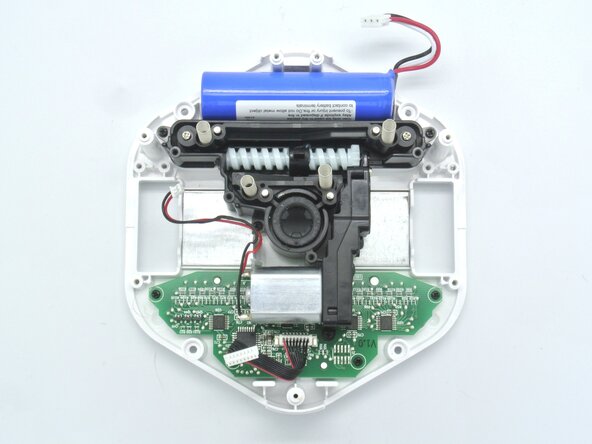
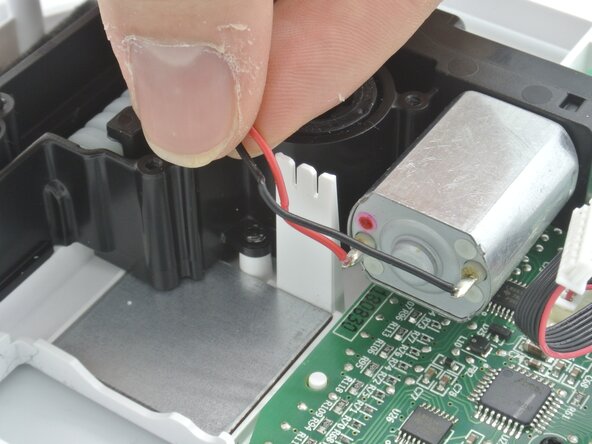
    • There's a little cable holder that makes sure the motor cables don't go everywhere, make sure to remove the cables from there.

    crwdns2952109:0crwdne2952109:0

    crwdns2917038:0crwdne2917038:0

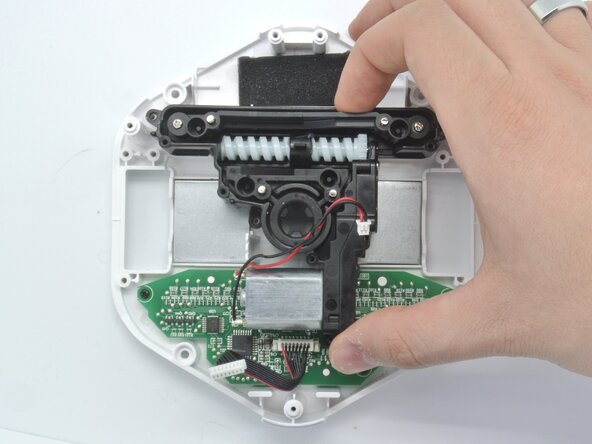
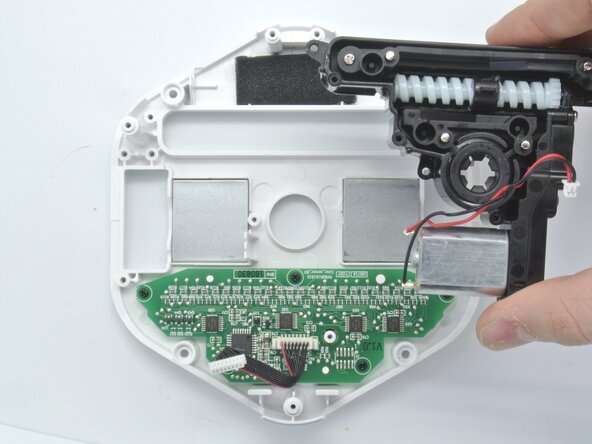
  10. Disassembling the Root Coding Robot, Erasing mechanism: crwdns2935265:010crwdnd2935265:01crwdnd2935265:03crwdne2935265:0 Disassembling the Root Coding Robot, Erasing mechanism: crwdns2935265:010crwdnd2935265:02crwdnd2935265:03crwdne2935265:0 Disassembling the Root Coding Robot, Erasing mechanism: crwdns2935265:010crwdnd2935265:03crwdnd2935265:03crwdne2935265:0
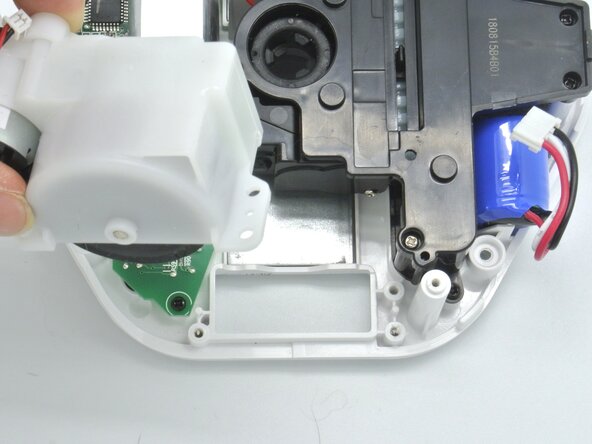
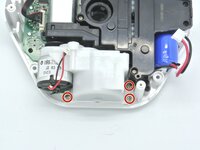
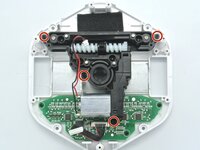
    • The cool thing about the Root robot is that it can go on a white board and it can erase stuff. That mechanism is shown here and it can be remove by unscrewing these four screws.

    • Once that's done, remove the erasing mechanism.

    crwdns2952109:0crwdne2952109:0

    crwdns2917038:0crwdne2917038:0

  11. Disassembling the Root Coding Robot, Color sensor board: crwdns2935265:011crwdnd2935265:01crwdnd2935265:03crwdne2935265:0 Disassembling the Root Coding Robot, Color sensor board: crwdns2935265:011crwdnd2935265:02crwdnd2935265:03crwdne2935265:0 Disassembling the Root Coding Robot, Color sensor board: crwdns2935265:011crwdnd2935265:03crwdnd2935265:03crwdne2935265:0
    • To recognize colors, the Root uses a color sensor board at the bottom of the robot. Unscrew the five screws holding the board to the chassis.

    • Remove the board.

    crwdns2952109:0crwdne2952109:0

    crwdns2917038:0crwdne2917038:0

crwdns2915888:0crwdne2915888:0

Congratulations, you've made it to the end of the guide, and that concludes the Root Coding robot disassembly.

To reassemble your device, follow these instructions in reverse order.

crwdns2935221:0crwdne2935221:0

Alexandre Aires Viegas

crwdns2935283:003/07/25crwdne2935283:0

1,686 crwdns2915208:0crwdne2915208:0

crwdns2935297:05crwdne2935297:0

crwdns2947412:00crwdne2947412:0

crwdns2917038:0crwdne2917038:0

crwdns2936625:0crwdne2936625:0:

crwdns2936751:024crwdne2936751:0 0

crwdns2936753:07crwdne2936753:0 5

crwdns2936753:030crwdne2936753:0 26

crwdns2942667:0crwdne2942667:0 344