crwdns2933423:0crwdne2933423:0

Disassembling reMarkable 2 for a stuck power button

crwdns2942213:0crwdne2942213:0

  1. Disassembling reMarkable 2 for a stuck power button, Opening the back of the device: crwdns2935265:01crwdnd2935265:01crwdnd2935265:03crwdne2935265:0 Disassembling reMarkable 2 for a stuck power button, Opening the back of the device: crwdns2935265:01crwdnd2935265:02crwdnd2935265:03crwdne2935265:0 Disassembling reMarkable 2 for a stuck power button, Opening the back of the device: crwdns2935265:01crwdnd2935265:03crwdnd2935265:03crwdne2935265:0
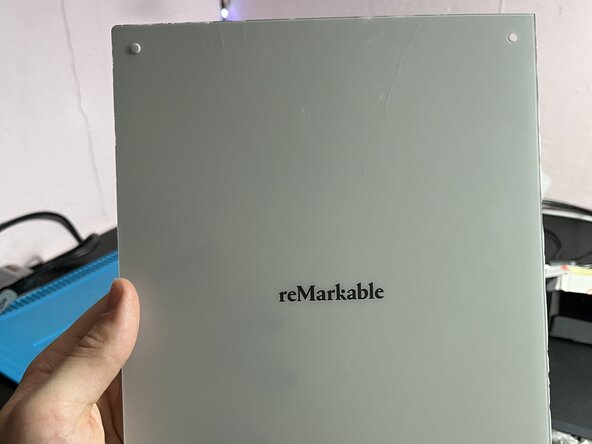
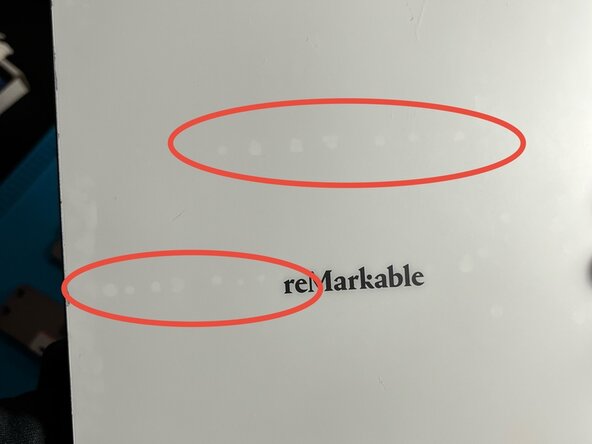
    • Remove the back of the tablet by heating the back with the heat gun or an hairdryer. Careful not to damage the plastic: try to diffuse heat and not concentrate it too much.

    • Push a sharp blade 2-3 mm or a plastic pick in between the metal edge and plastic back. You can help yourself with a suction cup, in order to lift the edges more easily.

    • Careful not to damage exposed ribon ports/cables. Check diagram in step 4 for their location.

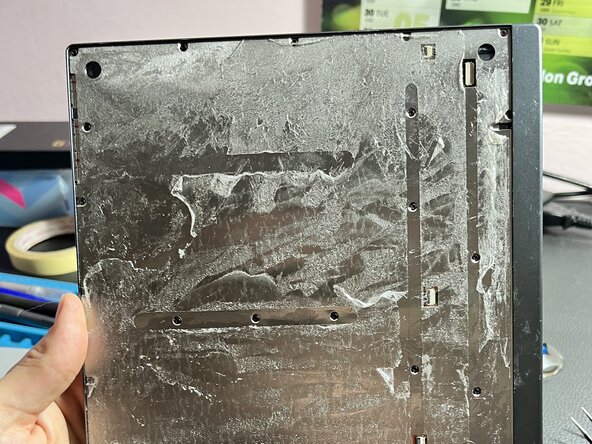
    • Pull the plastic back away from the metal shield underneath. The adhesive bonds is much stronger to the metal than the plastic, so try to leave the adhesive on the metal. If needed, try to use small quantities of isopropyl alcohol to loosen the adehesive.

    • Using isopropyl alcohol might help you reduce damage on back cover

    • If the adhesive folds over onto itself use the sharp knife to cut it off and remove it from the metal.

    • Proceed carefully and don't get upset: it can be a time consuming process. If you try to proceed too fast you could damage back cover or internals.

  2. Disassembling reMarkable 2 for a stuck power button, Remove screws and get access to internals: crwdns2935265:02crwdnd2935265:01crwdnd2935265:03crwdne2935265:0 Disassembling reMarkable 2 for a stuck power button, Remove screws and get access to internals: crwdns2935265:02crwdnd2935265:02crwdnd2935265:03crwdne2935265:0 Disassembling reMarkable 2 for a stuck power button, Remove screws and get access to internals: crwdns2935265:02crwdnd2935265:03crwdnd2935265:03crwdne2935265:0
    • Very carefully slice through the adhesive in the pink box and undo the connector using the plastic prying tool, this is the connector to the battery.

    • You will be cutting close to ribon cables so be very careful. (check step 4 for their location)

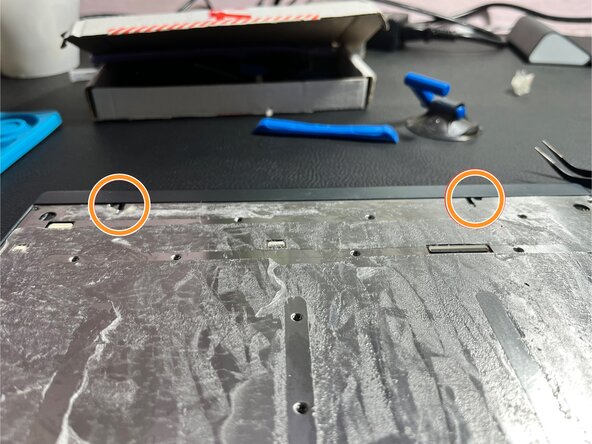
    • Start by removing the two silver screws in the orange boxes.

    • Pull the metal edge completly off. Be carefull as the power button is not held in place and will come come off along with the metal edge.

    • If you want to get power button unstuck, you don't need to remove the metal cover, but only the edge cover. For reparations not regarding the power button, remove also the metal cover. Follow the screw scheme in the first image to keep them separated by colour.

  3. Disassembling reMarkable 2 for a stuck power button, Power button fix: crwdns2935265:03crwdnd2935265:01crwdnd2935265:01crwdne2935265:0
    • Use the files to remove a very small amount of the material in the hole around the power button.

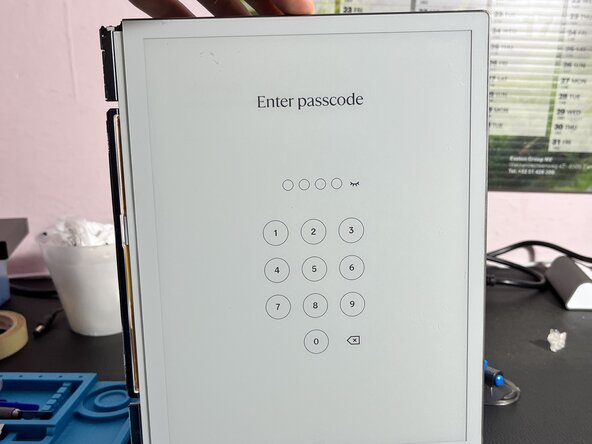
    • place the power button back in the hole and place the metal edge back on the device. Test that the button give a slight "click" when pushed before reassmebling the device.

  4. Disassembling reMarkable 2 for a stuck power button, Tips for reassembly: crwdns2935265:04crwdnd2935265:01crwdnd2935265:03crwdne2935265:0 Disassembling reMarkable 2 for a stuck power button, Tips for reassembly: crwdns2935265:04crwdnd2935265:02crwdnd2935265:03crwdne2935265:0 Disassembling reMarkable 2 for a stuck power button, Tips for reassembly: crwdns2935265:04crwdnd2935265:03crwdnd2935265:03crwdne2935265:0
    • If you want to reglue the back cover, you'll need to remove as much glue as you can: should not be that hard: it should peel like a sticker.

    • If you have it, add back some antistatic tape over the exposed connectors in order to protect them.

    • For closing back the cover, use a strong double sided tape: try to mimic the factory disposition. Do not use any kind of liquid glue (at least not B7000 or similar), because they will leave marks visible from the cover (3rd photo), unsless you don't care about aesthetics.

crwdns2915888:0crwdne2915888:0

To reassemble your device, follow these instructions in reverse order. Notice the tips in step 4 for easier reassembly.

crwdns2935229:03crwdne2935229:0

emil haurum

crwdns2935283:009/04/24crwdne2935283:0

139 crwdns2915208:0crwdne2915208:0

crwdns2935295:0crwdne2935295:0

crwdns2947412:02crwdne2947412:0

Do you have any experience resoldering the usb-c port? I am attempting this soon and am a bit anxious, since I've never soldered before.

Fane Alicuza - crwdns2934203:0crwdne2934203:0

I have not done any soldering on the remarkable. However a general remark, be careful with you soldering iron around plastic parts as the easily melt.

emil haurum -

crwdns2917038:0crwdne2917038:0

crwdns2936625:0crwdne2936625:0:

crwdns2936751:024crwdne2936751:0 6

crwdns2936753:07crwdne2936753:0 65

crwdns2936753:030crwdne2936753:0 195

crwdns2942667:0crwdne2942667:0 1,355