crwdns2915892:0crwdne2915892:0
This guide explains how to remove the bumper from your Roomba.
crwdns2942213:0crwdne2942213:0
-
-
Place your Roomba upside-down on a hard surface.
-
-
-
While holding the side brush in place, use a Phillips #1 screwdriver to remove the 4.5mm screw from the center of the brush.
-
-
-
Gently pull upwards on the brush to remove it.
-
-
-
-
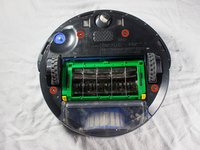
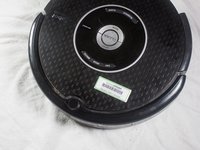
Rotate the Roomba upside-down so the bottom is facing towards you.
-
-
-
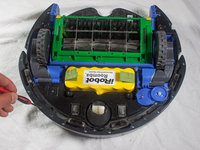
Using a Phillips #2 screwdriver, remove the captive screws that hold the bottom plate in place.
-
-
-
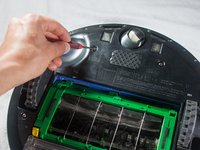
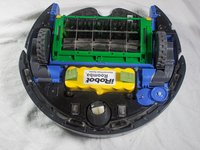
With a Phillips #1 screwdriver, remove the ten 12mm screws located along the bottom of the bumper.
-
-
-
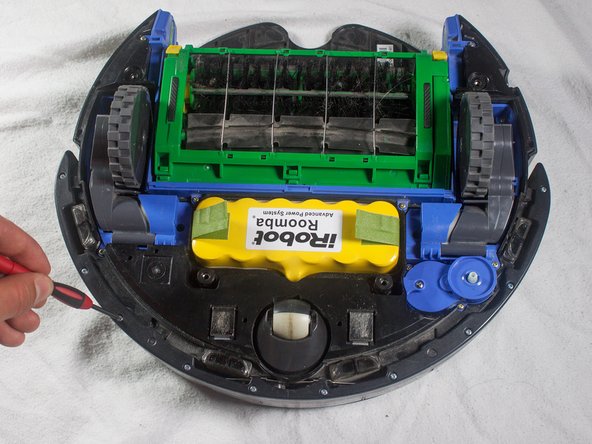
Lift the bottom cover and set it to the side.
-
-
-
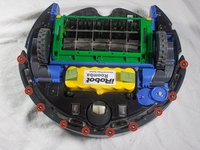
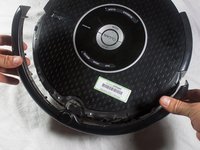
Flip the Roomba over, grasp the bumper, and gently lift to remove.
-


To reassemble your device, follow these instructions in reverse order.
To reassemble your device, follow these instructions in reverse order.
crwdns2935221:0crwdne2935221:0
crwdns2935227:0crwdne2935227:0
crwdns2915084:0crwdne2915084:0

Cal Poly, Team 13-14, Regan Winter 2014 crwdns2935289:0Cal Poly, Team 13-14, Regan Winter 2014crwdne2935289:0
CPSU-REGAN-W14S13G14
crwdns2931471:04crwdne2931471:0
crwdns2935297:019crwdne2935297:0
crwdns2947410:01crwdne2947410:0
Mine had a wire leading from the body to the bumper. The bumper end was held on by two small Phillips screws, which I undid to disconnect it (the bit it screws on to falls off the top of the bumper).
When putting it back together, make sure to put it on again the right way round, with the wire towards the front of the roomba (i.e. furthest from the main body), otherwise you will find the wire gets in the way of the bumper working, and you'll have to take it all apart again, like I did!
If all you need off is the faceplate, skip all of the screwdriver-based steps, and just remove the dirt bin(step 7) and start from step 11 at the rear.
David Forrest - crwdns2934203:0crwdne2934203:0