crwdns2915892:0crwdne2915892:0
Remove the back cover, battery, back casing and the mainboard to get access to most components or the UART interface.
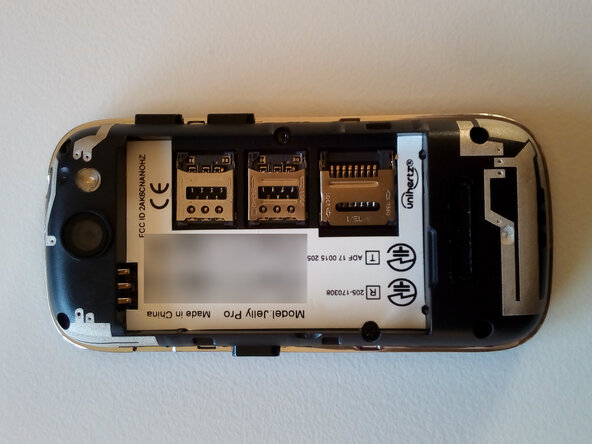
The device shown is a Unihertz Jelly Pro N with 3 GB RAM and 32 GB storage ("Model: Jelly-Pro" in Android system settings).
This guide should also apply to other Jelly and Jelly Pro versions but not to newer models of Unihertz's "Jelly" series like Jelly 2, Jelly Star or Jelly Max!
DOGFOODING NOTICE:
All photos were taken with another Unihertz Jelly Pro.
-
-
If unsure how to remove the back cover and the battery, have a look at this guide: Jelly Phone Battery Replacement
-
-
-
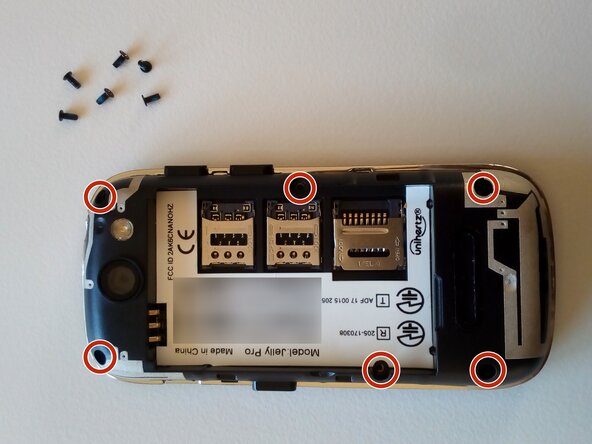
Remove the six Phillips-head screws in the back casing. One screw in the battery compartment might be hidden under a white sticker!
-
-
-
-
Starting on one side, lift the back casing up. There are little slots around the casing to use for prying.
-
-
-
Remove the loose sitting power and volume push buttons. The underlying button boards are glued to the inner plastic casing. Squeeze something in between to loosen them. They remain attached to the board and will need to get out with it.
-
Next to the volume buttons there is a small connector. Fold up the bracket to release the cable.
-
Detach the display cable in the center of the board.
-
Make sure the front-facing camera and the microphone on the bottom are loose. They remain attached to the board and will need to get out with it.
-
-
-
Starting on one side, pry the board out of the little plastic clips.
-
Carefully lift the board up and flip it over. Have a look for the screen connecting cable - it might stick a little to the screen-facing side of the mainboard.
-
-
-
There it is.
-
If you are looking for UART: On the screen-facing side of the mainboard the pair of contact points right next to the USB port match Tx and Rx!
-


To reassemble your device, follow these instructions in reverse order. Make sure not to leave any dust or fingerprints behind, especially regarding the camera lenses.
To reassemble your device, follow these instructions in reverse order. Make sure not to leave any dust or fingerprints behind, especially regarding the camera lenses.