crwdns2915892:0crwdne2915892:0
Before the display and camera housing can be repaired or replaced they must first be separated. This guide will detail how to prepare the display and camera for separation.
crwdns2942213:0crwdne2942213:0
-
-
Begin by placing the camera upside down and removing the three small center screws.
-
-
-
Turn the camera on its side (Counterclockwise). Remove the two small screws on either side of the silver panel.
-
Turn the camera 180 degrees onto its other side and remove the two small screws on either side of the silver panel.
-
-
-
-
Locate the camera's tripod mount located on the bottom of the camera.
-
Carefully remove the camera's tripod mount and place it aside.
-
Be careful not to lose this piece.
-
Rotate the silver panel labeled 4x clockwise.
-
-
-
Align the camera so that the side with "4x Optical Zoom" is facing toward you.
-
Gently twist the bottom corner clockwise until you feel the side panel unlock.
-
Lift off the side panel and set aside.
-
-
-
Rotate the camera 180 degrees to face the side panel with the lanyard loop on it.
-
Gently lift the panel vertically until it lifts off
-
-
-
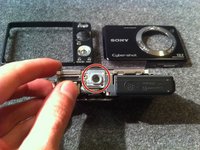
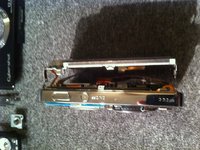
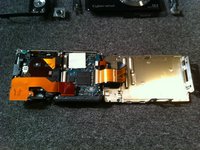
Position the camera so the bottom is facing up and the display away from the surface.
-
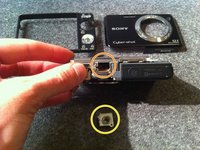
Gently pry the screen portion from the camera portion with your fingers or a plastic prybar.
-
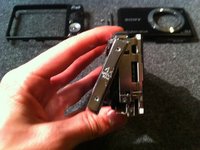
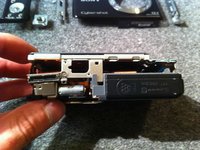
Lay the display flat to expose the circuit board and the display control ribbon cables.
-


To reassemble your device, follow these instructions in reverse order.
To reassemble your device, follow these instructions in reverse order.

crwdns2915084:0crwdne2915084:0

Clemson, Team 2-3, Benson Spring 2012 crwdns2935289:0Clemson, Team 2-3, Benson Spring 2012crwdne2935289:0
CLEM-BENSON-S12S2G3
crwdns2931471:03crwdne2931471:0
crwdns2935297:011crwdne2935297:0